Designing Domesticity Our Home Projects Food Services Shop About

PB Knock Off Lighting

I was so excited last week when my long envisioned bedside lamp project finally came together. 


You see, I had been looking, and looking, and looking for just the perfect bedside lamp. My list of demands was long....I wanted it to make a statement, but still be light and airy, and it couldn't be white. 


What I really wanted was this beauty from Pottery Barn. But the $200 price tag had me looking for other options. 


That's when I decided to make my own. I found the recycled glass vase at HomeGoods for less than $10. When I saw that lovely textured, wavy, greenish glass and the tear drop shape I knew I had found my perfect solution. 


The best part? It was so simple. A DIY lamp kit, picked up at Home Depot for only $10 made it a cinch. Just follow the directions on the back and boom, you've got light!


The most expensive and time consuming part of this project was finding just the right lamp shade. I settled on these yellow flocked shades from Target. At $20 a shade, I think they make just the right statement.


Usually I'm not much of a joiner when it comes to the matchy-match game, but in this case, I caved. I love this lamp so much I put one together for Mr. DD too. 

The perfect addition to our bedroom makeover at just $40 each. Happiness. 

linking in with:

until next time, 
Read more ...

If I Were A Lady Who Lunched

If I were a lady who lunched, I would have the perfect salad to dine upon. Alas, I am not. 
But, I do still have a mighty fine salad to share today. 


Originally from the Mad Hungry Cookbook, my MIL forwarded me the recipe from the Martha Stewart site. I actually thought, for about 5 minutes, of making it for lunch over the weekend, but quickly realized that was never going to happen. 


{For some reason my kids just aren't interested in waiting around 30 minutes while I make lunch. Hmmm...Not sure why.}


So, we morphed it into dinner by serving this salad with sugar snaps and greens from the gardens. The extra time in the fridge definitely helped to develop the yummy sweet and sour flavors of the raisins and lime juice. 


Ingredients

  • 1 cup jasmine or basmati rice
  • Coarse salt
  • 5 scallions, one whole and 4 finely chopped
  • 1/4 cup chopped fresh parsley leaves
  • 1/4 teaspoon peppercorns
  • 1/2 pound fresh wild salmon
  • 1/4 cup pine nuts, lightly toasted
  • 1/4 cup golden raisins
  • 1 tablespoon freshly grated lime zest
  • 2 tablespoons fresh lime juice
  • 3 tablespoons extra-virgin olive oil
  • Freshly ground black pepper
  • 1/2 cup fresh mint leaves, cut in fine strips

Directions

  1. Place the rice in a pot with 1 1/2 cups water and 1/2 teaspoon salt. Bring to a boil over high heat, cover, and reduce the heat to a simmer for 20 minutes, or until the rice has absorbed all the liquid. Spread out the cooked rice on a rimmed baking sheet and chill.
  2. Meanwhile, in a shallow saute pan, place 1 cup water, the whole scallion, parsley, and peppercorns and bring to a simmer. Sprinkle the fish with salt and place in the pan. Cover and poach for 5 to 9 minutes, until just cooked through. Remove the salmon and peel off and discard the skin while still hot. Chill the salmon.
  3. Place the pine nuts, raisins, chopped scallions, lime zest and juice, and olive oil in a large bowl, season with salt and freshly ground black pepper, and toss to combine. Flake the salmon into the bowl and add the rice. Stir to combine. Let sit for a short while to allow the flavors to blend. Garnish with mint.
Thanks, MF, for the recipe recommendation. And remember, if you have a recipe you'd like to see featured here or you just think I'd like it, shoot me an email. 


designingdomesticity@gmail.com

until next time, 
Read more ...

Room re-jig, Organization, and Switcher-oo

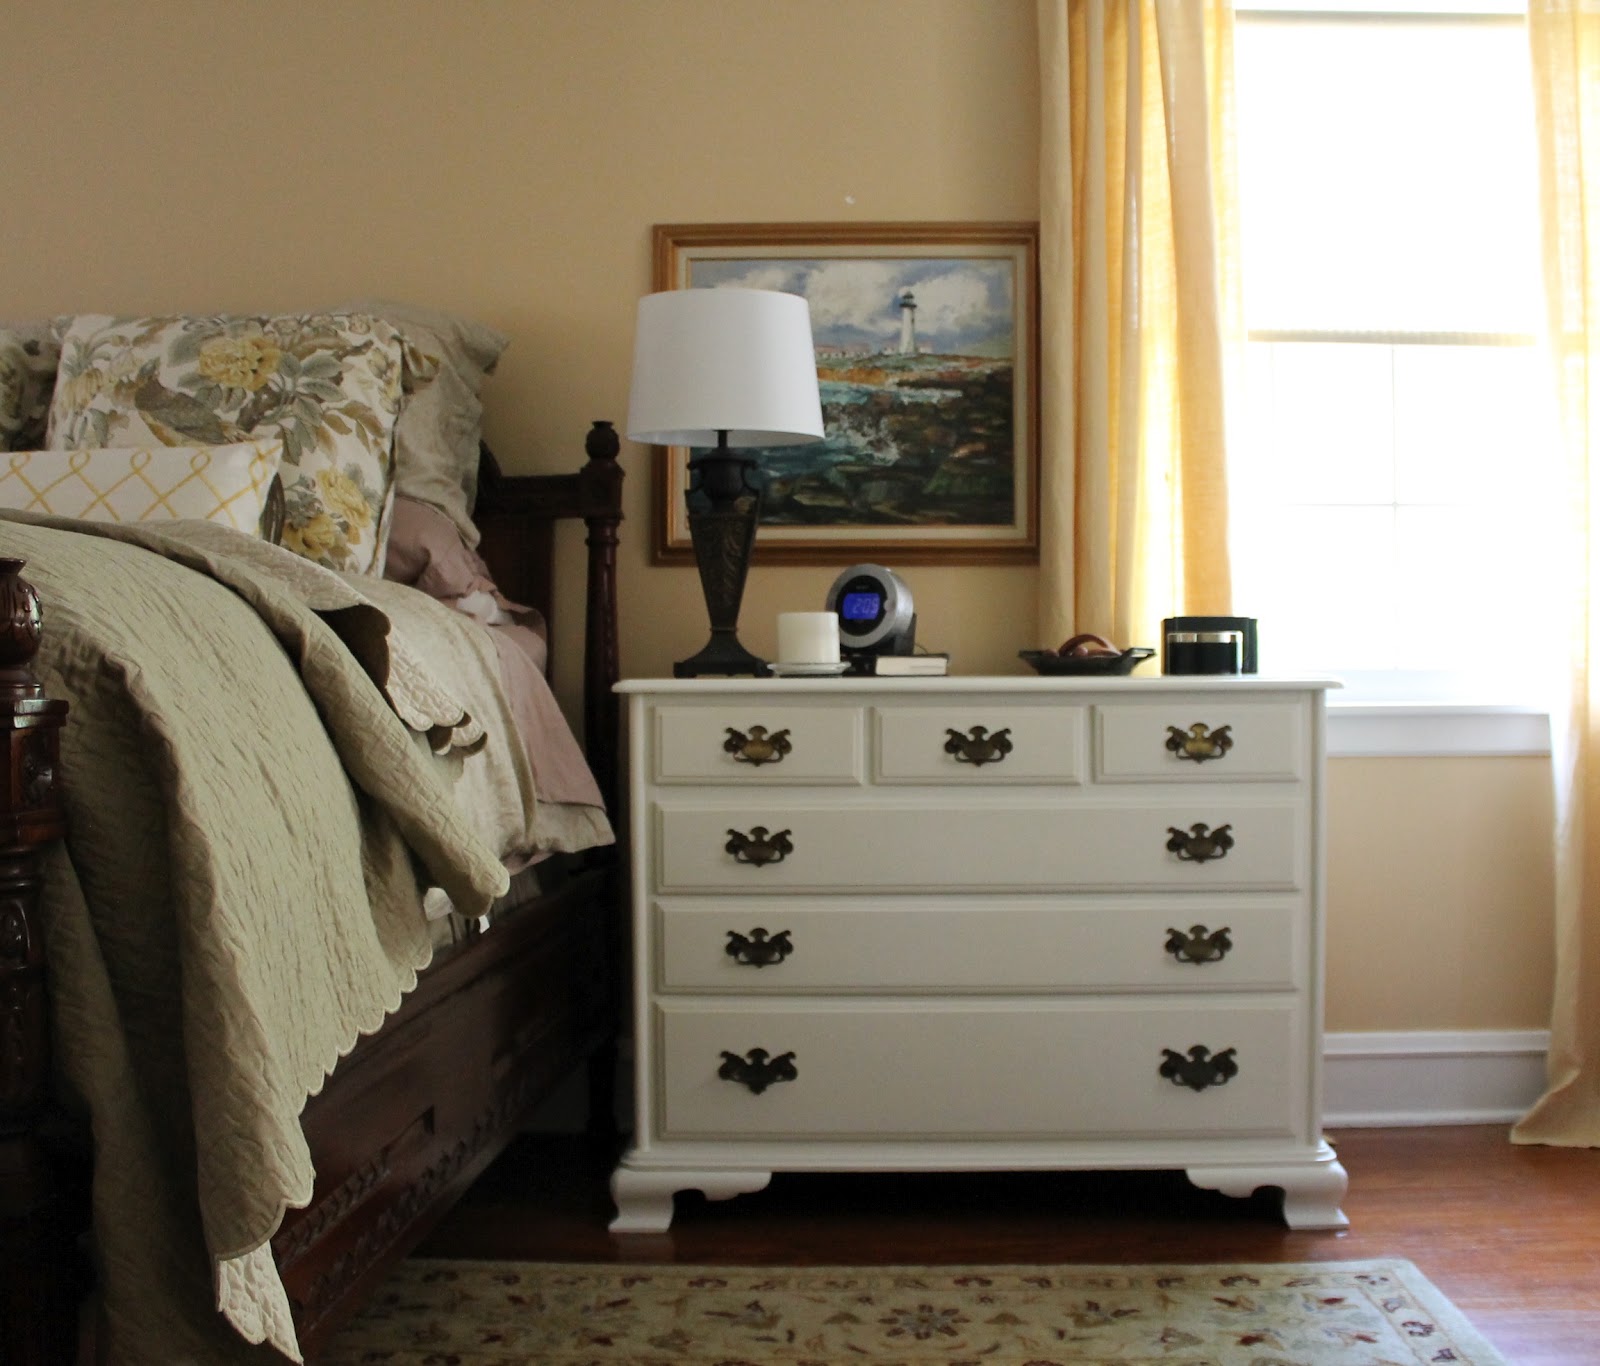
What now seems like forever and a day ago, I painted a second dresser white and moved it into our bedroom to act as a bedside table. The change was a long time coming, not only because I had purchased the dresser quite awhile ago, but also because it took me FOREVER to convince Mr. DD of the merits the extra dresser would bring to the room. 


After all, let's face it, 4 dressers, a sweater chest and two built-in cupboards in one room does seem a bit like storage overkill. 

{Although, I would have to argue, can one ever really have enough storage?}

But, clearly, I won that battle. So, how did I do it? Well, I'll tell you...it all happened one faithful weekend when Mr. DD was out of town. I spent every free moment of said weekend re-arranging the bedroom. Dressers, closets, chests. You name it, I re-organized it. 


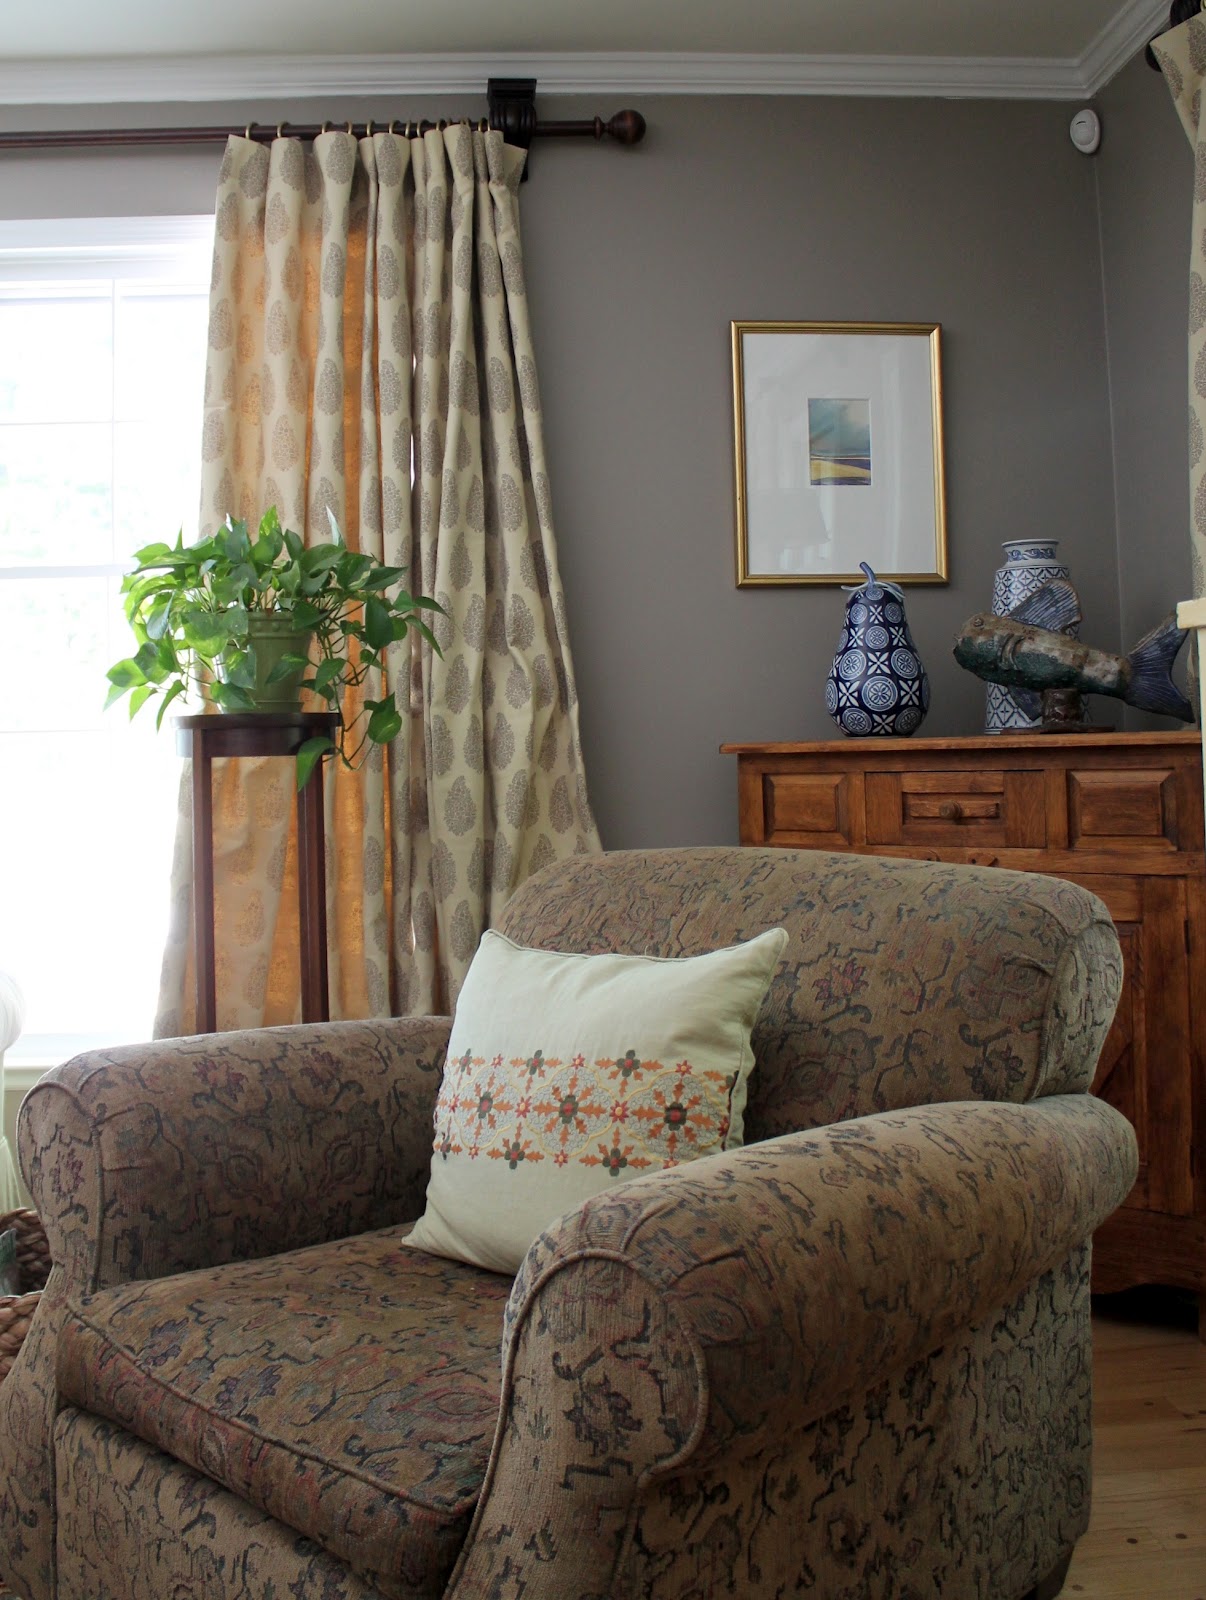
One of the biggest obstacles in this room is that bloomin' loveseat, which used to reside in the corner of the room.  While I love it for somethings, I don't for others, and sometimes I wouldn't mind chucking it out the window. But alas, it's staying and this is one of the only rooms big enough to accommodate it. 

The loveseat found a new home, in front of the radiator at the base of the window, which has freed up the corner for the antique English dresser.


This really was the only possible layout that didn't leave us with two dressers on one wall, which I think is safe to say, is not a good look. Fortunately, I am liking the cozy, layered feel that this new arrangement is giving the room. What a relief, because we were well and truly out of options. 


During this same weekend, I managed to switch cupboards with Mr. DD as well. I went from this, which quite frankly, is a serious disaster. 


To this. 
So much better. 
See, all the extra storage really is coming in handy. And no, I didn't fill his extra dresser, I just made better use of mine {two}. Of course, getting rid of the hanging closet organizer really helped {as did the now matching hangers}. Not sure what I'll do with my sweaters come winter, but in this 90+ degree heat it's easy to put that on the back burner for now. 


Anyway, now that the room is re-arranged and organized I can finally start in on the fun stuff. Like accessories. Most of the dresser tops are just place holders at the moment - I'm finding it incredibly difficult to accessorize a man's space. 

He's all like, what's this for? I don't need that. 

Since when is design about need anyway :)

But seriously, I have made a couple of changes to help our very well-loved {as in, worn out} loveseat along. The grey cashmere throw is one of my favorites and definitely had to make the trip up from the basement family room. I made the yellow and white pillow, from left over bedding and pinboard fabric, with my trusty envelope method. The other ikat pillow I found on etsy during a recent sale. 

Wow, this is a wordy post. Who knew I'd have so much to say about our bedroom switcher-oo?

until next time,
Read more ...

Naked Windows No More

I pulled a little pump fake on you the other week, didn't I? I teased you with inspirational problem window fixes and promises of new bedroom layouts...and then, nothing. I went on and on about our great trip to Michigan and my bloggy birthday - I mean, honestly, that is not very cool.


Rest assured, because I am back with an update that includes my new relaxed roman shades. What do you think?

You may remember that these started off as $24 panels I found at Restoration Hardware Outlet. I used about 25" of each panel to tackle the vanity skirt update and was bound and determined to use the remainder to dress our problem windows. 


Nice, right? I'm really happy with these non-functioning, purely decorative coverings. But, let me tell you, it was not all smooth sailing getting to this point.


I cut and hemmed the panels to fit within the window casing, hung them on tension rods and then the fun really began. There was a lot of muttering, pining, muttering, expletives, and more pining. And that was just the first try, which left me with the above. 
Not cute. 
Start over.  


I finally found the relaxed shape I loved, but then this happened. The weight of the fabric caused the center to pull too low, leaving nothing at the sides. 
Hmm...now what? 
Velcro, baby. Velcro. 
My new best friend. Literally. At least when it comes to this project. I pulled the panel to the edge of the shade and velcro-ed it all together. Success.


Once they were up, velcro, pins and all, I left them for a couple of days just to make sure I was happy with the results. Then I had to take them down and actually sew, by hand, all the folds together. That part was not fun. 


 Not fun at all. 
But the upside is, no more naked windows. And that has to count for something. 

linking in with:

until next time, 

Read more ...

Take It To Go

As I mentioned in my Michigan post, one of the highlights of our week long stay was the much anticipated trip to Pottery Barn Outlet. I've never been before, but my sister-in-law had and she mentioned it can be very hit or miss, so I really didn't know what to expect. 


But we took our chances, strapped in both babies, and made the hour long drive. And, I have to tell you, it really was worth the trip. My SIL made out like a bandit. I didn't do too bad, either. 


The one thing I did take away from the whole experience is just how impressive their staging really is. The magazine and retail store really do a wonderful job making each piece look so unique and collected. Not the outlet. Nothing takes the 'one of a kind' look out of an object like 40 of them on a shelf all sporting the same detailed distressing. 


But, I didn't let a little detail like that stop me. I still managed to pick up a small 'antiqued' wooden tray and a set of 6 napkins.  When I saw the tray, I knew exactly where I'd use it.


You see, I love to have a centerpiece on my breakfast table, but it was just getting to the point that I started to find it impractical. If it was too high, I couldn't see the kids, if it was too wide I couldn't fit anything else on the table, etc, etc. You know how it goes.


Enter the tray. While it's in the center of the table, the flowers and candle aren't, which allows me a direct line of sight to Miss T. 
{No elbows on the table!}
Throw on some napkins, salt and pepper and its practicality is really starting to shine.
{Mommy, can you get me a napkin? Oh, they're right here. Nice.}


The best part of all, if I'm serving family style, I can take the whole tray to go. Instant open space. Brilliant.

A practical and pretty centerpiece, who knew that existed.
The real question is, how did I not think of this before?

until next time, 
Read more ...

What happens when I come over?

Want to know what happens when you invite a home design blogger into your house for a week? My sister-in-law can probably tell you a story or two. But, I'll just share my version. 

{living room before. minus the loveseat that we had already moved.}

She may have made a passing remark a couple of visits ago about wanting to re-arrange her living room. I, of course, could think of nothing more every time we visited after. But like most visits, they were always too short and went too fast. Not this time. We were house crashing for a full week....so when she mentioned it again, I jumped on it. Literally.

{living room after}

The big girls were playing nicely together and the little kids were napping, it was time to get to work. With the whole house at our disposal, we started re-arranging.  

{mantel wall before}

Out went a small loveseat (which, of course, I forgot to get before pictures of ) and in came a chair from their office. Some of the storage pieces were re-arranged and a corner cabinet moved in.   

{mantel wall after}

Other changes were just accessories, pillows, and artwork. Nothing new. Just re-worked. Obviously, they have good taste to begin with so I had a lot to work with. Always a plus.

{before}

Some of the things that had bothered her were how the room felt closed off and like they weren't using all the space available. By removing the loveseat and adding the two big chairs to the far end of the room, it felt much more open. 

{after}

She also felt like the window covering were a bit skimpy on the big picture window. When we moved the tall dresser in front of the  back windows, we were able to remove two of the four window panels. We then added the extra panels to picture window, giving it a much more balanced feel. 

{after}

Ideally, she'd like the room to have a blue and white scheme. While new furnishings aren't in her near future (she does have two little kids after all), we tried to achieve the look by placing her existing blue and white items throughout the room. As well as pulling other blue items from around the house. 

{after}

The final change was in the artwork. The arrangement above the mantel, which I loved, really set the tone for the whole room. Mostly gold framed watercolors with a nature theme. We simply swapped out some paintings for others that were more appropriate to the theme. 

{after}

I have to say, the finished room exceeded even my expectations. It was so fun to work on this project and I thank my brother and his family for allowing me to play around in their house. (Did I mention that I also made changes in the office, dining room and kitchen - yeah, I'm that girl.) I'm not sure my sister-in-law knew what she was getting into when she gave me carte blanche, but I certainly enjoyed myself. 

Want me to come to your house? All you have do is ask :)

linking in with:
until next time, 
Read more ...

Got Problem Windows?

While the girls and I are enjoying a week away visiting my brother and his family in the great state of Michigan, I thought I'd share some inspirational images for the next bedroom project. The dreaded window coverings.


Now, I only say dreaded because this old home of ours really does pose some interesting window challenges. 

In the living room: our windows are almost floor to ceiling, french door style, that open in. Two of the four windows are over radiators that are wider than the window. Essentially meaning that the panels can either lie over the radiator on the side, be short panels or shades of some nature that would have to be raised above the window casing to open them. 


For the living room, I choose panels that fell over the radiator. I guess they aren't that practical, but I like the look much better. 

In the breakfast room: the window looks out on the neighbors driveway so privacy is an issue and it's above a built-in bench. 


For the breakfast room, we choose a cafe curtain. For obvious reasons. Privacy, but still lets in the light and doesn't interfere with the bench. 

Moving on up to the bedroom. Two of the four windows were issue-less and I added long panels in a neutral linen when we move in. 

{problem windows}

The other two windows remained coverless simply because they were so problematic. Not only were they over wider radiators, which made long panels more of an issue, but they were also sandwiched next to built-in cupboards. 


The only obvious solution was to do some sort of shade or blind. I knew I didn't want a standard roman blind - it just felt too stuffy or formal for the relaxed atmosphere I was trying to create. 


Then I discovered the relaxed roman blind and I knew I had found my match. I love the shape of the first image and the relaxed fabric of the second image. 

Now, I just need to figure out how to make them with the left over $24/panel, Restoration Hardware Outlet panels. 

until next time, 
Read more ...

It Takes Two

"It takes two to make a thing go right, it takes two to make it outta sight."
 Oh, Rob Base and DJ E-Z Rock, thanks so much for recording a song that provided the momentum I needed to finally get this project done. 


After 10 months of looking at this dresser, which was acting as a temporary TV stand in our basement, I decided the time was right to give it a matching makeover (to the other dresser). I mean, who wouldn't want to paint, outside, when it's 100 degrees?

So, why didn't I paint them at the same time? I have no idea. Maybe because Mr. DD wasn't too eager to add yet another dresser to the bedroom. We already had two. 


But, you may remember, adding additional storage to our bedroom was high on my wish list. So, when we found both dressers on craigslist, the solution became obvious. Turn these basic, well-used, maple dressers into our bedside tables. How else can you have four dressers in one room without it looking crazy?

One coat of primer, two coats of BM White Dove, and a light application of Golden Oak stain has given both dressers a brand new look. 


You may also remember that lightening and brightening our bedroom was second priority only to the increased storage. Flanking our dark, antique bed with the white dressers has done just the trick. 

Convincing Mr. DD to add the dresser was hard enough, convincing him to rearrange the furniture was a whole other issue. Come back later in the week to see how I finally convinced him with the new arrangement. 

linking in with:

until next time, 
Read more ...

Watermelon and Blue Cheese - say what?

Nothing says summer like nice, fresh watermelon. It's the quintessential summer fruit.  


You've had it paired with tomatoes in a different spin on gazpacho, with mint and olives in a refreshing summer salad, but have you ever had it paired with blue cheese?
Sounds interesting, if not a bit odd. 


At least that's exactly what I thought when I saw this salad being served at a friend's house the other weekend. But one bite into it, I was already planning out my route to seconds. 


Just imagine that sweet, juicy flavor of the watermelon paired with tangy, pungent blue cheese. Add in a sweet heat from the pepper jelly infused dressing and it was love at first bite. 


I added thinly sliced red onion for a little additional bite. I also served my lettuce on the side, simply because I knew we'd have a lot of leftovers and I didn't want the lettuce to wilt. One final note, this recipe is definitely in the serve immediately category. I made mine in advance of our meal {for photography purposes} and by the time dinner rolled around, the watermelon had released a lot of juice so the presentation wasn't quite as nice. But the flavor was still really good. 

Watermelon, Mache, and Pecan Salad, as featured in the July 2008 issue of Southern Living

Ingredients
3/4 c chopped pecan
5 c cubed watermelon
6 oz. mache, washed 
Pepper Jelly Vinaigrette (recipe follows)
1 c crumbled blue cheese

Preparation
  1. 1. Preheat oven to 350°. Arrange pecans in a single layer on a baking sheet, and bake at 350° for 5 to 7 minutes or until lightly toasted and fragrant. Cool on a wire rack 15 minutes or until completely cool.
  2. 2. Combine watermelon and mâche in a large bowl; add vinaigrette, tossing gently to coat. Transfer watermelon mixture to a serving platter, and sprinkle evenly with pecans and cheese.

Pepper Jelly Vinaigrette
Ingredients
1/4 c rice wine vinegar
1/4 c pepper jelly
1 tbs fresh lime juice
1 tbs grated onion
1 tsp salt
1/4 tsp pepper
1/4 tsp vegetable oil


  • Preparation
  • 1. Whisk together first 6 ingredients. Gradually add oil in a slow, steady stream, whisking until blended.
until next time, 
Read more ...

You Had Me at $30

You know I'm working on our master bedroom at the moment. So, you're probably assuming that this will be yet another bedroom related post. Well, unfortunately, you're wrong. 


I kind of wish you were right though, because then I'd have something to share. Like some new lamps. But, I don't. 


Instead of finding new lamps on my recent trip to Marshall's, I found this striking, blue garden stool. It was in the clearance isle, marked at just $30. Which is kind of an unheard of price. 


So, you know what I did? I walked away. I was looking for lamps after all, and a garden stool was just not on the agenda. 


I went home, without lamps and without a beautiful, vivid, blue garden stool.


Guess what I did the next day? I went back. I mean, what was I thinking? $30 for a garden stool! It may not have been the deal I was looking for, but it certainly was a deal. A deal too good, to pass up. 


And now, this old paver patio is on the slow track to receiving a bit of style that it so desperately needs. Just in time for the 4th of July. This is where I'll be, staring at my unexpected find. 

Have a happy and safe 4th, everyone! 

linking in with: 
until next time, 
Read more ...
Related Posts Plugin for WordPress, Blogger...

Lijit Ad Wijit