Designing Domesticity Our Home Projects Food Services Shop About
Showing posts with label DIY. Show all posts

How to Breathe New Life into a Sofa

I'm a firm believer that there's a time and a place for high end, luxury pieces in your home. Whether that means antiques, raw silk coverings and beautiful persian rugs or simply upgrading thrift store purchases; everyone has their own definition of luxury. No matter what your definition, I can tell you we are not in that time or place. With two little kids slowly taking over our home, I don't want anything too precious (at least for the time being). I have bigger concerns to fill my time than whether or not my little hooligans are tearing up my nice upholstery.

sofa - before

That's why our couch looks like this. Ok, maybe a bit extreme, but I think you get what I'm saying. Our couch has seen better days, that's for sure, but I don't have to worry about spills, jumping, fort making or any other kid friendly activity. Not that I let them do any of those things…of course!
Now, just because it's a little tired, and we're still ages away from reupholstering or replacing it, doesn't mean we have to live with it like this. It's time to breathe some new life into our tired, but well loved sofa.
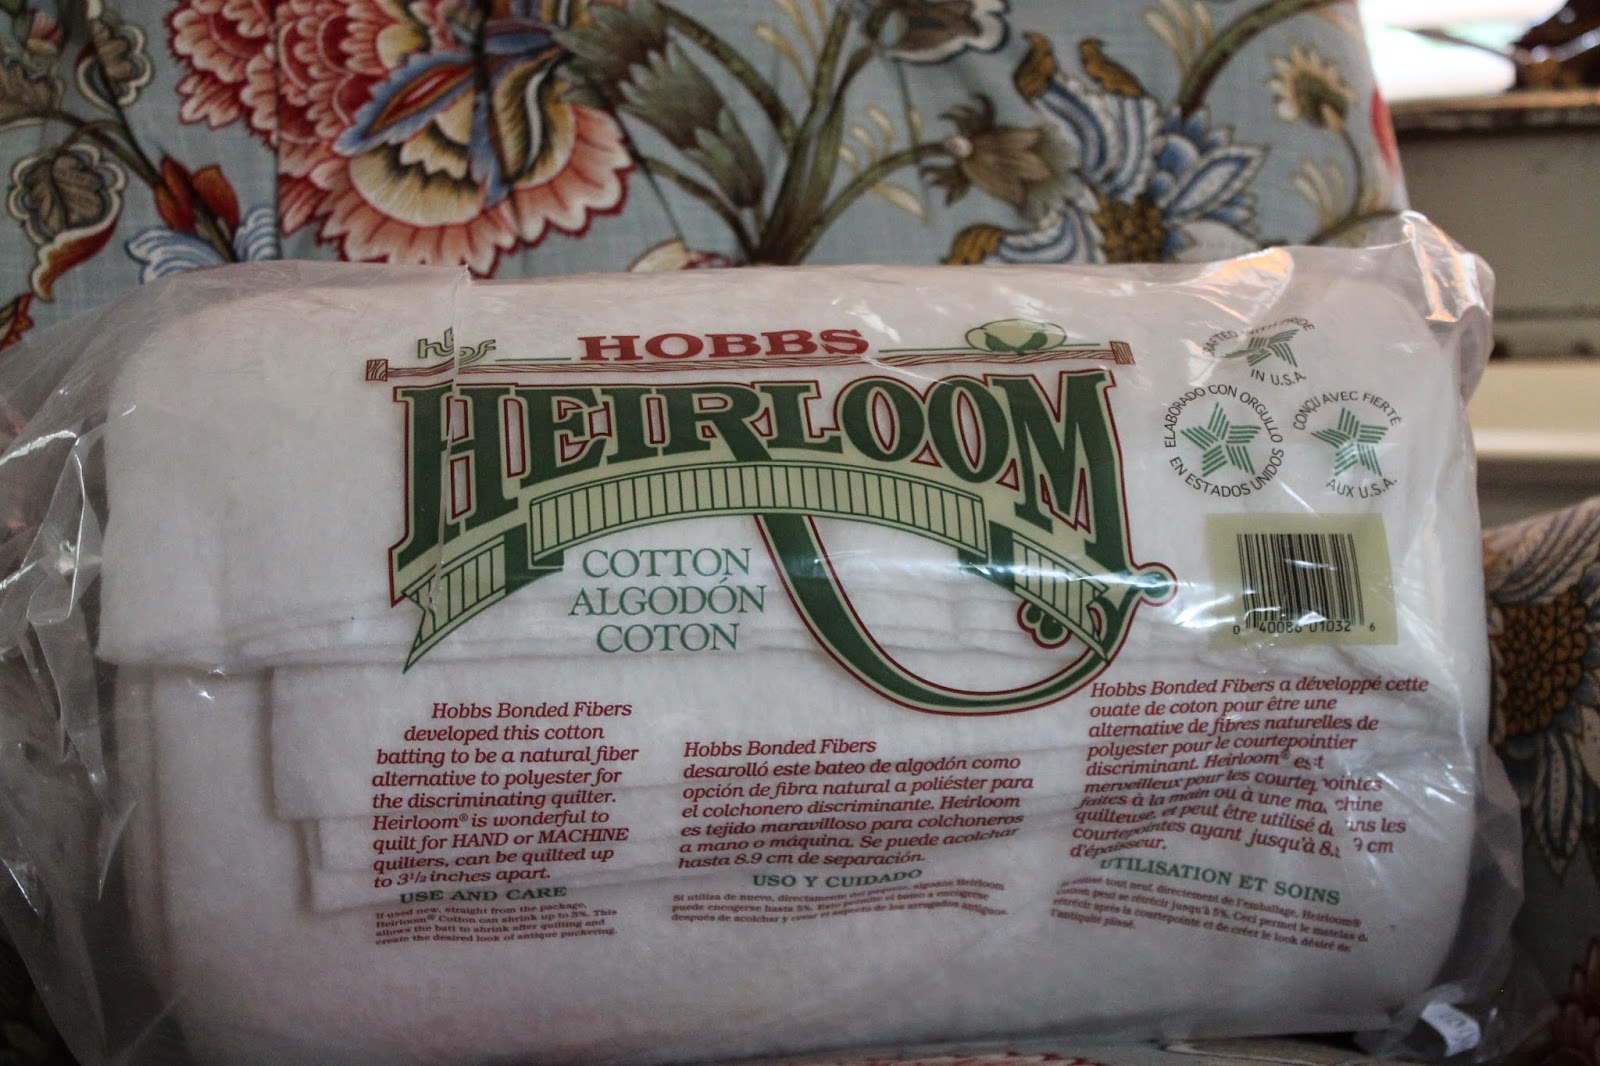
batting

Nothing like a little kick in the pants to jumpstart a project that's been on the back burner for far too long (no idea what I'm talking about, check out my inspiration here). I grabbed a couple bags of Heirloom cotton, queen sized, batting from Michael's and got to work wrapping and re-stuffing the down cushions on our 7ft long, rust hued, family friendly, extra comfy sofa.

mid stuff

It was pretty simple really. Remove the down inserts, wrap them in batting cut to size, then stuff them back into the case. After finishing only one cushion (check out the pic above) I was kicking myself for waiting so long - I mean, just look at the difference. Incredible. Who knew! Such a simple, easy and inexpensive fix. I think I spent more time cleaning up the escaped feathers littering our front hall than I did stuffing the cushions. 


sofa-after

I can hardly believe it's the same sofa. The biggest difference is definitely the lower cushions. They're actually fluffy again and when you sit down you don't feel like you're sinking into the frame of the sofa. The upper cushions are perkier as well. Score. I feel like I just extended the life of our couch. For practically nothing. Sometimes it's the little things that make the biggest difference. 

Now, onto the throw cushions.

until next time, 
Read more ...

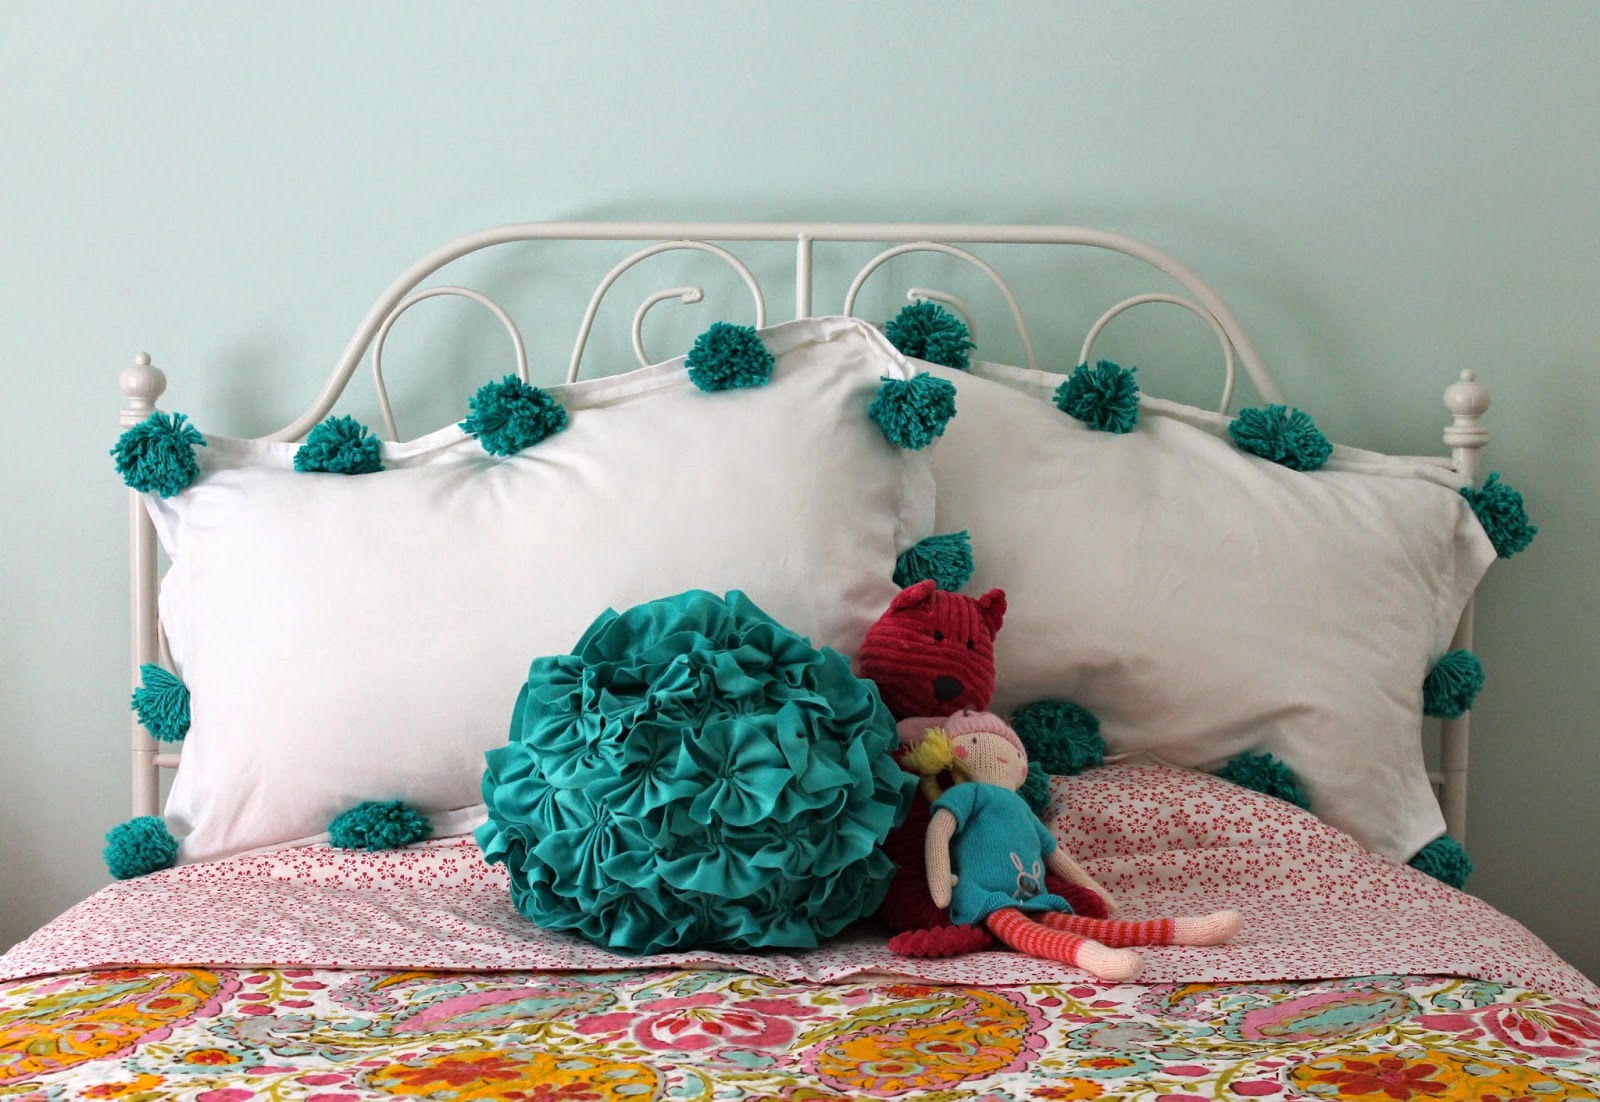
Pompom Shams

Tell me the truth, who spent their weekend making pompoms? You know I did. Not surprising, huh. 
Even more not surprising, I added them to our little lady's bedding. You knew that one was coming, didn't you? I hate to be so predictable, but when an idea is good, it's just good. Predictable or not.


My only struggle was deciding where to put them. At first I thought - shams and duvet. You know, make a little set (I had a plain white Ikea set that we had previously used in the guest room). Then I worried about the washability of the duvet once the pompoms were added. A duvet is always on the bed, subject to a lot more use/abuse. Once your kid has had the stomach flu, you never look at bedding the same way again! Shams, on the other hand, are really only on the bed when it's made, less likely to suffer middle of the night issues. Shams it is! 


First I added one pompom to each corner of the shams, but it felt a little lack luster, if you know what I mean. So, I added an extra pompom to each side (making 3 per side)…still a little wah-wah. Then, upon my mom's suggestion, I added 3 more across the top and bottom. Bingo. Now we're talking.  


So cute. If I do say so myself. 
In case you are curious these are all hand stitched to the white shams, plain old needle and thread. Doesn't get much simpler than that. 
If you missed the DIY pompom tutorial, you can check it out here. 
Hope you had a great weekend!

Sharing with:
Savvy Southern Style

until next time, 
Read more ...

Pompom How To

During our search for new bedding in our little lady's bedroom, I was continually drawn to the pompom. Yup. That cute, little, fluffy, pouf of color and texture just kept drawing me in. Time and time again. From duvets, to quilts, to shams, to blankets and even sheets - the pompom made an appearance just about everywhere - and I loved them all. 


Cue the DIY pompom.
So easy to make, they might be popping up all over our house. 
Or yours. 

Let me come right out and tell you that you can purchase a "pompom maker" for under $10, which would probably produce perfect pompoms, but this method is super easy, although not quite perfect, and it saves you a tenner. That's a good thing. 
Let's get right to it.


Step 1: 
Wrap your chosen yarn (the thicker the yarn, the fluffier your pompom) around your hand, like so, approximately 60 times to achieve a full, fluffy pompom. After the 60th-ish wrap, cut the yarn to the length of your pompom. Try to keep the width of your wrap as even as possible to ensure a symmetrical pompom.


Step 2:
Carefully remove the wrapped yarn from your hand. Meanwhile cut a separate length of yarn to act as the center band. Place the hand wrapped yarn on top of the center band.


Step 3: 
Gather the hand wrapped yarn together with the center band - knot the center band as tightly as possible. A double knot wouldn't be a bad idea. Trim any excess of the center band.


Step 4:
With a sharp pair of scissors, cut the yarn loops in the center to create two seperate lengths of yarn.


Step 5:
Fluff. Step back and admire your work. 
At this point, you can choose to trim the individual pieces to create a more perfect, symmetrical pompom. 
Or you can just let it be an imperfect, free form.
Perfect or imperfect - both have their advantages and not surprisingly, I love them all. 


If you need me this weekend, I'll be making pompoms. And adding them just about everywhere. 

until next time, 
Read more ...

Super Simple Trellis Update {for your cukes!}

I heard a rumor that, generally speaking, blogs are read less during the summer. At this point, I'm kind of hoping that's true, because I'll tell you, time is at a premium around here these days. 
So, today I'm popping in to share a super simple, super fast project from this past weekend: an updated garden trellis.


You may remember that I picked up several of these trellis from Lowe's a couple of years ago. While we still have them and took the time to relocate them to NC, we aren't currently using them in the new garden. 


But, now that our cucumber plants are starting to bloom and grow their vines, they need to be supported. In the past I used the above trellis, but the strain of being supported so upright wreaked havoc on the fruit.

Recently, I read an article in the June issue of Southern Living, where they showed a homemade "lean-to" supporting their cucumbers. While I don't really see myself creating a homemade "lean-to" anytime soon, it did get the creative juices flowing...


A couple quick cuts with the table saw and John transformed our tall trellis into a more cucumber-friendly version.
1/2 off the front, 2/3 off the back. Super simple. Super fast.
Just like I said it would be. That's my kind of DIY project.


Just look how happy those cukes are! Grow, baby grow.

Side note: Check out our red onions in the foreground and the yellow squash in the background. Pretty excited for some garden activity!

Are you starting to feel the summer pinch? How come kids are the only ones that get to enjoy the lazy days of summer :) 

until next time,
Read more ...

Toot, Toot

Not one to usually blow my own horn, some things just can not pass without a little excitement and celebration. 


A couple of weeks ago, a super nice lady reached out from Today.com to ask if I'd like to have my DIY kitchen island included in a roundup they were putting together for their site. 
Say what? Would I like to be included? Um, yeah.

So, I knew it was going to happen. It wasn't like it was a surprise or anything, but nothing could have prepared me for when I actually saw it go live. Cue biggest smile ever. 
Insane. Pinch me. I just can't believe it - this little blog, my little DIY project got such big recognition. Weak in the knees, I tell you. Weak in the knees. 


You can check out the link to today.com, here.

It's always fun to look back on old posts and images. I can't help but to think: if I knew then, what I know now - that picture could be a whole lot better! And I would never have included a picture of me in all my post-baby glory. But, what's in the past, is in the past and I'm just super excited to have been included. 

You can check out the original post, here.


So much has changed since that post. For starters, we don't live in that house anymore, or even that State. And the kitchen island is no longer a kitchen island - it's found a new home in our laundry room. Yup, many a load of laundry has been folded and stacked there. 


Did you honestly think we'd leave her behind? I mean, come on. 

Thanks for indulging my little moment of celebration. 
Have a great weekend!

until next time, 
Read more ...

DIY Installations

If you don't know that we are in the middle of buying a new-to-us house at the moment, then it's clear that you've been living under a rock. Or at least not following along with the blog as much as I'd like you to be :)
Anyway...
We are fully ensconced in the research stage. Trying to figure out what we can tackle ourselves and where we need to hire the professionals. Enter Hometalk and their super easy to navigate site filled with DIY inspiration (among other things, of course).


I created a clipboard with 14 DIY installation projects that can be tackled in any home. Check it out here.
From stair treads to beadboard, kitchen hardware to gutters, board and batten to counters; there's a little here for everyone. 


Some personal highlights - as in projects we might tackle in our new home: new wooden stairs on the back staircase.


Kitchen Hardware.


Window screens. By far, one of the most random things I have learned since moving South - people don't like to use screens here, even though the bugs are awful. I simply do not understand it.


The idea of using rain water to water your lawn/garden has always been intriguing to me. Perhaps this will be the house that finally allows me to do it!


It's all here - from simple to complex. Which would you consider tackling?
Thanks, Hometalk, for contacting me and asking me to curate this DIY Installation Clipboard.

until next time, 
Read more ...

Fireplace Project

Feels like forever since I've posted a house-related DIY project, so it's about time we get something started around here, wouldn't you say? Yes, I think so. 


So, what's it going to be? 
Our lower level fireplace surround. Finally. This is one of those projects that I've had on my list since the beginning of time. But, there's always been something more pressing to be done. Well, the wait is finally over. After a whole winter spent in the lower level, staring at the unfinished fireplace surround, we've decided the time is right! Finally. Did I mention I've wanted to do this for awhile?


Here she is in all her unfinished glory. Don't worry, you can think it - yikes, that is NOT attractive. I took the words right out of your head, didn't I?
Yup, work has been really slow down here. Sprucing up the family room was a goal this year, but so far, I've only managed to DIY a media center and spray paint a rocking chair. Not exactly knock-your-socks off progress, now is it?


You might remember this little photo of our construction paper brainstorming session....yup, it was a start.
Fortunately, Mr. DD's extremely capable, wood-working father is coming in town this weekend to hopefully jump start this project. 
I'm off to find some much needed inspiration pictures. Have a great weekend.

until next time, 
Read more ...

DIY Christmas Herb Wreath

The weather in Chicagoland has been crazy lately - it was 70 degrees today! The good news is that it's absolutely perfect for working on your exterior decor, the bad news, for me, is it's hard to get in the spirit with all this warm weather. But, the nice weather did inspire me to create my next DIY project.


You see, although our garden has been closed-up for close to two months now, some of our herbs are still going strong - like the rosemary and thyme. There's so much rosemary, I had more than enough to spare a couple branches to create this sweet little wreath.


I think I pinned a dried herb wreath on pinterest ages ago, so when I saw this rosemary just begging to be used, I thought: green, good smelling, wreath - yes, this is the perfect time to complete this project.


And, it really couldn't have been easier. It's amazing what you can accomplish with a bit of floral wire! Simply wire each branch together, overlapping as you go, creating a circle shape. It literally took all of about 5 minutes to make.


The hardest part of the whole project was selecting the right ribbon and finding the perfect spot to hang it! Of course, the kitchen was the obvious spot. Pretty cute hanging there with our little Santa. I'd like to find some fun Santa mugs to put on the shelves as well, so if you see any that are just screaming out, " Liz, take me home!" let me know. 

linking in with:


until next time,
Read more ...
Related Posts Plugin for WordPress, Blogger...

Lijit Ad Wijit