
Essential to this project...

I first discovered the no-sew fusing tape (aka Stitch Witchery
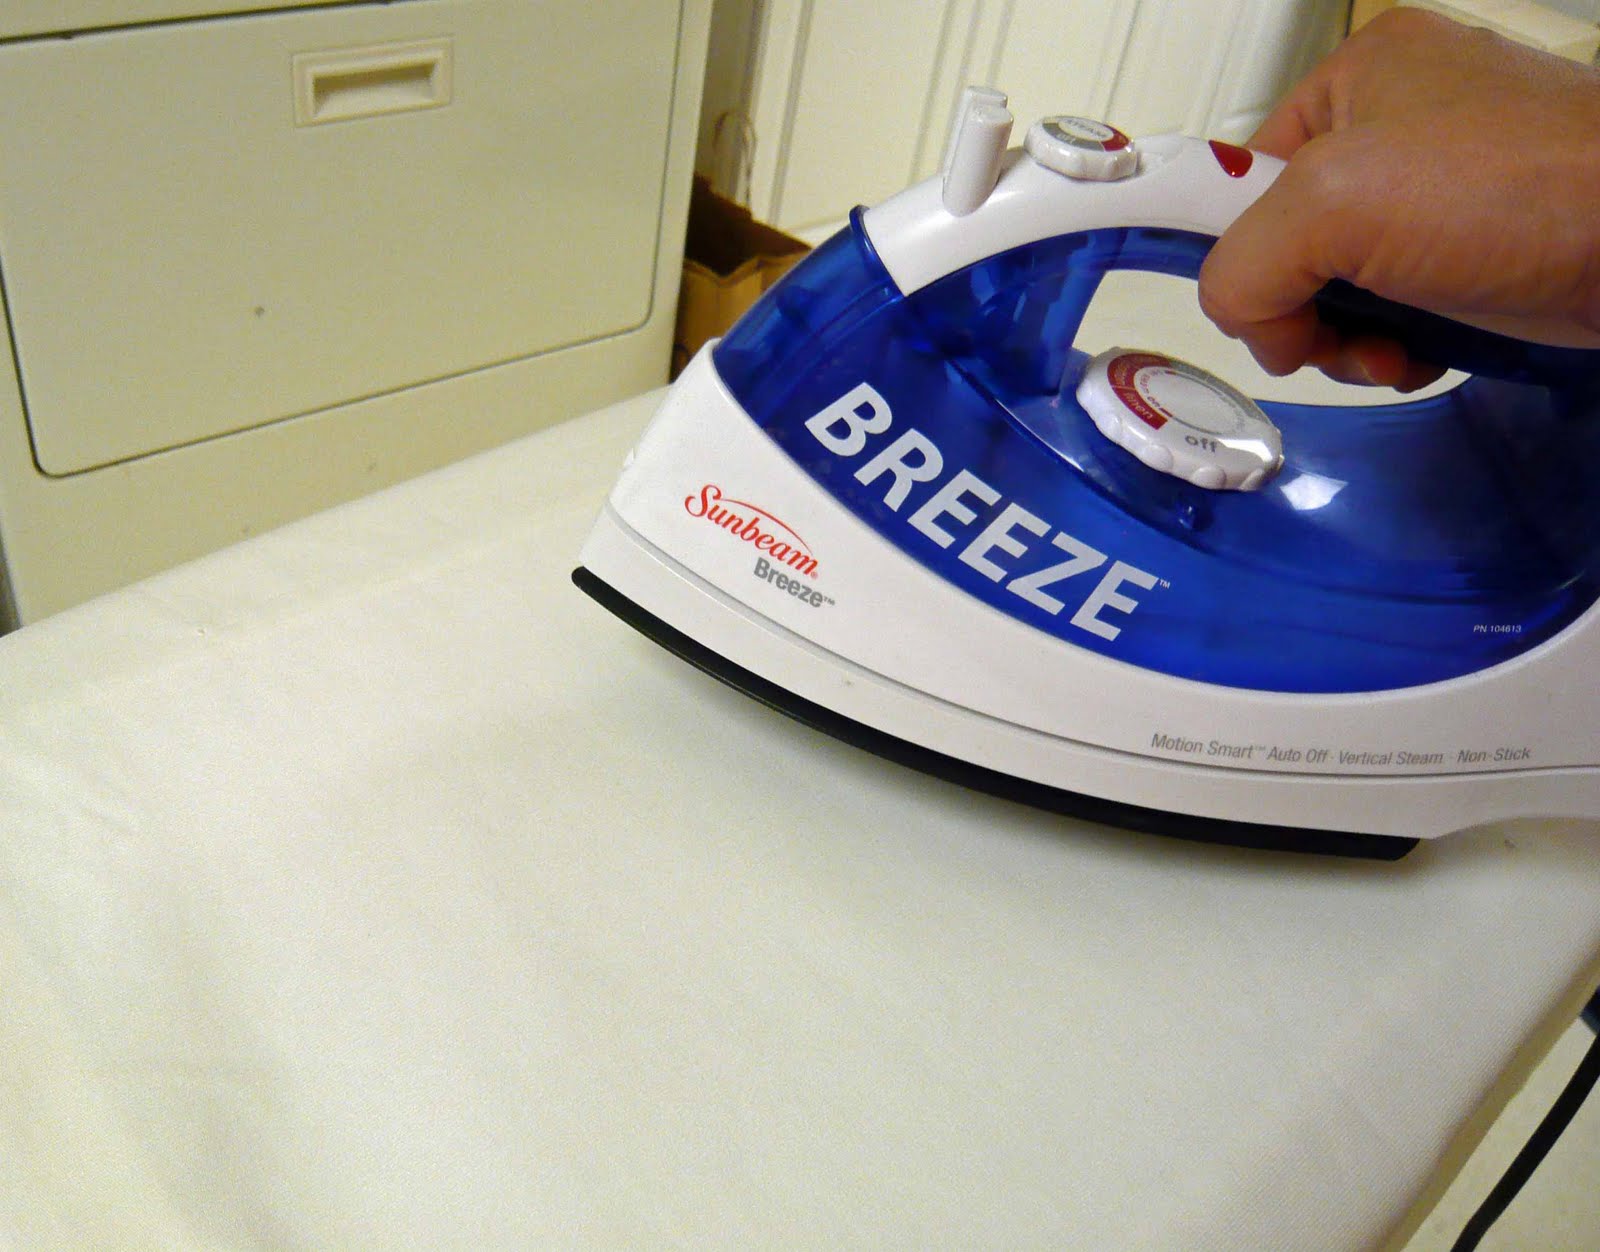
So, let's get started. First, I ironed the blind - no one wants to adhere ribbon over wrinkles that won't come out later!
Then I folded the ribbon to a 45 degree angle in order to achieve a mitered corner look. The outermost edge was placed an inch away from the top of the blind and an inch away from the side (fortunately there was a seam to follow along the side).

Then the ribbon was placed over the fusing tape and ironed in place.

Matching up the corners to form a perfect mitered look proved to be the trickiest part. But if you check after each pressing and the ribbon happened to shift, you can pull them apart without too much trouble. I had to do this a couple of times - hey, it was my first time too!

All in all, I am really liking the look of this blind. And it was pretty quick.

I think the possibilities for this are endless...I could see it in a kid's bedroom as well as an adult room, it would really just come down to the ribbon that you choose.
Check back on Monday for the big reveal!


