Designing Domesticity Our Home Projects Food Services Shop About
Showing posts with label in progress. Show all posts

Resolutions: Already Ruined

Happy New Year!

Did you make any resolutions this year?
I did - maybe you saw my project to do list, but I also made a couple of project resolutions as well.

One: Work on one project at a time until complete, before starting another large project.

Two: Take time to enjoy the results of our hard work, as outlined here.

Well, it's January 3rd and it's safe to say that I have failed at both resolutions already.
Kind of sad, really.

During our self proclaimed week of rest, we:

 Attempted to get organized by packing up, organizing and storing most of our Christmas decorations.


 Added a new project to the Big Girl Room (which has delayed the big reveal).


Stripped a bit of wallpaper (yup, that's two layers of paper - gotta love it).


And did a little painting.

I guess this is what happens when your husband has the week off work and wants to get involved!
Stay tuned as all the details unfold!
Read more ...

Fencing It In

Have you finished your outdoor fall clean up yet?

We're making progress, but not quite there yet. Probably because this project suddenly became a lot bigger!

We decided to replace our broken down, missing sections, all around terrible chain link fence! A great idea, but it has taken a lot of work. Check out some of the steps below:


Removal of one big tree that hung over the driveway, brought down part of the fence and practically hung on the roof of our home. Check out how much more light we get now!

Lots of overgrowth had to be cut back and removed to go from this....


to this...


to this...


and finally, to this...


And most importantly this...

The future home of my raised bed garden!

Obviously, still work to be done, but I am thrilled with the progress thus far. Next step, staking out the raised beds to be built before full flung Winter hits.  My compost is composting and it needs a new home!

Anyone have any advice? I'm all ears.
Read more ...

Mom Cave Basics

Phew, yesterday's Mom Cave (aka the laundry room) reveal was a tough post to write - initially the requirement was 100 words or less! That's not easy to do and because of it, I now feel the need to elaborate. Besides, I am sure you are curious, right?

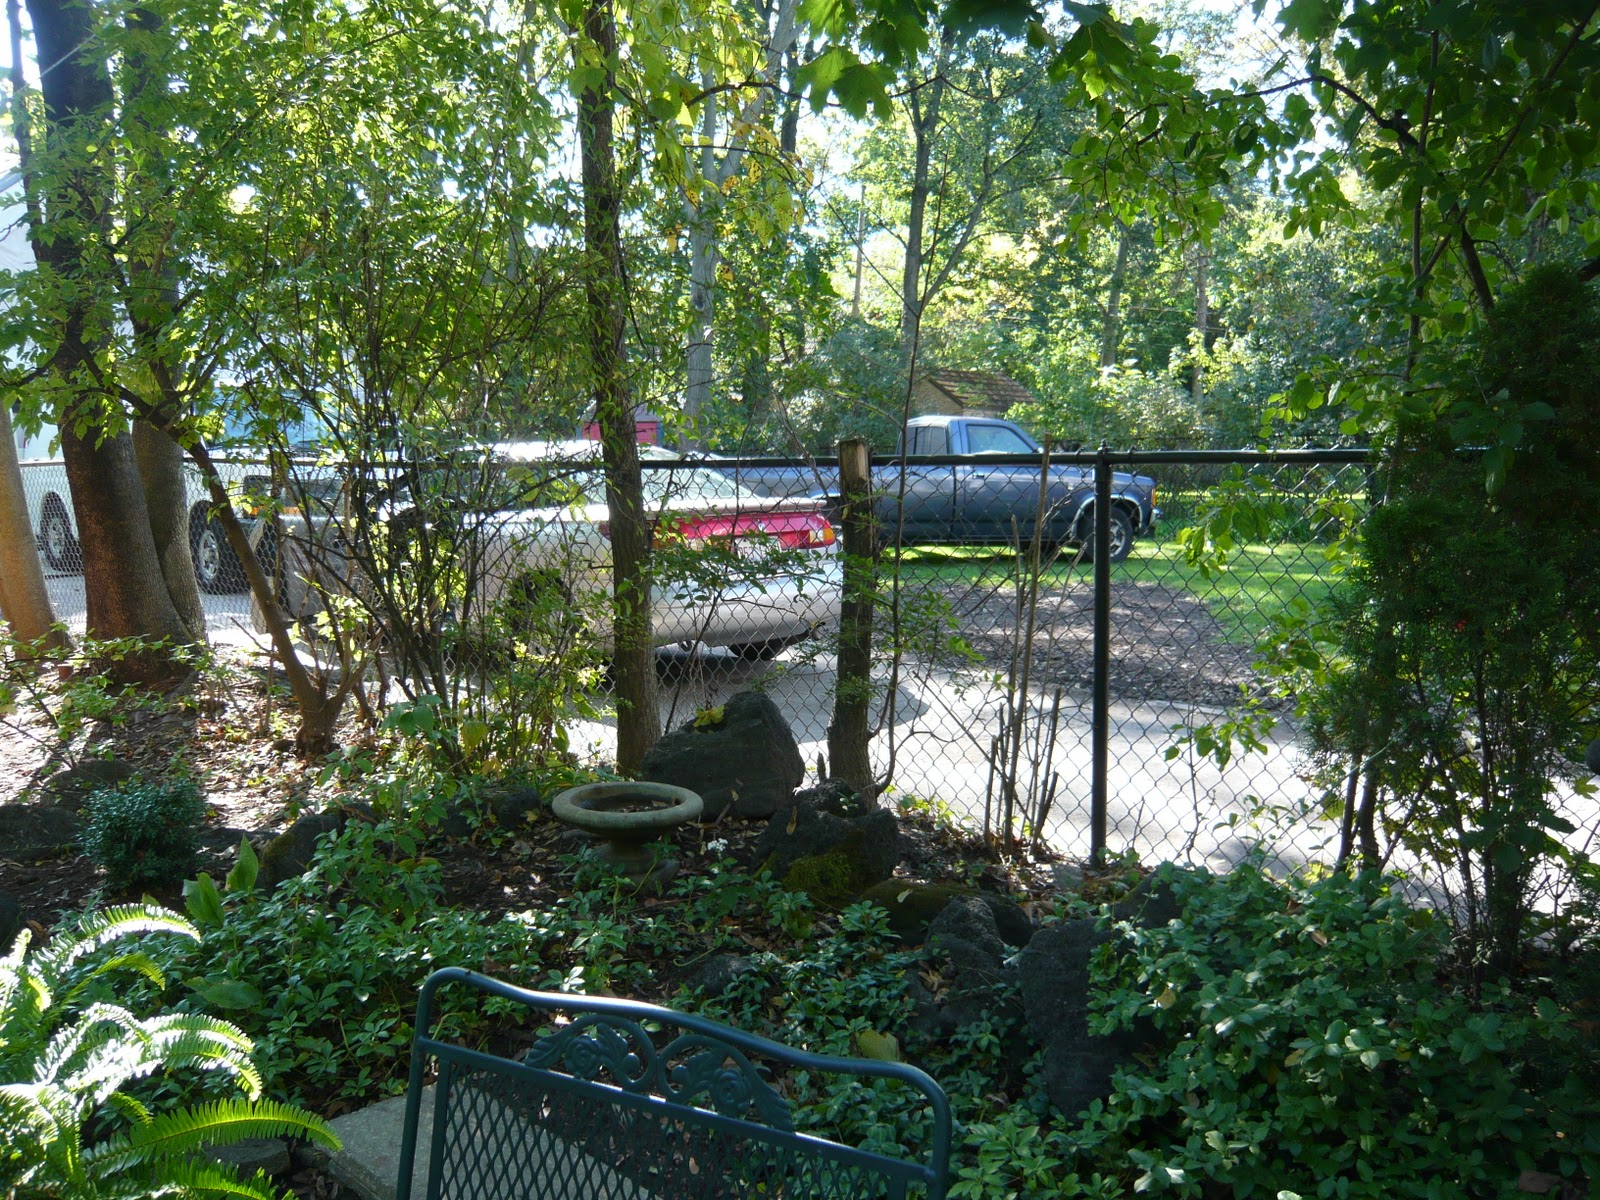
I wish I had a photo of the TRUE before, but this will just have to suffice.

Prior to this there was: no drop-ceiling (just exposed pipes and holes leading to nowhere), one bare light bulb, no drywall, no cabinets, a non-painted floor, and windows that were old and leaking - needless to say, not a place anyone would want to spend any real time.

When we first moved in, I would literally put my wellies on at the top of the stairs and make a run for the laundry room. I should mention that this was proceeded by a pep talk about how I shouldn't be afraid of my own basement! I know, kind of pathetic.


A vast improvement over what we had started with - the laundry room stayed in this condition for almost a year.
 
But I filled the storage pretty quickly, mostly because it was never properly organized and then I started this blog...and I needed A LOT more storage and work space ASAP!
 
Some of the basics:
1. New knobs on the cabinets and drawers - your basic .99 Home Depot variety, but what a difference in terms of ease of access! Round Cabinet Knob - Polished Chrome

2. Baseboard - vinyl, self adhesive baseboard for a more finished look. (notice them in the below images) m d building products 2-1/2'x20'BGE Cove Base cove base self-stick

3. Storage - since additional storage was the name of the game, I splurged a bit to get what I wanted and really needed.

In this space, I used to have a rolling wardrobe rack, ironing board and drying rack. It monopolized the whole wall and was very rarely all being used at the same time. So, I consolidated with a shelf wardrobe.


Now I have room to meet all my laundry needs, but it's much more organized and streamlined. And the biggest advantage of all is how much space it freed up for additional storage!


Open shelving holds all my wrapping paraphernalia, gifts, ongoing or upcoming projects, as well as seasonal storage. Plus, there is room to expand, which is essential; I'm sure I'll manage to fill it with something!

And now I have a open counter space - room to create, organize and enjoy!

Ah, space for my Mom Cave!


Tomorrow I'll share how I organized this space.

See, I told you there was still so much to say - 100 words or less, please!
Read more ...

Big Girl Room: the dresser accessorized

My progress on the Big Girl Room has been fast and furious as of late. I found a lamp for the dresser and have finished accessorizing it (amazing what I can get done now that my little one is in school a couple of hours a week) .

Here's the 'from a distance' shot:


I kind of struggled with this area, I feel like I might have gone too grown up; at the very least, it's something that she will grow into.

The 'up close and personal' shot:


I've chosen a muted lamp in a shade of green gray from HomeGoods for this space; I debated on a turquoise or yellow lamp but ultimately thought they would be a bit too garish. The clock and plant have been repurposed from other locations around the house; I love how all the grays work together. The tray is from Pier One ( I like the vintage feel and the antiques cream base color goes so well with the distressed dresser) and will be essential to keep the millions of barrettes, bows and silly bands contained!

Only a couple more projects remain for this room - those pesky bedskirts, which I plan to embellish with ribbon and a cork board for above the book shelves.

Then it's just a matter of getting the little lady to transition to this room, which might prove to be the hardest part of the whole project.

PS. I almost forgot to mention that the cute artwork featuring the Big Girl's name was a gift and painted by an artist from MI, Lyn Kostus. Look her up on Facebook if you'd like some custom artwork (or email me directly at designingdomesticity@gmail.com and I will pass along her details).

PPS. I'll be off next week; check back a week from Monday to see what I've been up to.
Read more ...

The Simple Life

I have to admit that adjusting to American suburbia has been a bit of  a challenge. Part of me really enjoyed life in London: the more laid back attitude, the attainable countryside, the family oriented Sundays - to name but a few.

I've never really wanted to live in a big city or the outlying suburbs, sure I had my brush with it post college (who didn't?), but ultimately I always imagined myself living somewhere more rural. That being said, I am completely aware that I have a very romanticized version of that type of lifestyle (think Jimmy's farm in the UK and The Fabulous Beekman Boys here in the US).


Beekman Mansion

I'm not sure what it is about this lifestyle that intrigues me: the farmhouse, keeping animals, food from my own garden, land in general, or the lack of the competitive big city hustle and bustle; but whatever it may be, I sum it up as 'The Simple Life'.

In my quest to start a Simpler Life in the here and now, I am taking the advice from a friend who actually grew up on a working farm and now lives here in the suburbs of Chicago and loves it. She said to me, "Maybe you should start with a really nice garden". Now that is attainable; what good advice! I'm thinking edible items - fruits, veggies, herbs, etc, as well as flowers - this is me we are talking about after all - it does have to be pretty!

Vegetable Garden from the film, "It's Complicated". Based on a French Potager Garden.

Realizing that, sadly, Winter in Chicago will be here before I know it - now is not the best time to plant a garden. So I am thinking about starting from the very beginning with compost. Does anyone have any suggestions that are low maintenance? I don't want to have to be stirring the stuff in the dead of Winter every time I add some new coffee grinds!

This is the one I have been looking at online:


Thoughts? I would love to know if you are a composter and if so, how is it going? Any advice? Hopefully, if I get this going now I'll have some lovely homemade compost for my new 'Simple Life' garden come Spring time.

Read more ...

Hand Embellished Blind - Progress

As you may have read yesterday (here), I am attempting to hand embellish a store bought Roman Blind with ribbon to coordinate with my powder room. I am not usually a fiddly person, so this isn't really right up my alley, but I figured why not give it a try - this is my year of newly acquired skills after all.

Essential to this project...


I first discovered the no-sew fusing tape (aka Stitch Witchery, this is the Target version) a couple of years back when I witnessed an old friend transform a pair of jean cutoffs into a cute denim skirt just minutes before wearing it out the door (her creativity was always such an inspiration)! Needless to say, for a non-sewer, I was immediately in love with this product. Through the years, I have used it on a lot of things - from hems on clothes to curtains. I have no complaints.

So, let's get started. First, I ironed the blind - no one wants to adhere ribbon over wrinkles that won't come out later!


Then I folded the ribbon to a 45 degree angle in order to achieve a mitered corner look. The outermost edge was placed an inch away from the top of the blind and an inch away from the side (fortunately there was a seam to follow along the side).


Then the ribbon was placed over the fusing tape and ironed in place.


Matching up the corners to form a perfect mitered look proved to be the trickiest part. But if you check after each pressing and the ribbon happened to shift, you can pull them apart without too much trouble. I had to do this a couple of times - hey, it was my first time too!


All in all, I am really liking the look of this blind. And it was pretty quick.


I think the possibilities for this are endless...I could see it in a kid's bedroom as well as an adult room, it would really just come down to the ribbon that you choose.

Check back on Monday for the big reveal!
Read more ...

Hand Embellished Blind

When we first moved into this house our powder room looked like this:


Think bisque-colored sink and toilet and yellow metallic wallpaper on all walls and the ceiling! It was obvious that they were trying to make the most out of a very small dark space, but I really wasn't feeling the yellow metallic paper. So, it had to come off. And then the bisque fixtures had to be switched out. And then we added bead board and it all started to feel a bit more like home.


My long term goal is to find a bold wallpaper. Nothing livens up a small dark space more than a statement paper.   But for now, we settled with a bronze paint color- something a little different, but not too out there.

I have continued to struggle with the window treatments. While I am aware that the plantation shutters are a nice traditional feature, I just don't like how dark they make the room feel. So where to go from here? I am thinking some sort of Roman Blind.


Inspiration struck when I saw this photo, but the color options were all wrong.


So I am bound and determined to make something similar using this ribbon.


Wish me luck as I am sure I will need it. I'll be posting the results soon.
Read more ...

Big Girl Room: Stage 3

As you know, I have decided to focus most of my energies on completing the Big Girl Room (catch up here). So far all has been going a little too easily; I've found the right pieces and started to develop a plan and feel for the room. It's heading down the eclectic, shabby chic, vintage country route - think washed out quilts, hand painted furniture that looks like it's been collected over time, etc, etc.

And I've been pleased so far.

When it came to the rug, I didn't want to make too big of an investment - this is a kid's bedroom after all. I wanted something soft underfoot, with a light pattern to hide the inevitable dirt and stains, but nothing too grown up. After one purchase and return from HomeGoods, I came across this lovely green rag rug from Pottery Barn and it fit all of my criteria. Sold. I like how it picks up the green from the curtains and takes the emphasis away from the blue walls.


Now, feeling really smug I moved onto bedding. I decided that I just wanted a couple of accent pillows for the beds; to keep things simple - trying to keep my 'client' in mind.

I did the usual laps through Target, HomeGoods, Bed Bath and Beyond, Pottery Barn Kids, Land of Nod, etc. and came up with nothing. It was proving to be incredibly difficult to find green, blue and yellow bedding for kids - everything was blue and red for boys or pink and purple for girls!

So, when I got the email from Pottery Barn with a link to their bedding sale I was quite excited! On clearance I found two Euro Shames in a vintage inspired quilt featuring all my colors! And at $14.99 a pop, I knew it was a steel and ordered two immediately!


It looked perfect...online. When they finally arrived, I loved them; perfect with the walls, carpet, curtains, etc. But when I got them on the beds - not so much. The cute periwinkle bed skirts look horrible. The blue in the sham is much more of a teal/turquoise and definitely not the direction I had originally intended.


Fortunately, I am a roll with the punches kind of girl, and the more I look at those shams, the more I liked the teal/turquoise. Especially after the bedside cabinet was added, which incidentally used to serve as our medicine cabinet in London and has since sat under-appreciated in our guest room.

So, now it's back to square one when it comes to accessories, lighting and bed skirts!

Do you agree - would you have chosen the blue in the shams over the blue in the bed skirts?

Read more ...

The Kitchen: Now or Later

The hubby and I have been toying with the idea of a new kitchen since we moved into this home. There is no doubt that it is needed, see the evidence below. The questions are more along the lines of how long can we stand it in this condition, when can we afford it, when would be the best time to do it, etc.


This past weekend we took a huge step forward; we met with a contractor we really liked. He was recommended by a couple of our friends and has over 20 years experience. But most importantly, he actually got excited about the plans! This was a big part of what we liked about him. He willingly spent over 2 hours listening to our ideas, brainstorming, and generally offering his expertise. I don't think I have ever had an experience with a contractor like this before.


Our kitchen is not a huge space, but for the age of the house it isn't too bad; at 10' x 14' with an additional 4' x 5' adjoining butler's pantry it's definitely workable. I plan on using a lot of design tricks to make the space feel larger without actually adding any square footage. Think glass fronted, ceiling height, narrow depth cabinetry; counter depth and built in appliances; light finishes, just to name a few.


One of our biggest debates evolves around the oven. Can a kitchen this size handle a double oven? Would we be sacrificing too much counter and cabinet space? Could a free standing, 6 burner, 36", duel fuel range combined with a built in convection microwave oven be just as good? So many things to think about. I'd love to hear an opinion or two from anyone that has been through a similar debate.
Read more ...

Big Girl Room: The Challenge

Ok, so I have a confession to make...I have never designed a room from scratch. I usually have at least one of the pieces to begin with and then I build the room around it. That being said, I've never had a 5 bedroom house before either, so I guess I knew this day was coming.

So, my first from-scratch room will be the Big Girl Room. It's an easy place to start, the client isn't too demanding - or is she?? Depends on how nap time goes really!


Here is the room when we moved in (gotta love that carpet)


First things first, the carpet and curtains had to go. Then on a whim, when picking up a predetermined paint for the living room, I decided to randomly pick a paint for this room too. I don't usually make my decisions this way, but in the beginning everything was so overwhelming that I probably wasn't thinking to clearly. Anyway, I choose Sherwin Williams Timid Blue and the color turned out quite well actually.

Next, because I knew this would eventually be the Big Girl Room, I ordered twin beds. I covered them with simple white linens and inexpensive bed skirts from HomeGoods. Any other random blue accessories I discovered while unpacking made there way into the room as well. Mostly the door was closed and the room stayed like this for a long time. I know, knowing me, that is hard to believe!


Lately, now that our little girl is two going on 12, I've been thinking it might be time to turn my attentions to this room again. I need window coverings, storage, carpet, seating, lighting - the works!

The question is, where to start? Color scheme would probably be wise.
Read more ...
Related Posts Plugin for WordPress, Blogger...

Lijit Ad Wijit