
And it wasn't even that hard. Thanks to the many tutorials out there and to my avid reader, MF, for passing down her sewing machine, I am now the proud owner of two handmade pillows.


What I thought would be a project that overtook the entire weekend, was actually completed in under 2 hours. And those two hours also included the homecoming of Mr. DD who had been in Asia for business, the calming of a non-napping almost 5 month old, and an extended conversation with my almost 4 year old who also didn't want to have quiet time. Not to mention the endless Instagram and Facebook updates!
Like I said, there are a million and one envelope pillow tutorials out there. And seeing as this was my first time, I'm probably not the source to go to on this one. But, I'm so excited with how they turned out, that I'm still going to share how they came to be.

So, here goes:
Once you have your pillow form and fabric selected, start by cutting your fabric to size.
Basically, you'll need the length of your pillow by the height of your pillow x 2 + 4 inches.
for my 22x22 pillow form, I needed 22in L by (22in H x 2+4=48), in other words 22L x 48H
for my 16x12 pillow form, I needed 16in L by (12in H x 2+4=28), in other words 16L x 28H
Hopefully that's not too confusing.
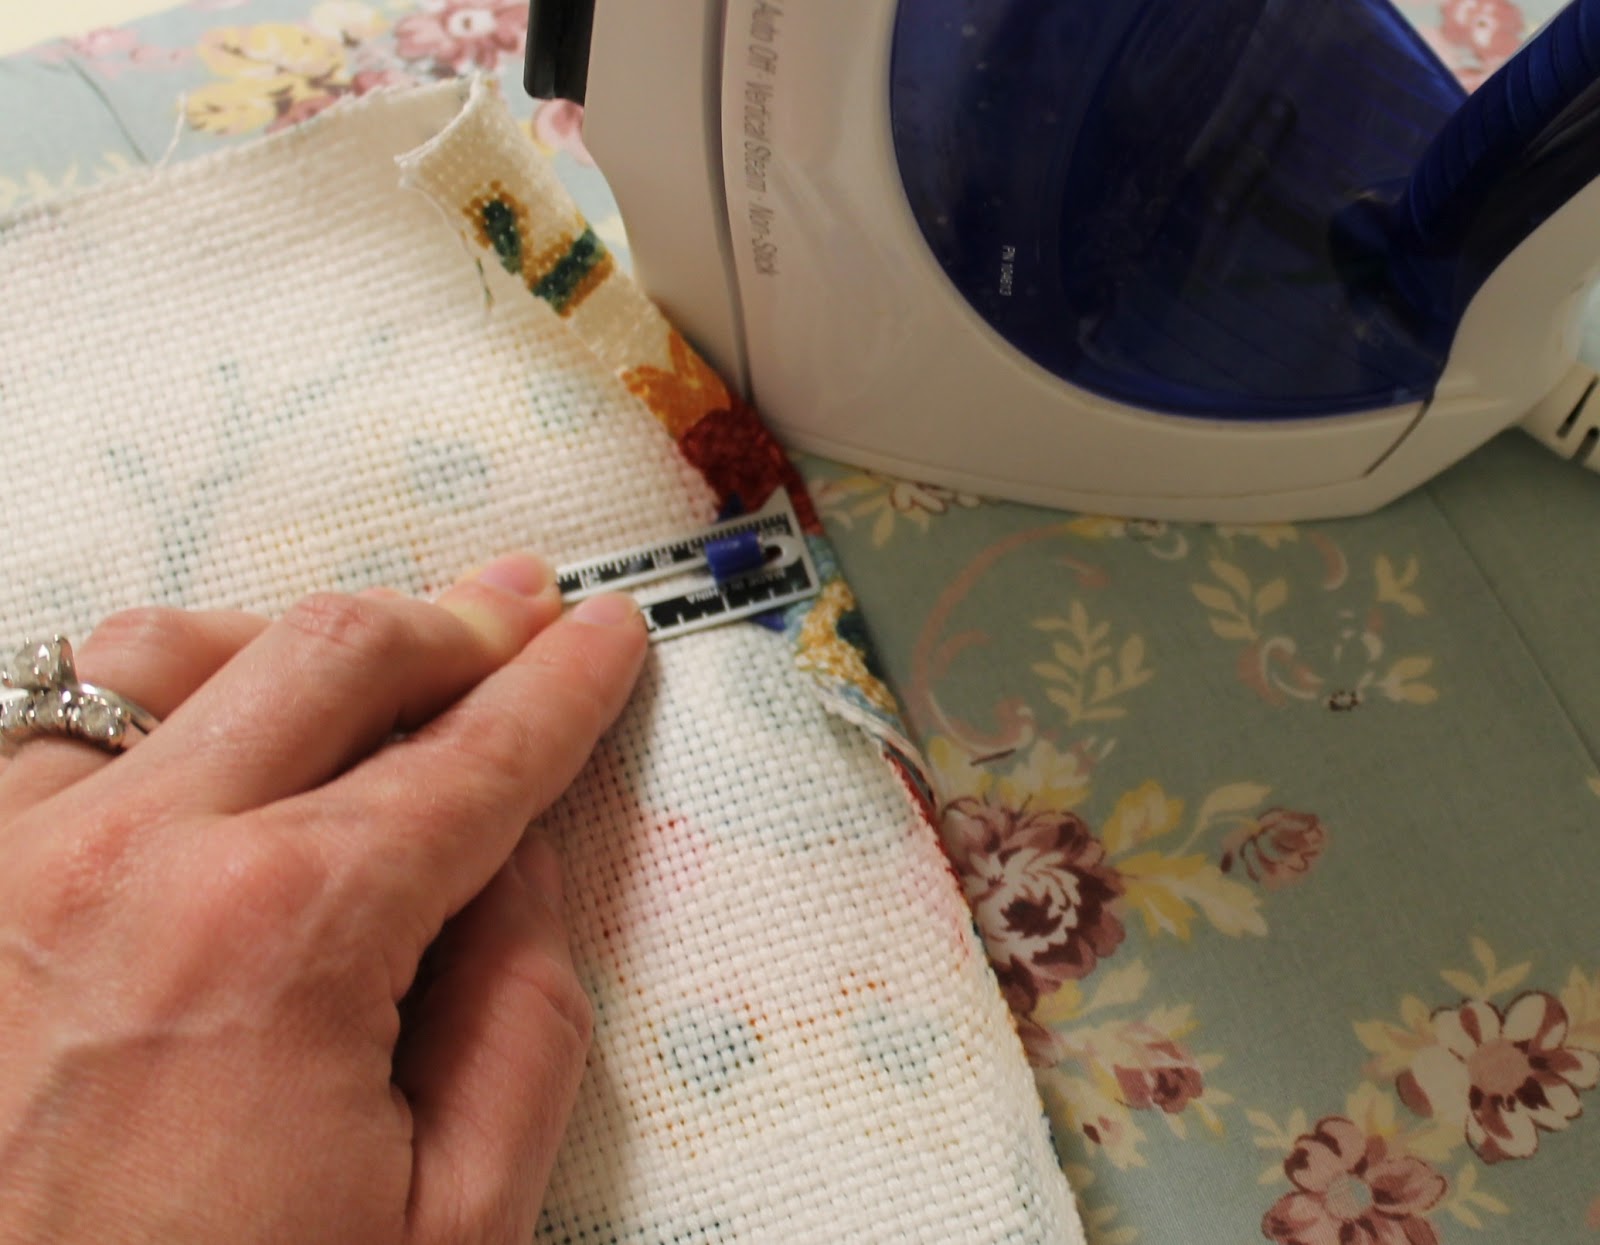
After your fabric is cut to the correct size, iron to smooth out any wrinkles. Place the print side away from you, fold over a 1/4inch on the short side of the fabric and iron over. Repeat for the opposite side. These to-be seams will become the envelope closure.

Now the hard part (at least for me). Sit down to your machine and face your fears because it's really not that hard. It's just a matter of getting started. Take a deep breath and sew that first seam, keeping it nice and straight.

Phew, now that that's done you can finally exhale that deep breath because the project is already half done and you only had to sew two straight lines!
Next, turn your fabric right side up and fold the ends in, creating a 3.5 inch overlap in the center.

At this point, you can choose to pin your fabric or don't - it's up to you. Of course, I did, because I am a scaredy cat and it was my first time.
Then, it's back to the machine to sew the two long lengths of fabric, using a 1/2inch seam. Once it's done, turn right side out and iron again.

Would you look at that. You just made a pillow form. I know, I am super impressed too!

Here's a shot of the envelope back, just in case you are wondering what they'll look like. Pretty, right?
I'm still not entirely sure why my pink stripe pillow looks more rectangle than square, but whatever, at least I made them and they are done. Yeah. I feel so very accomplished!
I'm sure, if you are a real seamstress and read all the way through this tutorial you are probably rolling your eyes and thinking to yourself: Geez, girl! It's not rocket science.
And now, I can confidently say: You're right, it's not.
Next up, the bedding reveal. I know you are excited. Plus, I'm pretty sure you have a good idea of the direction I went!
Linking in with:
Until next time,


