Designing Domesticity Our Home Projects Food Services Shop About
Showing posts with label fabric. Show all posts

Call the Upholsterer

I think it's safe to say that our new black and white dining room rug has set a whole new tone for our Charlotte home. Wouldn't you agree? While this may not be everyone's favorite direction, I love it and was surprised to learn that this very graphic statement won my mom over, too. 
I have to say, never in a thousand years, would I have thought the dining room would be my first true focus in the house. Of course, I'm working on the hot pink bedroom as well, but let's face it, I'm not really running the ship in that room. If you know what I mean?


Maybe it's because the dining room in our Chicago house was one of the last big projects we completed. Or, maybe it's because I had fully intended to put our harvest table in this room (similar to our Chicago dining room), which would have created a totally different look. By the by, that fell to the wayside as soon as I saw this color on the walls - it's formal and serious in a way that the harvest table isn't. Happily, the cherished harvest table found another home within our home and we had this table in storage, so all ends well for everyone.  
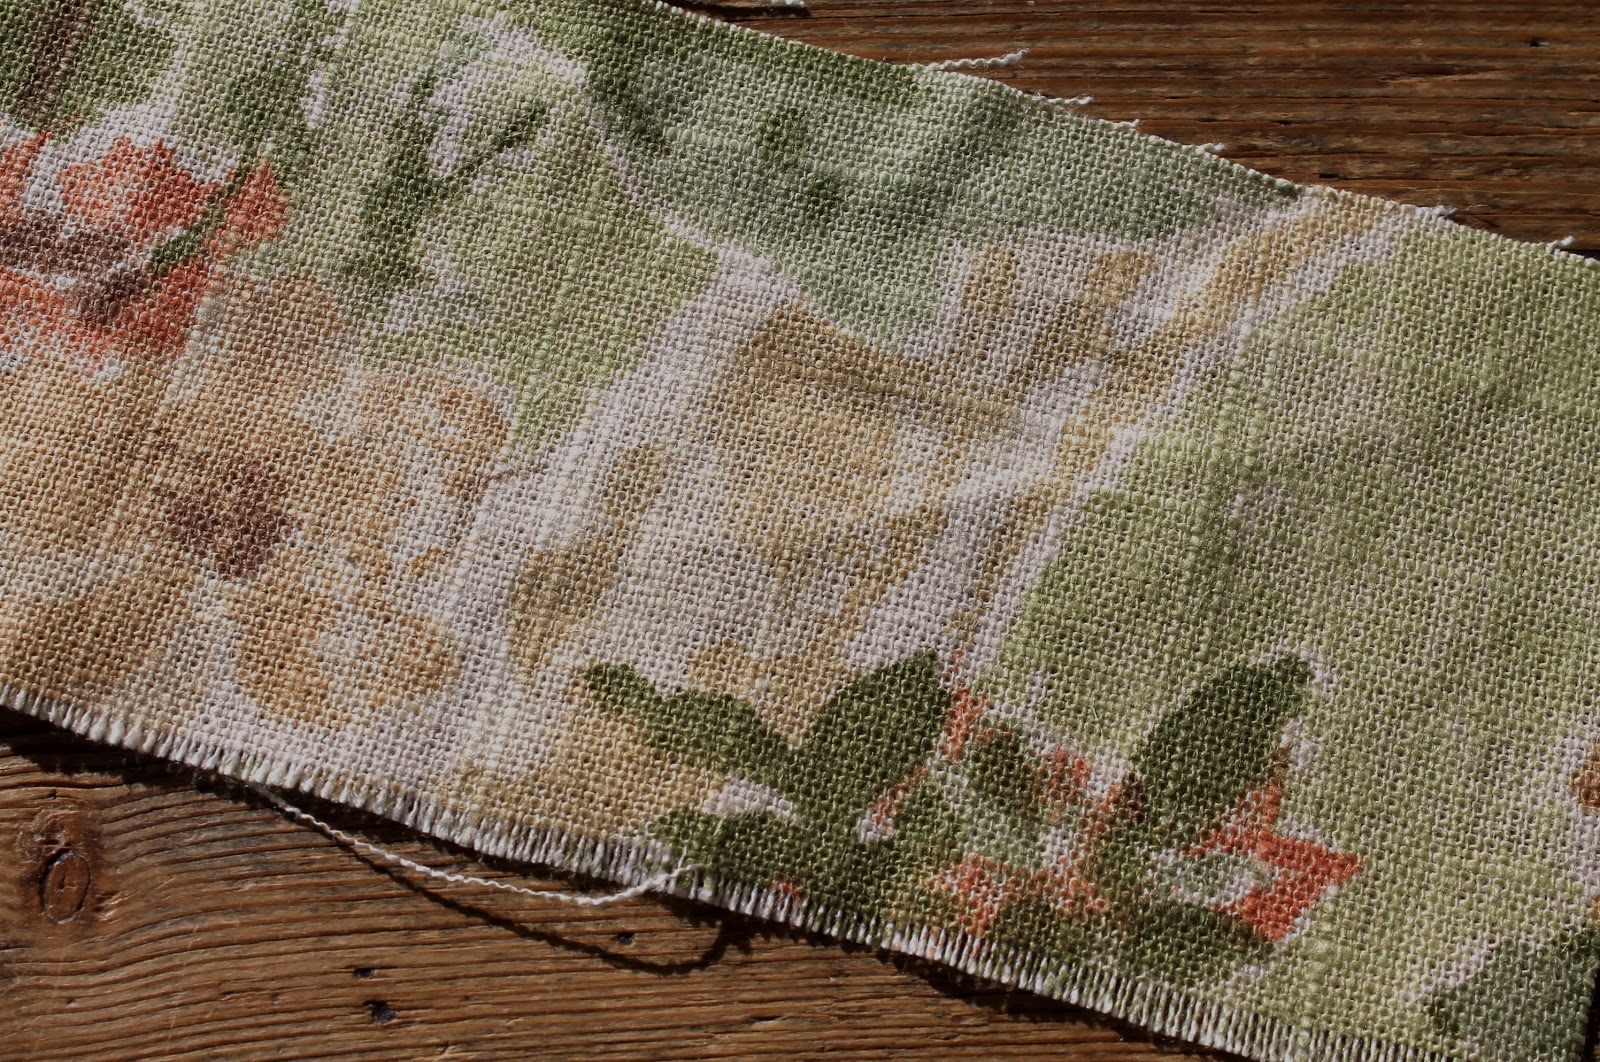
The only unfortunate (or fortunate depending how you look at it) turn of events, is the chairs. The coral plaid just doesn't work with the rug, as I am sure you noticed. 
After hearing about Mary Jo's from a couple of very reliable sources, my mom and I decided to make the trek and boy am I glad we did. Any amazing selection and even better pricing. Bonus.


These were our top 4 contenders. I loved them all and wish I could share more specifics with you, but unfortunately, rolls weren't really marked individually other than with pricing. 

Initially, I had my heart set on an Ikat, like the one shown here in the top left corner. You know I love blues and greens, but the brown just wasn't jiving for me. 
I thought the dark grey background with hints of black on the floral in the upper right corner would play really well with our new rug. Plus, the turquoise and teal tones picked up the color of the walls. But, ultimately, I wasn't sure I really wanted to go floral, again
The animal print inspired fabric in the bottom right corner was really fun. My mom's pick, in fact. But once the sales lady said animal print, I just couldn't let it go. Am I really an animal print girl? Hmmm...
The geometric in the bottom left corner was the exact color of our dining room walls, but I had real concerns over the pattern playing nicely with the foyer wallpaper and the geometric carpet. 
So, which one did I choose?


The floral, of course. I hate to be predictable, put it really did offer the most out of all our selections. It also didn't hurt that it was half the price of some of the others.
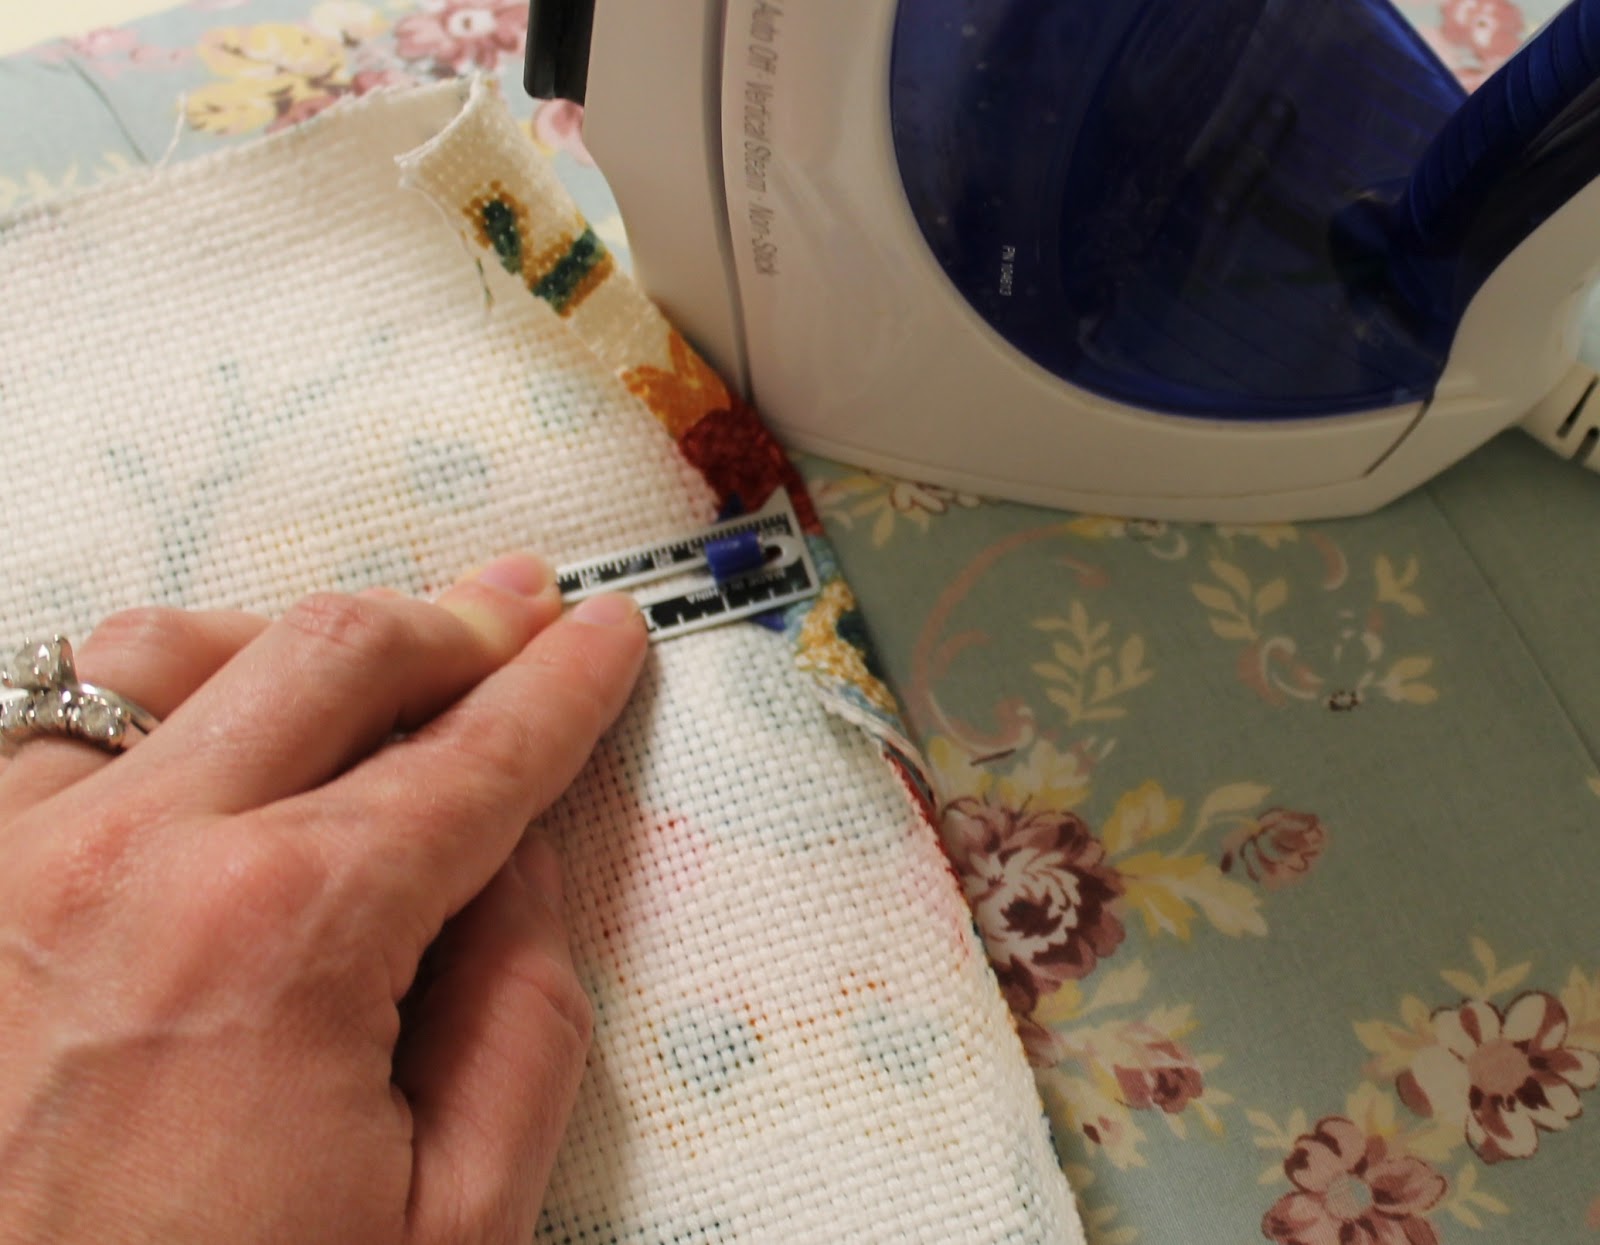
Call the upholsterer, these chairs are getting a makeover!

until next time,
Read more ...

Tricky Windows plus a Fabric Decision

By now, you probably know that our home is riddled with tricky windows. 
{Mostly because I am always complaining about them.}
We've got them in the living room, bedrooms, and dining room. Below window radiators are the biggest source of aggravation, but we're also blessed to have windows that open in on the first floor.

{please excuse my dusty floors, we're in the middle of construction around here and I refuse to clean up everyday when the dust is still flying!}

In the living room, we opted for full length curtains. In the summer they hang over the radiators; in the winter, they puddle on top and kind of drape to the side. No, this is not ideal. But it works. And, long panels were definitely the look I wanted!


In the kids bedrooms, we have shorter curtains. They are kids, for crying out loud, they don't care! And neither do I.


In our bedroom, we chose faux, relaxed roman blinds over the radiators. We don't open those windows or even raise the shades really, simply because they face both neighbors homes, which are only a driveway away. Not much for privacy, but this is urban suburban living, after all.

{welcome to the construction zone}

Which brings me to our dining room. The only functioning window {the others have storm windows in place that do not have screens} in this space is over a really long radiator and, of course, opens in. To make matters worse, the new furniture layout features large pieces on either side of the window - virtually ruling out long panels. So, again, we've decided to go with a roman blind. This time of the structured variety. And, it needs to work! The 7' long, non functioning windows will have regular full length panels.

{notice the patch, more on that later this week!}

Now, you know I like to DIY as much as possible, but seeing as these treatments need to function and I've only just learned how to sew...I decided to hire out.
I know, the shock horror of it all. I can barely believe it myself.
But I know we'll be happier, in the long run, with a professional job. And fortunately for us, we were referred, by my cousin, to a wonderful and affordable seamstress in Ohio. 

{these pictures were taken outside to hopefully give a truer reflection of the color}

Mr. DD, my Mom, and I all agreed {another shock!} on this fabric and we can't wait to see the finished product!


So, here's my question to you - do you approve of mixed treatments {one roman blind, and one set of long panels} in one room? 

until next time,

Read more ...

Options, option, options

First of all, I'd just like to say thanks to everyone for all their comments and opinions on the dining room fabric selection. Unfortunately, there was no clear winner. And to be honest, I'm not sure I was really pulling for one anyway. I really wasn't sold on any of them.

So, when a friend told me about a discount fabric warehouse in a nearby suburb, I decided to make the trek to see what they had and hopefully find some new inspiration. 

Loomcraft in Vernon Hills did not disappoint. They literally had hundreds upon hundreds of fabrics all under the $20/yard mark. I found a lot of options, here's a peak at some of the highlights.


This Waverly fabric is the first one I found, but the consensus was that it was too busy and perhaps too much red to go with a dark red wall. Back to the drawing board.


I found this one next and went back and forth on it for awhile. It's much preppier than I would normally go for, but the pineapple motif really had me hooked. But in the end, we decided it might just be too much blue. I don't want a blue and red dining room, after all. 

{my iphone shot}

{online image via}

Then came this wild card. It's totally different from anything I've looked at thus far, but it's really pretty, don't you think? The handful of people that have seen it keep telling me, 'it's so you'. 
It would go really well with the existing rug in our dining room, which is sage, yellow with a hint of rust. We'd have to down play the wall color a bit, but otherwise it could just be a winner. And, at $8/yard this P Kaufman (moon shadow in sage) could be a contender. 

So, what do you think?

until next time, 
Read more ...

Jumping Off

I'm one of those people that needs a serious jumping off point when it comes to designing a room. Usually I find an image of a room that I find inspirational, like this or this. Then I turn to fabric selection to work out the color scheme. 


Kind of like how we handled the living room. Once we found this fabric {above}, the wall color and color scheme as a whole for the first floor really came together. 

So, now I'm on the hunt for new fabric for our dining room. 
Here's what I'm thinking...
I want to carry the color pallet through from my kitchen and living room, but I want to highlight a different color, so not green {kitchen} or yellow {living room}. That leaves me with the reddish rust color, which will hopefully become the wall color. Because we're planning to use a saturated wall color, I need a lighter background to the fabric to keep the room from feeling too dark.

The easiest way for me to bring all these colors together without using another stripe is a floral or paisley. Truth be told, I really, really, really want a paisley, but I just haven't found a lot of options {yet}.
So...
Here's a sampling of fabrics that we're considering for our dining room. 
Clockwise, we have:

Now, here's the part when I ask for your advice. Tell me, which would you choose? 

until next time, 
Read more ...

Mocking Me

The weather has been absolutely beautiful, HOT, but beautiful lately. As a result, the progress on any indoor projects has really been suffering.


But, I finally managed to carve out a spare hour to make a little progress in the master bedroom. Notice anything different?


Yup, it's that big beautiful yellow and white embroidered lumbar pillow. 

The truth is that I've had the fabric {from here} for several weeks now. Then the pillow form came in the mail about a week ago. They both sat in our dining room, mocking me in all my procrastination glory. 


So, I followed my own tutorial on envelope pillow covers and got to work. Of course, in my effort to keep things simple, I decided to have just one big pillow in a bold geometric to balance off the bird/floral theme, but now that it's done - I think it needs more. 

I'm going to live with this as is for awhile before I make any more decisions. {That's code for lazy.}


Speaking of procrastination, here's a wide shot of the other side of the room. Clearly, there's a reason why I haven't been sharing this side. I haven't done anything over here. Still need to paint the matching dresser and move the existing dresser to its new location. {Among other things.}

If you follow me on Facebook, you'll know I scored a couple new window panels from the Restoration Hardware Outlet last week. Officially, ending the one vs. two panel debate I had going on. Now, I just need to fashion something new and exciting out of my new panels. 

I'm sure that will be happening really soon. 

Hope you had a lovely weekend.

linking in with:

until next time,
Read more ...

Wall Art: Keeping it Cheap

Well, I blew my entire budget, both money and time wise, on the endless search for bedding for our guest room. A blown budget wouldn't be too bad if the project was finished, but unfortunately, this one is not. I still need artwork.


So, what did I do? 
Let me tell you, I did NOT reinvent the wheel. Seriously, if it's a good idea, why mess with it.
I've had this book for years, purchased in Italy, for no other reason than just this. Beautiful, inexpensive art. 

As luck would have it, I wondered across the frames at Target, on sale. Buy one, get one 50% off. Good deal. 


I choose the black frames to tie in with the curtain rod. Plus, I thought the white frame on the light paint would look a little too feminine/country. I'm liking some of the darker accents in the space to help keep is grounded.


I also put a bit of this fabric in a frame. Why? Because when you are so off base with your fabrics, all you can do is laugh. 

Every room needs a bit of the unexpected or whimsy and every time I look at this frame, I will definitely be laughing! 

Reveal coming up next. Stay tuned.

Until next time, 

Read more ...

Bedding: Mixing and Matching

I definitely learned the hard way that adding onto existing bedding is not only challenging, but sometimes nearly impossible! But after loads of searching, I finally came up with something I am really happy with. Take a look.


Perhaps we should back track a bit and start from the beginning. This is the quilt that I wanted to work with. A beautiful color, but not the best print. 


It always felt a bit too country to me. My goal was to mix it up with a more modern style quilt, which would hopefully elevate the style of the whole room.


Here's what I found. A modern quilt, featuring a square pattern to contrast with the small floral print of the existing quilt. It picks up the blue/grey color as well as the two pinks in the flowers. Coordinating enough to go together, but contrasting enough to bring real interest to the space. 

Once the two quilts were together the pink really called out as the accent color. I knew what I was looking for in terms of color for the throw pillows, but patterns was another story...


Alas, I persevered, but it wasn't entirely simple.
Throw in my two homemade pillows and one store bought pillow and it's really starting to come together. 

I found the stripe at a local fabric store and also picked up a cabbage rose style fabric, but when I got them home the cabbage rose made the whole scheme seem too country. Back to the drawing board. 

Another trip to HomeGoods resulted in the pillow with all the quilted circles. It's the perfect, modern accompaniment that picked up all the colors of the square patterned quilt.


Sitting in the living room thinking about my bedding debacle, I looked over and realized the suzani fabric I used in our throw cushions could be the perfect compliment to the quilted pillow. I like how it picks up on the circular pattern and the floral at the same time.

And that's the story of how it all came together. Fairly long-winded, but the result is all that counts, right?

Next up, artwork. And then the full reveal. Looks like I might actually make my deadline after all.

Until next time, 
Read more ...

I Did It!

And it wasn't even that hard. Thanks to the many tutorials out there and to my avid reader, MF, for passing down her sewing machine, I am now the proud owner of two handmade pillows. 


What I thought would be a project that overtook the entire weekend, was actually completed in under 2 hours. And those two hours also included the homecoming of Mr. DD who had been in Asia for business, the calming of a non-napping almost 5 month old, and an extended conversation with my almost 4 year old who also didn't want to have quiet time. Not to mention the endless Instagram and Facebook updates!

Like I said, there are a million and one envelope pillow tutorials out there. And seeing as this was my first time, I'm probably not the source to go to on this one. But, I'm so excited with how they turned out, that I'm still going to share how they came to be. 


So, here goes:
Once you have your pillow form and fabric selected, start by cutting your fabric to size.

Basically, you'll need the length of your pillow by the height of your pillow x 2 + 4 inches.

for my 22x22 pillow form, I needed 22in L by (22in H x 2+4=48), in other words 22L x 48H
for my 16x12 pillow form, I needed 16in L by (12in H x 2+4=28), in other words 16L x 28H

Hopefully that's not too confusing. 


After your fabric is cut to the correct size, iron to smooth out any wrinkles. Place the print side away from you, fold over a 1/4inch on the short side of the fabric and iron over. Repeat for the opposite side. These to-be seams will become the envelope closure.


Now the hard part (at least for me). Sit down to your machine and face your fears because it's really not that hard. It's just a matter of getting started. Take a deep breath and sew that first seam, keeping it nice and straight.


Phew, now that that's done you can finally exhale that deep breath because the project is already half done and you only had to sew two straight lines!

Next, turn your fabric right side up and fold the ends in, creating a 3.5 inch overlap in the center. 


At this point, you can choose to pin your fabric or don't - it's up to you. Of course, I did, because I am a scaredy cat and it was my first time. 

Then, it's back to the machine to sew the two long lengths of fabric, using a 1/2inch seam. Once it's done, turn right side out and iron again. 


Would you look at that. You just made a pillow form. I know, I am super impressed too!


Here's a shot of the envelope back, just in case you are wondering what they'll look like. Pretty, right? 
I'm still not entirely sure why my pink stripe pillow looks more rectangle than square, but whatever, at least I made them and they are done. Yeah. I feel so very accomplished!

I'm sure, if you are a real seamstress and read all the way through this tutorial you are probably rolling your eyes and thinking to yourself: Geez, girl! It's not rocket science. 
And now, I can confidently say: You're right, it's not. 

Next up, the bedding reveal. I know you are excited. Plus, I'm pretty sure you have a good idea of the direction I went! 

Linking in with:


Until next time, 
Read more ...

Wing Chair Re-reveal


If you follow me on Facebook, you may have seen this photo and the promise of a reveal featuring it.

Not one to disappoint, I'm ready to share.


It all started when we went in search of the green trim, which we later applied to the Sherrill chairs. For more about that project, click here.

We also ran across this green nubby fabric in the clearance section, priced at $5.99 a yard. After a quick review of the sample at home, we decided it was too good to pass up and purchased 5 yards. 


Can you guess which chair got the update?

Oh, all right, I'll give you a hint!


That's right, it's my original $16 eBay wing chair.
Yes, it went from blue velveteen to a customized slipcover with nailhead trim, which you can read about here.

But the truth is, it never was quite right - the slipcover stretched and moved every time someone sat in it. It bothered me - to say the least. 

So when the opportunity presented itself, I jumped on board.


And I couldn't be happier with the results!

I hate to admit it to all the diehard DIY-ers, but I didn't do this myself.

I thought about doing it myself, but somethings are better left to the professionals. 


And like the fabric, I got a great deal on it.  Such a great deal, that it was worth driving it all the way to Cincinnati, Ohio over the Thanksgiving holiday to get it done. 


And even better when I found out my parents decided to treat us as a Christmas gift. 
Thanks again guys!


Ever since we put the chair next to the fireplace it's been the most sought after place to sit in the room, I have a feeling that's not going to change anytime soon!

Loving how this room is coming together!
And just in time for winter hibernation.

Until next time,
Read more ...
Related Posts Plugin for WordPress, Blogger...

Lijit Ad Wijit