Designing Domesticity Our Home Projects Food Services Shop About
Showing posts with label guestroom. Show all posts

Simply Embellished Window Treatments

I'm still slowly plowing through our long list of wants in the guest suite. For a reminder, click here.

This past weekend I decided to focus on the window treatments.

Here's where we started...


I picked up this valance from a big box store shortly after we moved in. I never really loved it, but the price was right, so it came home with me.

When we decided to update our guest suite, I knew the valance would be one of the first things to go.

This whole project kicked off due to my local Crate and Barrel closing - they were literally selling everything in the store. I managed to pick up a display curtain rod and rings for a bargain basement price.
It was a sign - time to start in on the curtain project.

You may recall this photo from my sink skirt post last week.

Target curtain panel in natural linen.

As you may expect, I used Stitch Witchery to create a one inch hem across the bottom. Easy. I hung the curtains, stepped back to take a look and thought - BORING.

I definitely needed something to take these curtains up a notch.

How about this...

Upholstery webbing
It's natural, slightly rustic, with a slight French feel to it - perfect!


I won't go through all the ins and out of attaching this, because we all know I used Stitch Witchery. And to be honest, you're probably getting sick of hearing me sing it's praises!

But I will tell you that I doubled up to ensure a secure hold and I left about an inch at the top and bottom to fold over and secure to the backside of the drapes.


So, what do you think?


Are you diggin' this little something extra - a bit more texture and interest?


It's subtle, but still enough to be interesting, right?

Of course, I love it.

Let's hear what you think?


Until next time,
Read more ...

Skirting a Footed Sink, a Pottery Barn knock-off

Yesterday I showed you my guest suite bathroom mini-transformation and promised a tutorial on my no-sew, pleated sink skirt.

Here she is again...


In case you were curious, I took inspiration from Pottery Barn.
Check it out...


Not bad, right?

Anyway, here's how it played out in my world.

I started with an inexpensive pair of 96" curtains from Target, that I originally purchased for our guest bedroom window.


Fortunately due to the window in our guest bedroom requiring short curtains, I was able to cut 30" off the bottom. The perfect amount needed for my 29" high sink!


After ironing, I got out my trusty stitch witchery and gave them a 1" hem.

This is where it starts getting interesting. I knew I wanted some sort of gathering or pleating, but seeing as I don't sew, I really didn't know where to go from here. After a bit of time spent researching, I discovered iron on shirring tape. I found mine here.


Are you familiar with shirring tape? I wasn't. But just like stitch witchery, it can be ironed into place. The top and the bottom are corded; simply pull the cords and scrunch up the fabric.


It was so easy and took all the sewing work out of making pleats!


Voila, pleated skirt - no sewing necessary!

Next, it was just a matter of attaching sticky backed Velcro to the skirt.


And then attach it to the sink itself!


I used two panels to allow for a split down the middle for easy storage access.


I am so happy with the outcome of this little project. It really smartens up the look of the bathroom and provides that extra bit of storage that we really needed.

Now, I just need the rest of the bathroom to transform itself!
Think that can happen?

Until next time,

Read more ...

Cheap and Cheerful Vanity Update

We had a great time at our annual cocktail party this past weekend - I'll be sure to post some photos and recount some of the unexpected surprises of the evening later this week.

But in the meantime, I'd like to share this quick vanity update from our 3rd floor guest suite.

Here are a couple shots of the before:

Sink, before


Medicine cabinet and light, before

This bathroom still has a long way to go, including a new paint job - but we did manage to tackle a couple of the more glaring issues.

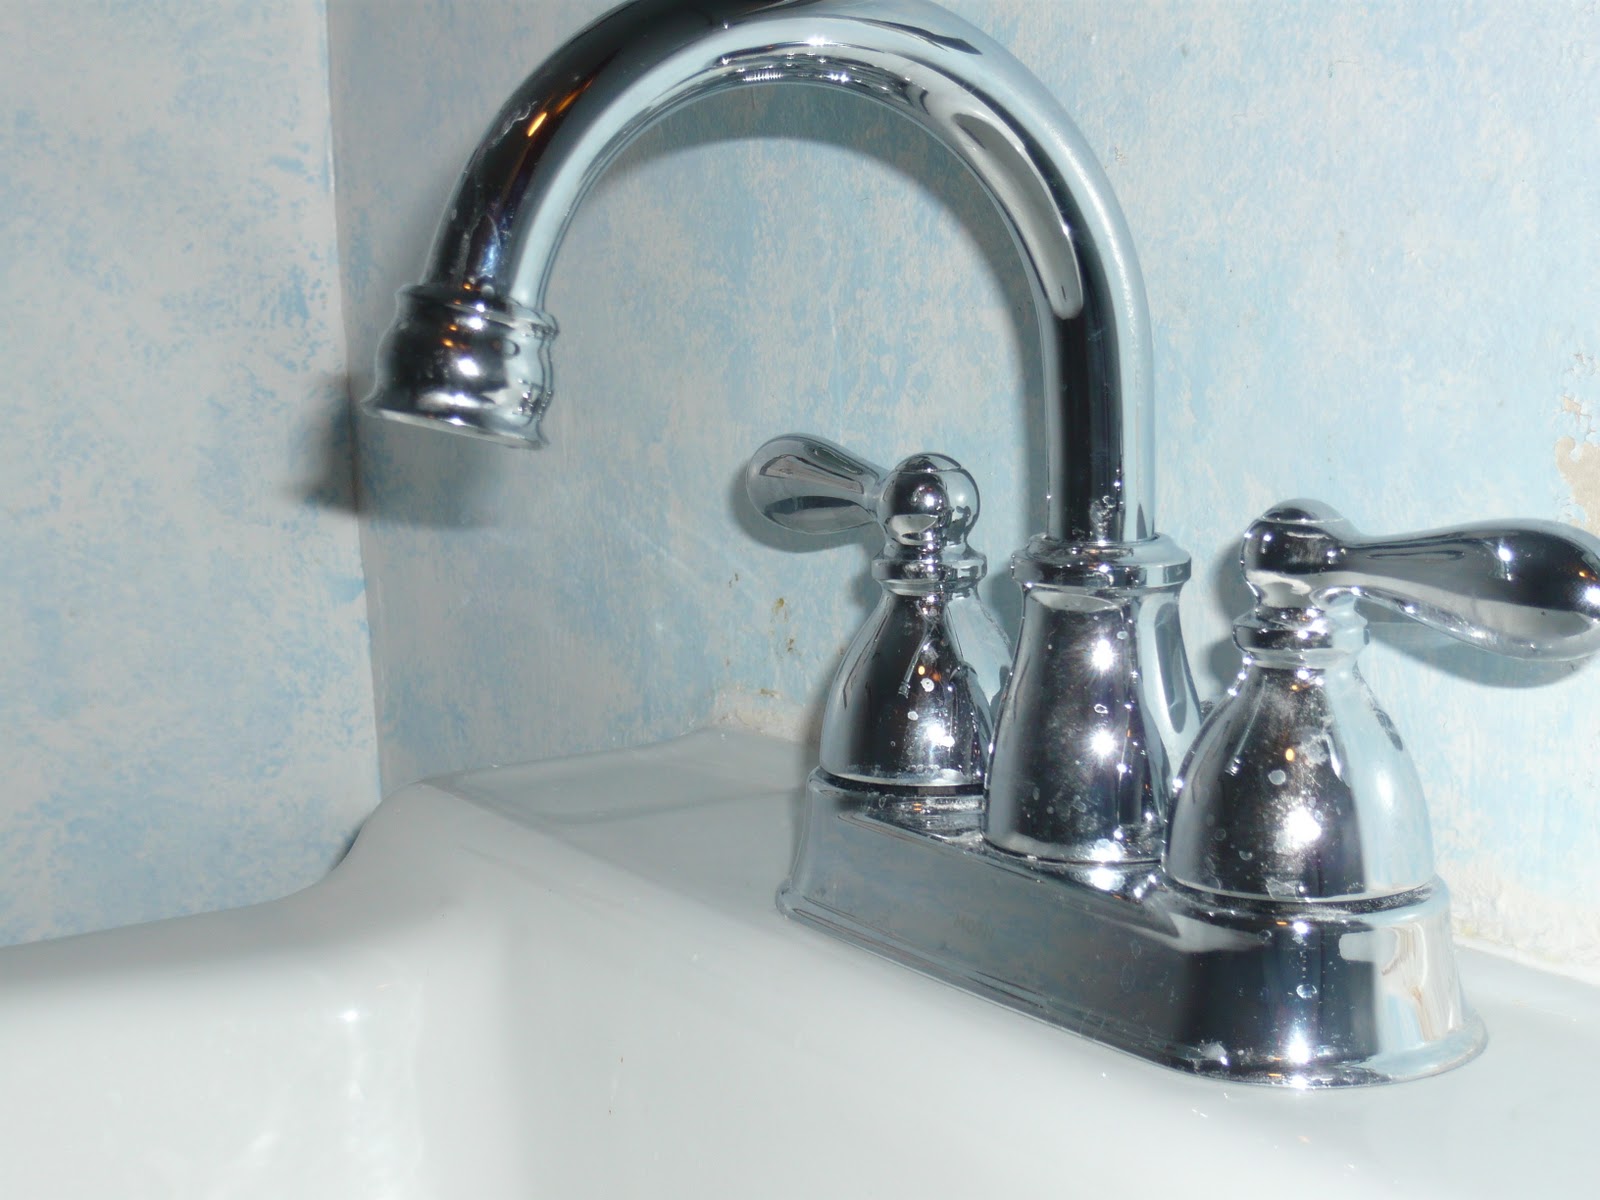
The faucet had a slow drip and no matter what we did, we just couldn't fix it. And believe me we tried!


Yikes!

So after a couple hours of this, we ended up with this...

That's better!


Finding a light to fit this space was a tough one - can you saw awkward!
This $13 beauty from Lowe's will do the trick!


I made this no-sew pleated skirt to cover the base of the sink.
Check back later in the week for a tutorial!

Before


After

Still aways to go, but we're making progress!

Until next time,

Read more ...

Guest Suite Hallway Nears Completion

It's been a couple of weeks now since I have mentioned our guest suite updates, but that doesn't mean that they aren't moving full speed ahead. Especially now that we have the real motivation of some very special guests coming to stay in February.

Here's where we left (click here for a refresher) you...

Not cute

And here's where we are today...


Two coats of wall paint, one coat of ceiling paint, a coat of primer and two coats on the trim! Just typing it all wears me out...it was quite the painting project. Not that I had anything to do with it, Mr. DD did the whole thing himself. What a star!


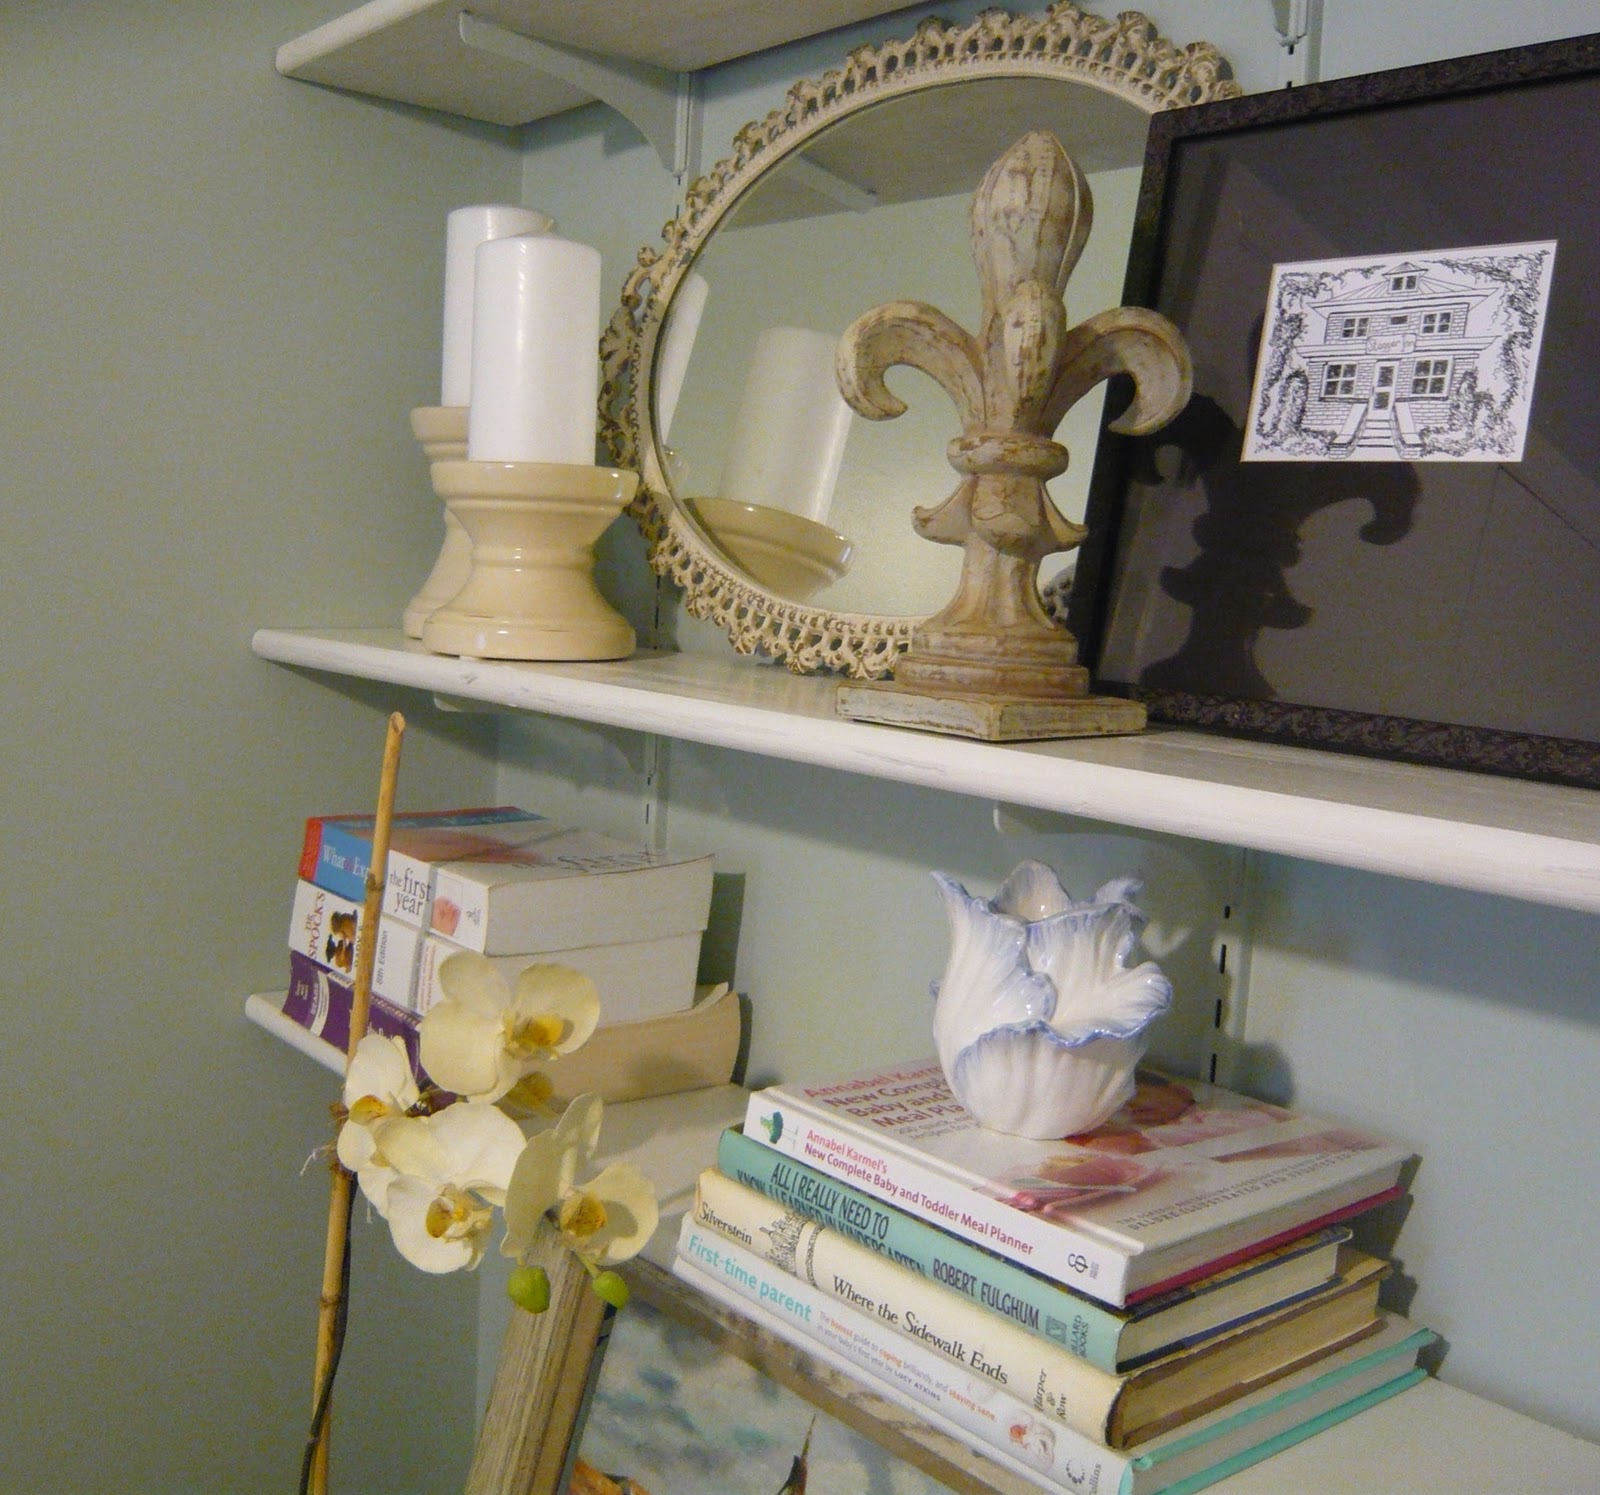
I shopped the house and had a little fun accessorizing our newly painted white shelves! Recognize that mirror? More to come on that little change.


Even the door knobs have received an update. Out with the dated brass and in with an updated oil rubbed bronze, which will coordinate well with our new fixture, whenever I get around to ordering it.


Carriage House Chandelier

I'm loving this carriage house light from Ballard Designs...decisions, decisions.

The hallway has been transformed with just a couple cans of paint. It's no longer dark and boring - now it's light, bright and an all together more welcoming space. Ah, the magic of paint!

Until next time,


Photobucket

Read more ...

The Guestroom: Stage 1

As you may have noticed in my resolutions post at the beginning of the week, the guestroom received a kick start from Mr. Designing Domesticity this past week.

A couple of things happened...


You probably noticed the lovely window in this photo. It's an old school, single pained, natural wood window; meaning it allows lots of cold air in during the winter and hot air in during the summer - not really the combination you'd generally be looking for. So...

it's out with the old...


and in with the new!

Although all the other windows throughout our home are wooden, we opted for your standard vinyl window in this case. It's a third floor attic conversion so we wanted a highly efficient and low maintenance window, which equals vinyl!

The second thing accomplished in the guest suite (notice the name upgrade!) is the addition of the blue wall color to the hallway.

Goodbye boring and beige...

Hello Mr. Designing Domesticity...

So far only the wall color is complete. The woodwork has been primed, next step is paint; perhaps this coming weekend, we'll see. I'll wait to do a photo when the hallway is nearing completion. You'll just have to wait...as will I.

But the good news is that we are almost done with 2 of the 6 steps I have planned for the room. Progress!

Now, you've seen 2 of the 4 projects listed on my broken resolution post - 2 more to go; 1 of which will definitely be done for the BGR reveal next week and the other, I hope to share later next week as well. Stay tuned...


Read more ...

First Big Project of 2011: The Guestroom

The first big project that I'll be tackling this year is the guest bedroom.

If you have been reading my blog for awhile you have probably noted a number of references to this room. I am always pulling random things from the room, talking about how neglected it is, etc. From the way I talk about it, it probably sounds pretty bad. And it was...

I wish I had an original before picture to show you of this room, instead you'll just have to settle for the hallway shots, which should give you an idea of what the whole room looked like originally.

Steep steps

First off, we are talking about a 3rd floor attic conversion bedroom - which means a very steep staircase, lots of awkward angles, and low ceilings. The previous owners must have used it for their sons to share - at least that is all that we can assume; it was all dark wood paneling, natural wood molding and doors, and the walls were literally wallpapered with Sports Illustrated Magazine covers from the 70's to the 90's. Sadly, they were removed before we took ownership - we were just left with the aftermath of a heavily used staple gun. Not fun.


love that woodwork!

We primed and painted the paneling and walls Sherwin Williams, Rainwashed and primed and painted the trim and doors Benjamin Moore Decorators White.

Some people would have removed the wood paneling, but we have a lot throughout the house and I think it adds a cottage-y feel to the place, so we left it.

Walls painted, trim primed. In progress...

Then it was just a matter of squeezing in any furniture that would make it up the steep staircase - bed, bedside table, dresser, desk, etc.

Green cabinet has since relocated to the BGR .

Desk brought in from the BGR.

Other than switching out the bedding seasonally, the room has been in this state for about a year.

Well, it's time for a change. Nothing crazy, just a little TLC to hopefully minimize the complaints from our guests (it's too far away, it's too hot, it's too cold, etc) and then maybe the hike up the extra set of stairs won't seem so bad.

What do we have planned for this room?
a minor construction project
more paint
updates to the bedding
breathing new life to the existing furniture and accessories
creating new window treatments
cosmetic updates to the bath (if I can convince my husband)

Needless to say, this project should keep me nice and busy for awhile!
Read more ...

Resolutions: Already Ruined

Happy New Year!

Did you make any resolutions this year?
I did - maybe you saw my project to do list, but I also made a couple of project resolutions as well.

One: Work on one project at a time until complete, before starting another large project.

Two: Take time to enjoy the results of our hard work, as outlined here.

Well, it's January 3rd and it's safe to say that I have failed at both resolutions already.
Kind of sad, really.

During our self proclaimed week of rest, we:

 Attempted to get organized by packing up, organizing and storing most of our Christmas decorations.


 Added a new project to the Big Girl Room (which has delayed the big reveal).


Stripped a bit of wallpaper (yup, that's two layers of paper - gotta love it).


And did a little painting.

I guess this is what happens when your husband has the week off work and wants to get involved!
Stay tuned as all the details unfold!
Read more ...

Gearing up for Guests

Do you have a guestroom that rarely gets used? I do. And it's that time of year to get her ready again!

In fact, my guestroom is on the list for a makeover, so it's never looking quite right. I definitely need to bring out the reinforcements when someone comes to stay.


Here are a couple easy steps to welcome guests into your home this holiday season.
1. Clean - give your room a good cleaning and airing out, if possible. After all, nothing says welcome to my home quite like spiderwebs, dust and neglect! I kid, I kid.

2. Personal Touches - personal touches are what make a house a home and we want our guests to feel like they are at home, only better, right? So place reading materials next to the bed, a water glass, some fresh flowers, you get the idea.


3. Extra Bedding - Sleeping well is key to having a happy guest. You never know what will make someone else comfortable when they are sleeping so have extra bedding like, pillows and blankets available.

4. Bathroom - A fully stocked bathroom can go a long way to making your guests feel like they are at home. I always seem to forget at least one item when I am traveling, so I try to have extra soap, shampoo, towels, toilet paper, etc on hand for my guests.


5. Food - It's always nice to have a little something on hand for a snack or light meal, especially if your guests have been traveling a ways to see you. I'll be making a batch of my favorite Fall soup, Butternut Squash and Apple Soup from Ina Garten's Barefoot Contessa Parties cookbook.

Um, soup!

Here's to a happy holiday season for you and your guests!

Tomorrow, I'll be back with another hostess gift idea. Hope to see you then!
Read more ...
Related Posts Plugin for WordPress, Blogger...

Lijit Ad Wijit