Designing Domesticity Our Home Projects Food Services Shop About
Showing posts with label window treatment. Show all posts

Dining Room Windows

We've made some real progress in the dining room this year (love saying that seeing as it's only two weeks into 2013!) and I can't wait to share it with you. 


But, patience is the name of the game because today I'm only sharing our new window treatments. Truth is they came just before the holidays, I just never had a chance to share them with you. 


You may remember that I was slightly obsessed with painting the dining room a terracotta-ish coral color and that it took me forever to settle on a paint. In the end, I had a custom color made for me. {Read more about the paint, by clicking here.} Depending on the time of day, the color ranges between rose/salmon/terracotta. We're really loving it. Phew. 


So, when most people start a room redesign with a jumping off fabric that sets the pallet for the whole room, I did the opposite. Let me be the first to tell you, it's not the best plan. Finding a fabric to coordinate with the existing rug and the new paint color was no small feat. 
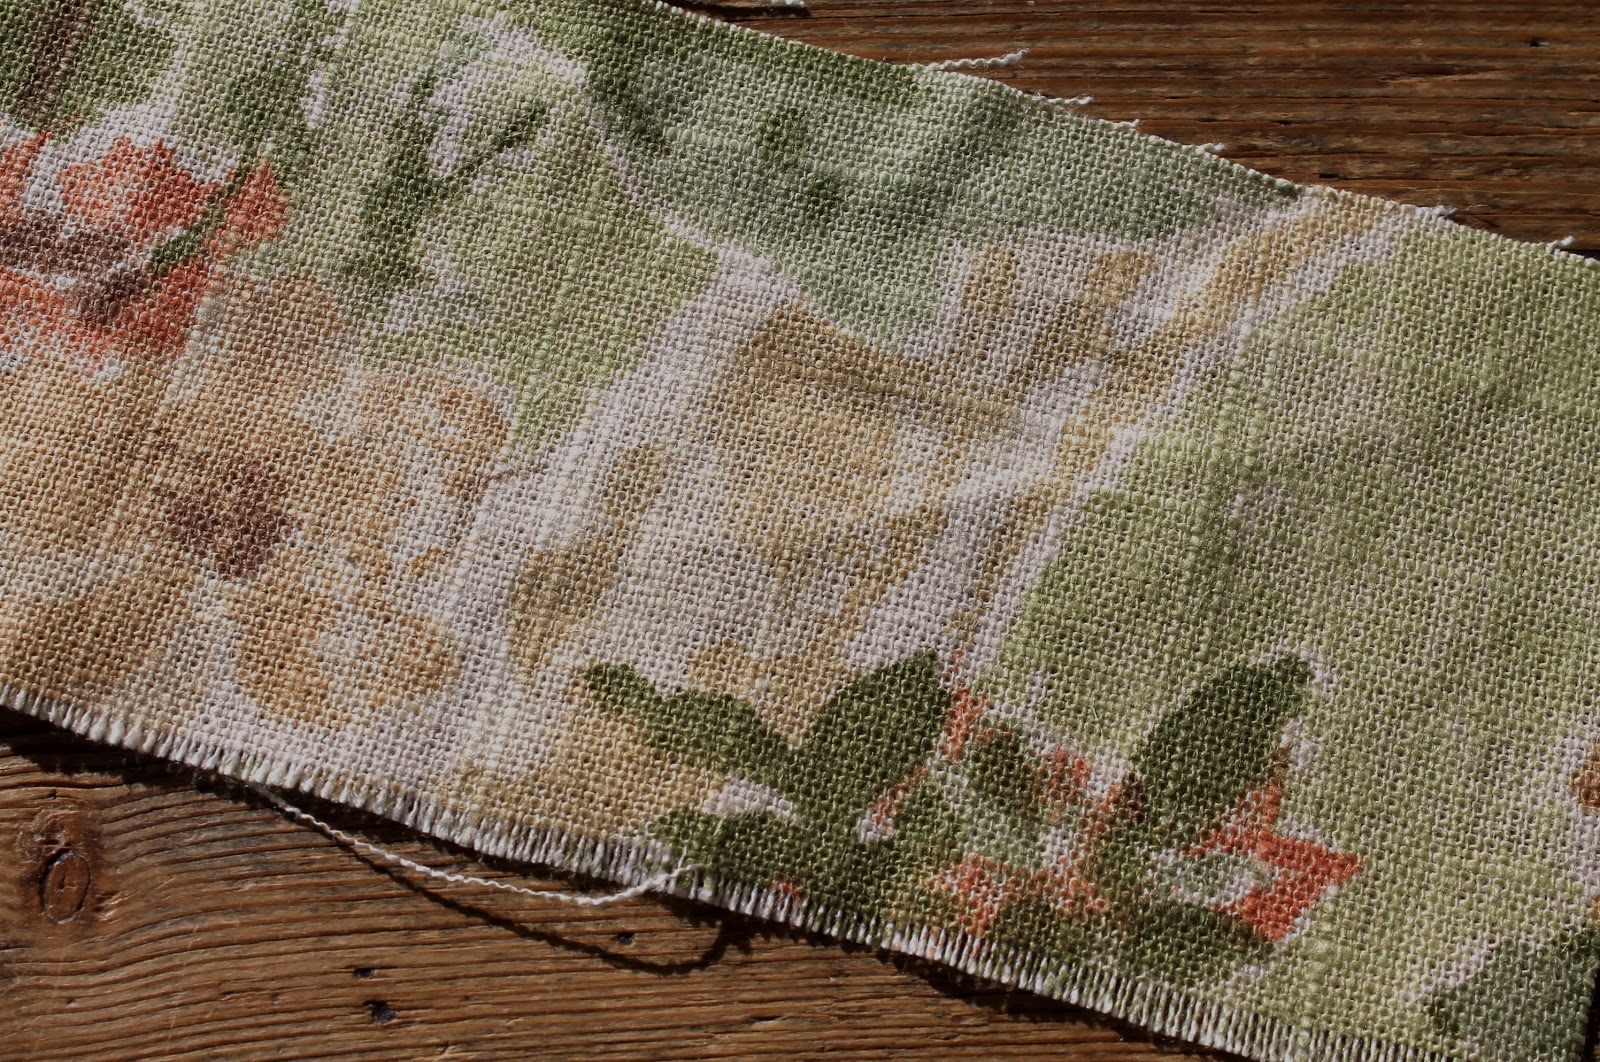
After what felt like ages, I settled on this fabric. In truth, I rushed it a bit and I got inpatient. 


When we first installed them, I was nervous. Really nervous. It wasn't love at first sight. It was more of a luke-warm like. But, they are growing on me and I've got a plan up my sleeve to make them a bit more youthful. 


And, just because I know everyone loves a little before and after, here's were we started

Hope you had a great weekend.
Come back soon to check out more progress. 

linking in with:

until next time, 
Read more ...

Tricky Windows plus a Fabric Decision

By now, you probably know that our home is riddled with tricky windows. 
{Mostly because I am always complaining about them.}
We've got them in the living room, bedrooms, and dining room. Below window radiators are the biggest source of aggravation, but we're also blessed to have windows that open in on the first floor.

{please excuse my dusty floors, we're in the middle of construction around here and I refuse to clean up everyday when the dust is still flying!}

In the living room, we opted for full length curtains. In the summer they hang over the radiators; in the winter, they puddle on top and kind of drape to the side. No, this is not ideal. But it works. And, long panels were definitely the look I wanted!


In the kids bedrooms, we have shorter curtains. They are kids, for crying out loud, they don't care! And neither do I.


In our bedroom, we chose faux, relaxed roman blinds over the radiators. We don't open those windows or even raise the shades really, simply because they face both neighbors homes, which are only a driveway away. Not much for privacy, but this is urban suburban living, after all.

{welcome to the construction zone}

Which brings me to our dining room. The only functioning window {the others have storm windows in place that do not have screens} in this space is over a really long radiator and, of course, opens in. To make matters worse, the new furniture layout features large pieces on either side of the window - virtually ruling out long panels. So, again, we've decided to go with a roman blind. This time of the structured variety. And, it needs to work! The 7' long, non functioning windows will have regular full length panels.

{notice the patch, more on that later this week!}

Now, you know I like to DIY as much as possible, but seeing as these treatments need to function and I've only just learned how to sew...I decided to hire out.
I know, the shock horror of it all. I can barely believe it myself.
But I know we'll be happier, in the long run, with a professional job. And fortunately for us, we were referred, by my cousin, to a wonderful and affordable seamstress in Ohio. 

{these pictures were taken outside to hopefully give a truer reflection of the color}

Mr. DD, my Mom, and I all agreed {another shock!} on this fabric and we can't wait to see the finished product!


So, here's my question to you - do you approve of mixed treatments {one roman blind, and one set of long panels} in one room? 

until next time,

Read more ...

Privacy Please

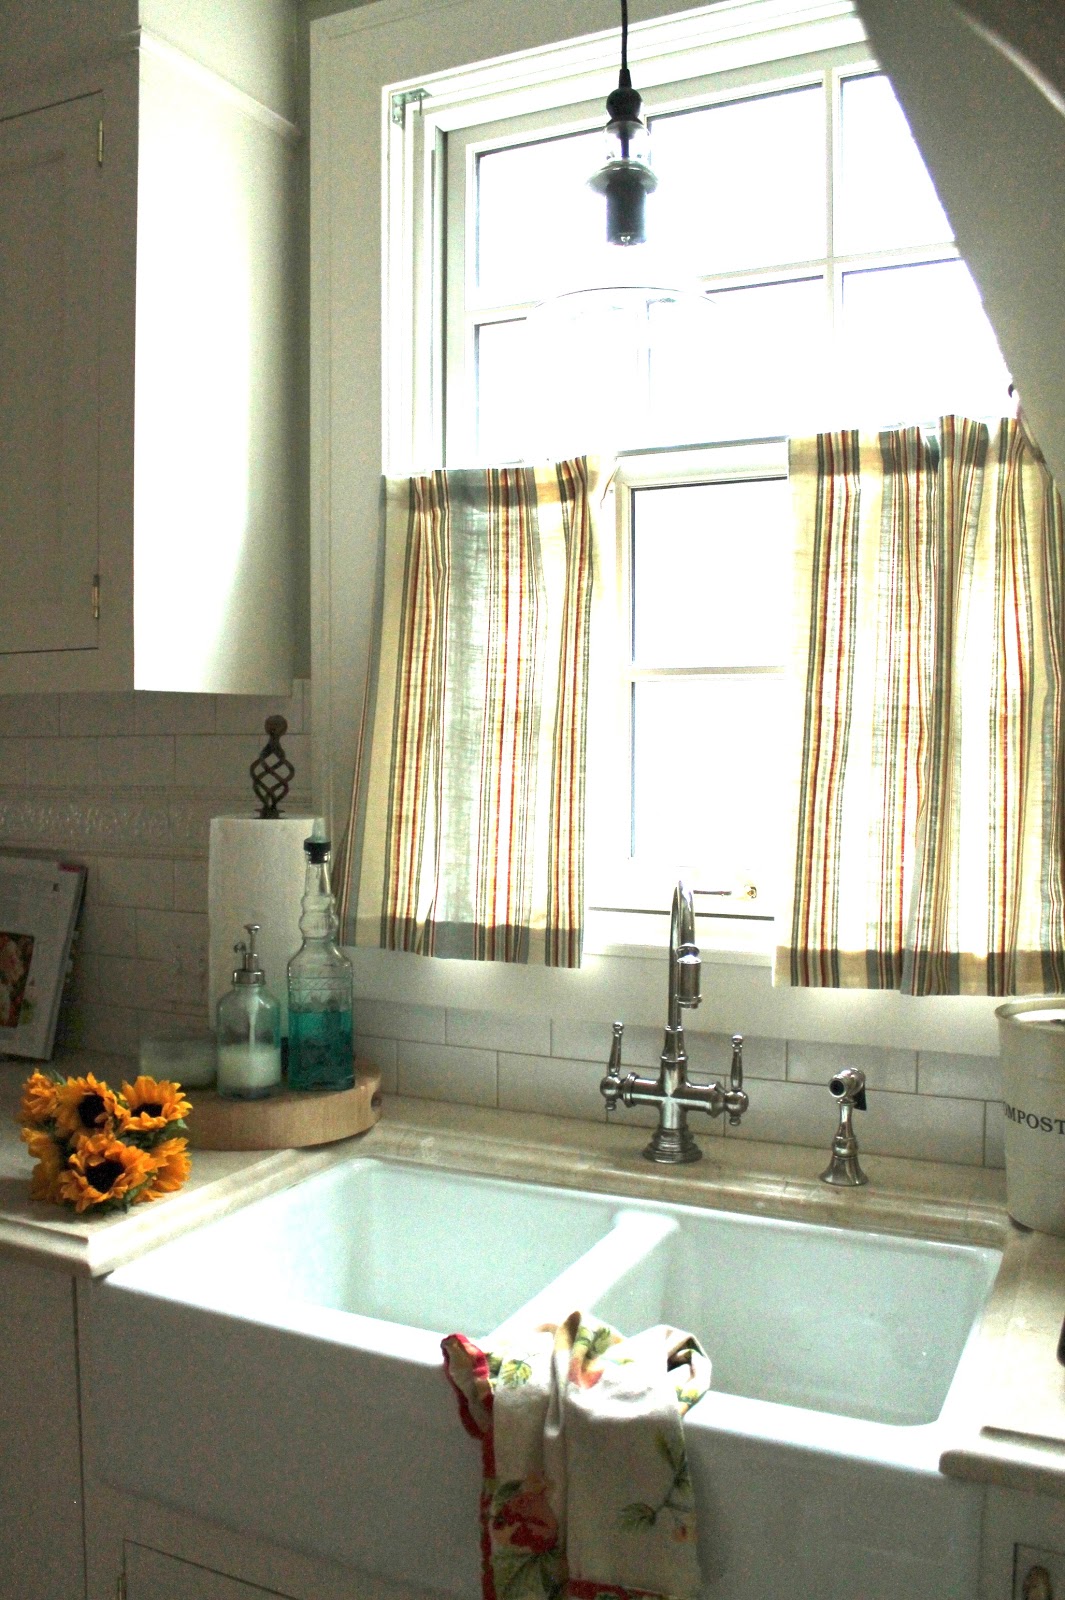
As the work carries on in our dining room, I've been keeping busy tackling smaller projects around the house. Like these new cafe curtains I added to our kitchen window. 


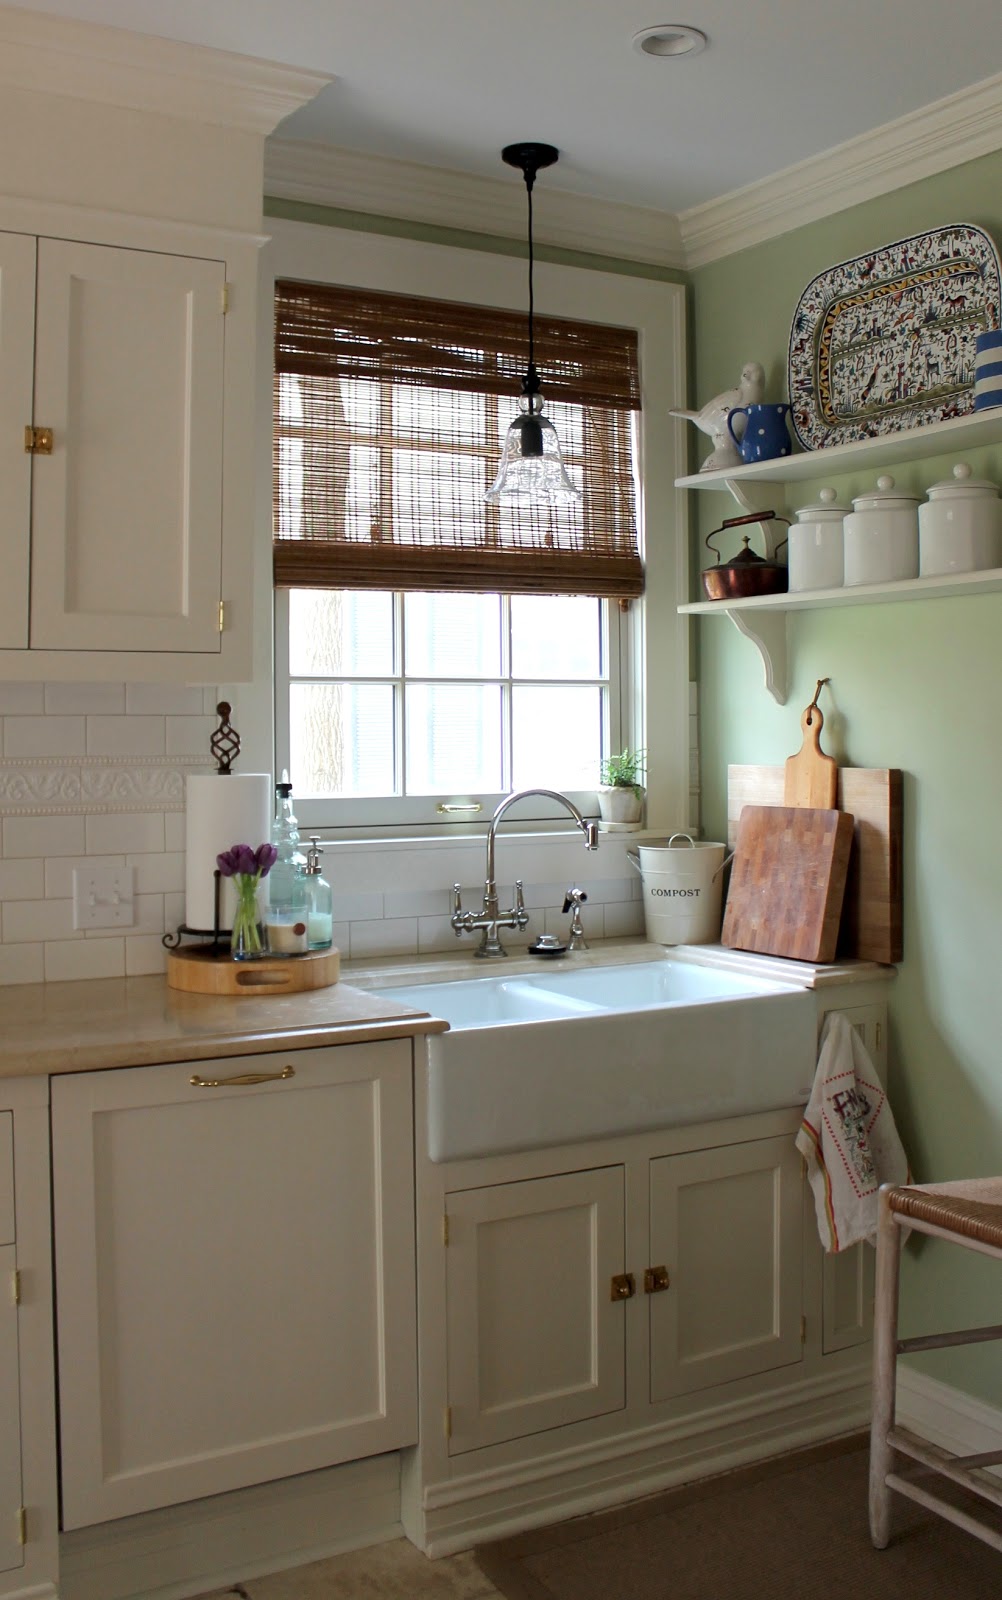
Here's how it looked before with the woven blind. 
Now, don't get me wrong, I loved the warmth and texture that the old blind brought to the space, but the privacy factor just wasn't there. 


As much as I like my neighbors, and I hope they like me, I just don't think either of us really need to see each other in our jammies pouring our morning coffee. You know what I mean?


So, after a couple of weeks staring at the tension rod I got at Lowe's, I decided to take advatage of this rainy day and get on it already.


I checked my fabric stash and decided to go with some leftover fabric from our living room curtains. For now, I think it works, but I could also see switching out the fabric after a bit.


I'm loving the pop of color in the cafe curtains, especially on this gloomy day. 


As always, when I finish one of these little projects that has been on the to-do list for awhile, I wonder why I put it off so long. 

What about you, did you get anything crossed of your to-do list this weekend?

linking in with:

until next time, 
Read more ...

Jumping Off

I'm one of those people that needs a serious jumping off point when it comes to designing a room. Usually I find an image of a room that I find inspirational, like this or this. Then I turn to fabric selection to work out the color scheme. 


Kind of like how we handled the living room. Once we found this fabric {above}, the wall color and color scheme as a whole for the first floor really came together. 

So, now I'm on the hunt for new fabric for our dining room. 
Here's what I'm thinking...
I want to carry the color pallet through from my kitchen and living room, but I want to highlight a different color, so not green {kitchen} or yellow {living room}. That leaves me with the reddish rust color, which will hopefully become the wall color. Because we're planning to use a saturated wall color, I need a lighter background to the fabric to keep the room from feeling too dark.

The easiest way for me to bring all these colors together without using another stripe is a floral or paisley. Truth be told, I really, really, really want a paisley, but I just haven't found a lot of options {yet}.
So...
Here's a sampling of fabrics that we're considering for our dining room. 
Clockwise, we have:

Now, here's the part when I ask for your advice. Tell me, which would you choose? 

until next time, 
Read more ...

Naked Windows No More

I pulled a little pump fake on you the other week, didn't I? I teased you with inspirational problem window fixes and promises of new bedroom layouts...and then, nothing. I went on and on about our great trip to Michigan and my bloggy birthday - I mean, honestly, that is not very cool.


Rest assured, because I am back with an update that includes my new relaxed roman shades. What do you think?

You may remember that these started off as $24 panels I found at Restoration Hardware Outlet. I used about 25" of each panel to tackle the vanity skirt update and was bound and determined to use the remainder to dress our problem windows. 


Nice, right? I'm really happy with these non-functioning, purely decorative coverings. But, let me tell you, it was not all smooth sailing getting to this point.


I cut and hemmed the panels to fit within the window casing, hung them on tension rods and then the fun really began. There was a lot of muttering, pining, muttering, expletives, and more pining. And that was just the first try, which left me with the above. 
Not cute. 
Start over.  


I finally found the relaxed shape I loved, but then this happened. The weight of the fabric caused the center to pull too low, leaving nothing at the sides. 
Hmm...now what? 
Velcro, baby. Velcro. 
My new best friend. Literally. At least when it comes to this project. I pulled the panel to the edge of the shade and velcro-ed it all together. Success.


Once they were up, velcro, pins and all, I left them for a couple of days just to make sure I was happy with the results. Then I had to take them down and actually sew, by hand, all the folds together. That part was not fun. 


 Not fun at all. 
But the upside is, no more naked windows. And that has to count for something. 

linking in with:

until next time, 

Read more ...

Got Problem Windows?

While the girls and I are enjoying a week away visiting my brother and his family in the great state of Michigan, I thought I'd share some inspirational images for the next bedroom project. The dreaded window coverings.


Now, I only say dreaded because this old home of ours really does pose some interesting window challenges. 

In the living room: our windows are almost floor to ceiling, french door style, that open in. Two of the four windows are over radiators that are wider than the window. Essentially meaning that the panels can either lie over the radiator on the side, be short panels or shades of some nature that would have to be raised above the window casing to open them. 


For the living room, I choose panels that fell over the radiator. I guess they aren't that practical, but I like the look much better. 

In the breakfast room: the window looks out on the neighbors driveway so privacy is an issue and it's above a built-in bench. 


For the breakfast room, we choose a cafe curtain. For obvious reasons. Privacy, but still lets in the light and doesn't interfere with the bench. 

Moving on up to the bedroom. Two of the four windows were issue-less and I added long panels in a neutral linen when we move in. 

{problem windows}

The other two windows remained coverless simply because they were so problematic. Not only were they over wider radiators, which made long panels more of an issue, but they were also sandwiched next to built-in cupboards. 


The only obvious solution was to do some sort of shade or blind. I knew I didn't want a standard roman blind - it just felt too stuffy or formal for the relaxed atmosphere I was trying to create. 


Then I discovered the relaxed roman blind and I knew I had found my match. I love the shape of the first image and the relaxed fabric of the second image. 

Now, I just need to figure out how to make them with the left over $24/panel, Restoration Hardware Outlet panels. 

until next time, 
Read more ...

The Great Curtain Debate

So, you may remember that sorting out window treatments in our master bedroom was high on my wish list. You see, we have 4 windows in our room and only two have treatments. 
Hmm...interesting, Liz, interesting.

{see, check out the window on the far right - nothing but a shade! Oh, you never noticed - that's odd. So unlike me to have never pointed it out...}

Why, yes, it is. A little back story of how this came to be...Back in the day, almost 3 years ago now, when we first worked on our bedroom I didn't know how to handle two of our windows. One was over a dressing table and the other was over a radiator, both next to built-in cupboards. No where to hang a panel...so, I did what any fear-frozen girl would do and decided to deal with it later.

{now}

As you may expect, now is later and here's my new problem. Restoration Hardware has discontinued this color way. Why, I ask you, why? What is wrong with yellow, people? It's constantly on the outs, but I continue to love it. Perseverance. 

Anyway, this little discovery left me in a tail spin trying to figure out what to do. Of course, I looked to match the existing fabric, but to no avail. So far nothing. 


Back to the drawing board...ie, Pinterest. Which is where I came across the idea of using one panel per window, essentially framing the windows on either side of the bed. 


So, I'm giving it a try to see how I like it. Me, being the self described Queen of Coziness, thinks it looks a bit bare. But I am starting to get used to it. I'd love to know what you think.

Please ignore: the wrinkled curtains {I also added curtain rings instead of using the rod pocket, as before}, the new hole in the plaster wall where I hung the painting too high, and the hideous, now exposed curtain rods. This is an 'in progress' image, after all. 

{I'm also testing out a slightly new location for the loveseat}

What's the point of all this? Well, if I decide I can live with one panel per window, that frees up the other two existing panels, which could be used to cover the remaining windows. 


As I explained to Mr. DD, buying two new curtain rods is a lot more cost effective then all new window panels. 

So, do tell. What do you think?


until next time, 


Read more ...

How to Customize Basic Curtains

Last week, I revealed some of the changes in the breakfast room, but realized I never gave you the how to on my newly customized cafe curtains.


This is such a simple and quick update that really makes a difference in your room.
Good-bye to your basic store bought curtains!


Working with your chosen fabric, cut two inches wider than your desired border and a couple inches longer than your panel. 
In my case, I wanted a 7 inch border, so I cut the fabric to 9 inches high and my panels are 56 inches, so I cut the length to 60 inches. 

At this point, I turned to my old friend fusing tape, because let's face it I still haven't learned to sew, and created a one inch seam at the top and bottom. 

Still with me?
OK.


Then flip her over and attach to your window panel, one inch from the bottom seam. 
I just think this gives it a cleaner look. 


To finish it off, I added a length of coordinating ribbon, which was also attached with fusing tape - although I am sure fabric glue would of worked just as well. 

(sorry, this picture was was taken when I was testing out the look, not when I was actually attaching the ribbon - bad, bad blogger!)

So there you have it, short and sweet and simple! 


Such a difference. 

The white cafe curtains were purchased at a big box store at minimal cost and customized with a scrap of left over pillow fabric. The biggest cost was the ribbon, which was something like $.80 a yard! 

Go on, give it a go!
You won't be sorry.

For those of you that are tuning in expecting a reveal of my gigantic pine armoire - what can I tell you, patience is a virtue! 
It's coming, I promise. 

If you enjoyed this post, may I suggest:


Linking in with:

Until next time, 
Read more ...

Updates to the Breakfast Room

I know, I know, I know - I did just literally reveal the updated breakfast room a couple of weeks back - but I have already made some changes!

What can I say, I like to keep improving things!


Here is what she looked like at the reveal, which you can read about here.


And today.

Can you spot the differences?


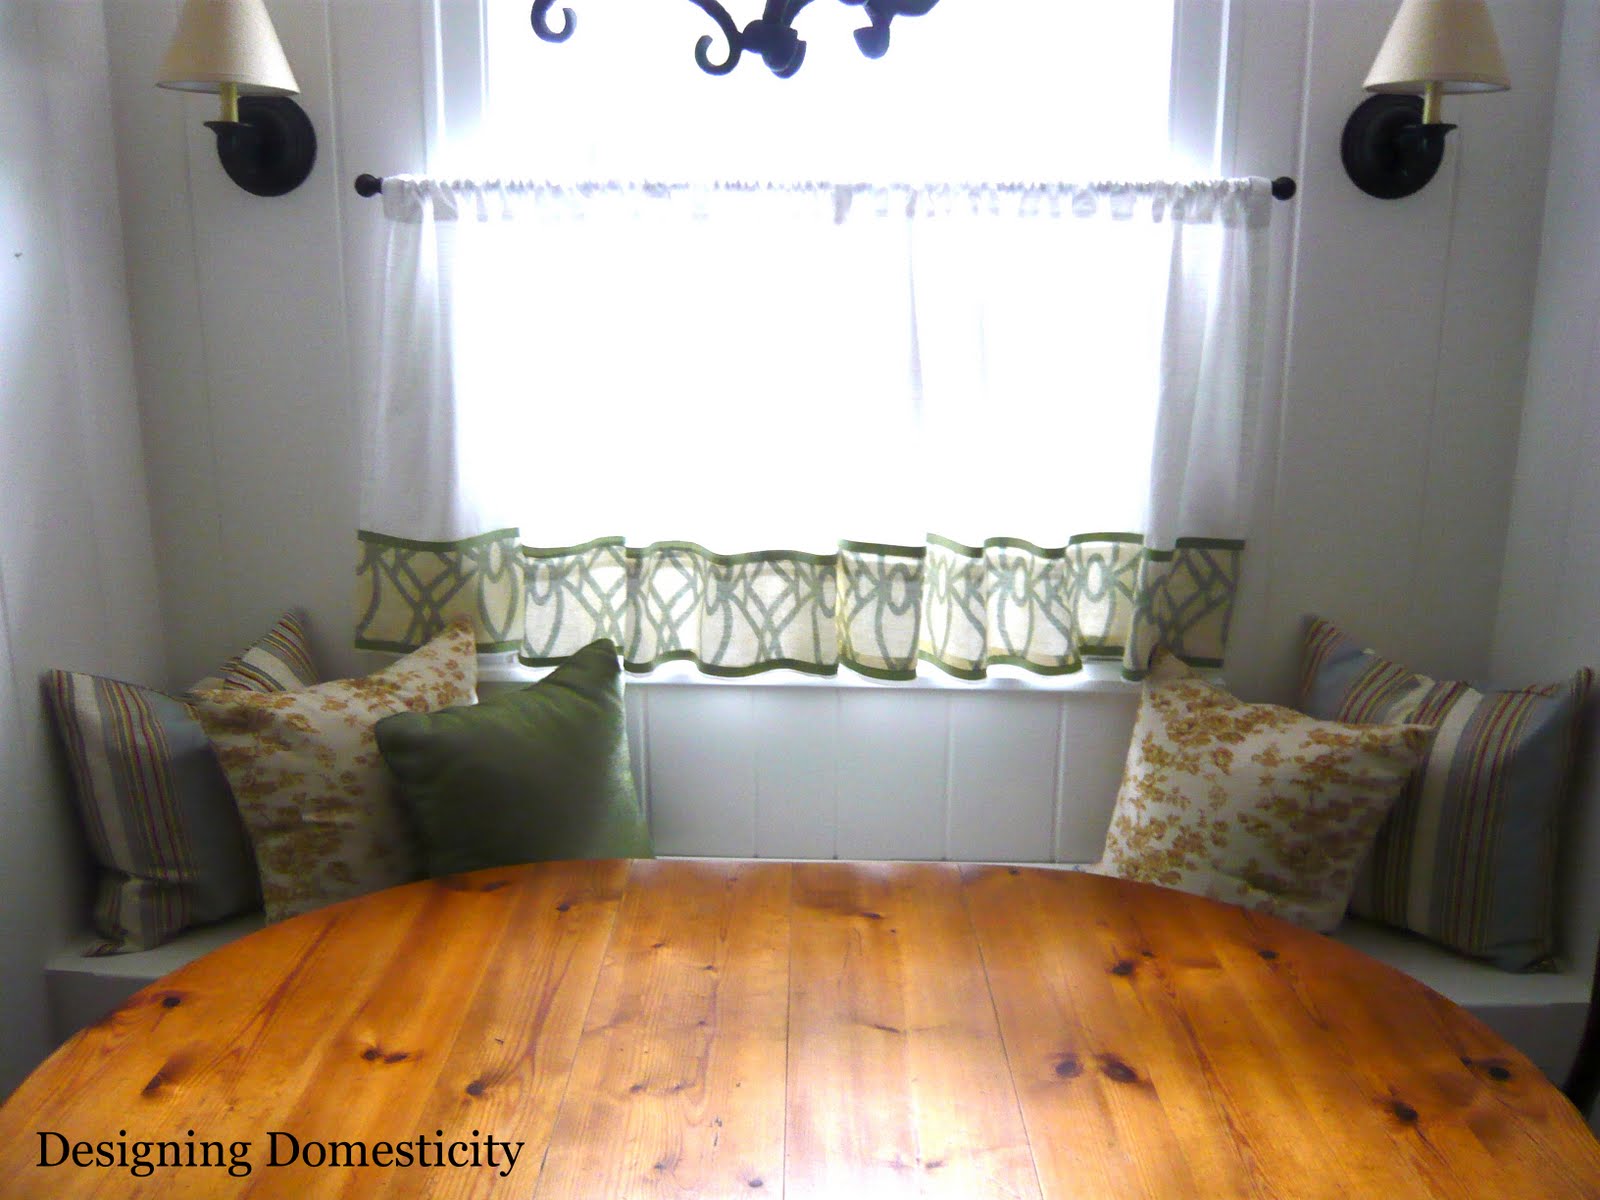
I trimmed out the curtains with some of the pillow fabric from the living room.
And added some new pillows using the drapery fabric from the living room. 


You like?

I think carrying the fabrics from one room to the next really helps to improve the overall color scheme flow.


So there you have it. Some simple updates that make a big impact in this small room. 

If you enjoyed this post, let me suggest these:


Linking in with: 

Until next time, 
Read more ...

How to Make your own Window Panels

First off, I'd like to say thanks so much for all the lovely comments on my new window panels. 
I really am loving them and loving the fact that you love them too! 
That's a whole lotta love going around!

Today, I thought I'd share the quick process of how to make some of your very own.

Let's get started:


I started by removing the drapery lining from my old drapes. Not only did this save a lot of money in terms of purchasing new, but it also provided a rough template for the length and width of the new curtains!
Bonus!

What's the benefit of adding a liner, you may ask:
1. helps with light filtration
2. helps to reduce the risk of fading from the sun
3. gives a cleaner and more professional look from the outside
4. helps to stop drafts in the colder months

see, pretty important, actually.


Find a place to lay out your fabric in it's entirety. 
I needed panels that were 94" long when complete. Therefore I cut them 99" long to allow for seams at the top and bottom. 


Add your liner, making sure to center and leave at least a 1" margin across the top.


Then, it's just a matter of getting down to the pining, really.
Fold over your fabric to create a 2" seam across the top. 
Pin in place.
I found that a right angle really helped to keep everything nice and even and straight.


Fold your fabric to the edge of your liner on the sides. 
Because I was working with striped fabric, I had a nice built-in line to work with!
Lucky me. 
Repeat on the other side.


Across the bottom, fold your fabric up to the required length, in my case, it was 94"; pin in place.
I like a 3" seam across the bottom, hence measuring 99" to begin with. 

This picture is a little misleading because it's the first panel I did and I was working with a pre-cut 3 yard piece of fabric. 


When it's all said and done, it should look a little like this.

Now, this may shock some of you, but at this point, I folded up all my panels and took them to the dry cleaner to be stitched up! 
I know, the shock horror of it all, but I can't really sew and I knew these panels were a real investment that I wanted to last a long time - so there you go! 
Plus, she only charged me $20 a panel, which I thought was a steal!


Once I got the panels home again from the dry cleaner, I added my drapery pins.
Be sure to pin them through the back of the fabric only - no one wants to see a pin on front, now do they? 
Of course, I saved these from my original curtains.
Waste not, want not! 
Right?

I used 7 pins per panel. Start with the first and last, then add the middle and finally two between the first and middle and two between the middle and last. This helps to ensure even placement. 


Then I added my pins directly to the rings. 
Personally, I'm not a huge fan of the clips - not sure why really - kind of fussy for my taste.
I think rings without clips has a cleaner and more custom look. 


So there you have it, the story of my new window panels and my dirty little secret!

Other posts you might enjoy:


Until next time, 
Read more ...
Related Posts Plugin for WordPress, Blogger...

Lijit Ad Wijit