Designing Domesticity Our Home Projects Food Services Shop About
Showing posts with label I made that. Show all posts

Burlap Placemat How To


You may have noticed this cute burlap placemat from my Thanksgiving table post.


Well, I am proud to say that I actually made it and I didn't use fusing tape, for once. 


That's right, I am finally learning to sew. My sweet Mother-in-Law gifted me her old sewing machine and gave me my first lesson as well. 
I know, you're probably thinking - it's about time!!!

Anywho, enough about me - I'll share the details of the burlap placemat - and clearly, if I can make it, so can you!


First, cut out your placemats. 
I used an existing placemat as a template for the size.


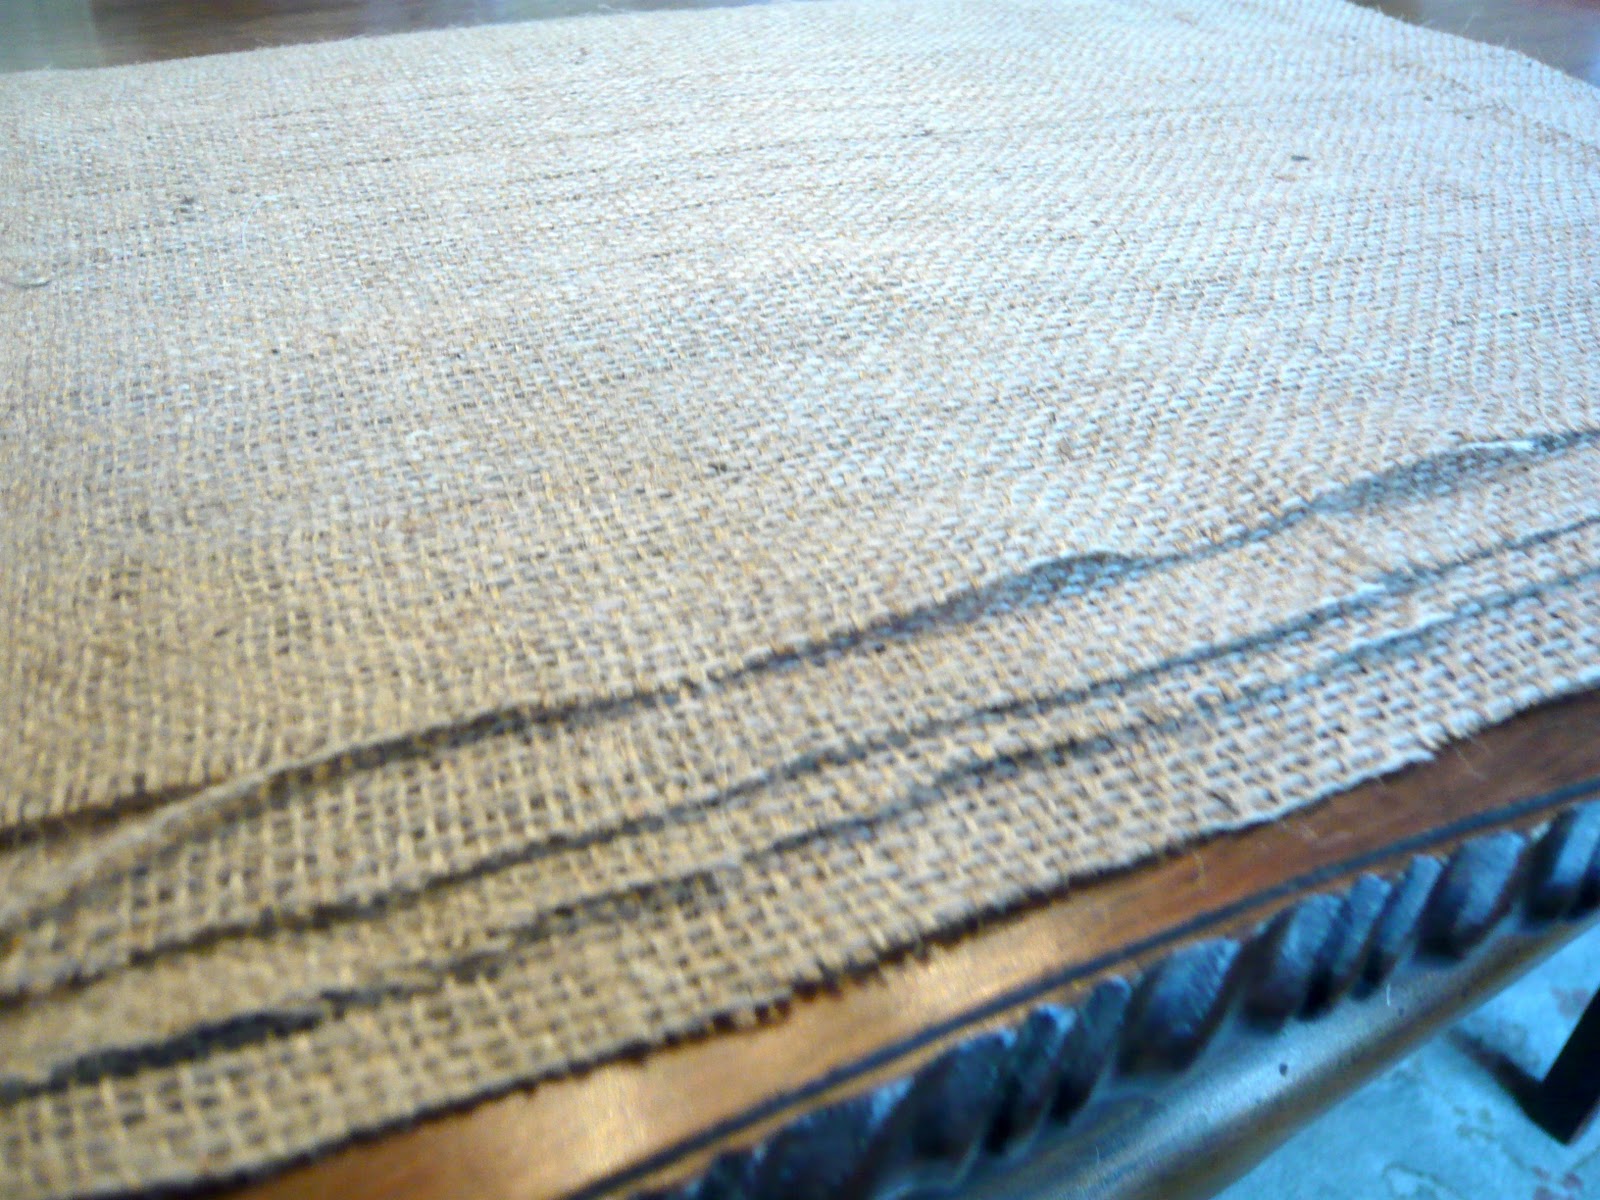
I decided to make 4 placemats - I didn't want to over exert myself on my first project! 


It's so simple - sew a seam about an inch from the edge.
All you have to do is keep a straight line. Of course, I didn't have that much luck with that, but it's easily correctable if you run into the same problem. 


Once the seam is in place, start pulling the burlap apart to create the fringe.


If your seams aren't straight and neither is your fringe, you can always trim with sharp scissors.
See, I told you this project really couldn't be any easier.

The perfect start to what I hope will be many more sewing projects in my future.


Linking in with:

Until next time, 

Read more ...

How to Refinish a Pine Armoire

Thanks everyone for all the love when it came to my refinished pine armoire.


 The method I followed seemed a bit unorthodox (at least to me!), so thought I'd share some of the details here with you today!


First things first, Mr. DD (who graciously volunteered - ha!) gave the armoire a good sanding. He used an electric sander to ensure all the original varnish was removed. I wasn't planning on priming the armoire (because I didn't want an opaque finish), so sanding first was essential. 


After sanding, I cleaned the armoire and taped off the lattice on the front. Then I mixed the Old Fashioned Milk Paint,  in Barn Red, according to the package directions. The shelf life on this paint is pretty short ( 2 days or so) so I waited until I had enough time to tackle the whole project. 


I opted for only one coat of Milk Paint, again because I didn't want a fully saturated color in the end. This paint dries super fast, and was ready for sanding/distressing within 2 hours!


After another cleaning, I applied one coat of Miniwax Dark Walnut stain and let it dry overnight. Here you can see that the left side of the armoire has been stained, whereas the right side has only been distressed. Quite the difference.


At this point, we decided that it needed a bit more distressing to allow all three tones to shine through.  
People say that Milk Paint is a bit unpredictable and I have to agree. The same sandpaper, pressure, and number of strokes were used on each side and you can really see the difference!


Finally, she received two coats on gloss poly. Here you can see that the right side has been poly-ed and the left hasn't. I'm really digging the gloss finish, which is a bit of a relief, seeing as I really struggled with that decision!


The next step was updating the hardware. The existing hinges were literally nailed in place. I didn't want to risk removing them, so I decided to hit them with a little Rub n' Buff in Antique Gold. 
I love the results! 


I purchased new hardware for the door and drawer pulls. I decided on a black pull with a brass accent, thinking they would tie in well with the hinges. But once they were on, I realized they also needed a coat of Rub n' Buff in antique gold. 
Much better!


Here she is again before - in all her rustic pine glory!


And now, with her tobacco leathered finish.

Which one do you prefer?

I think you know how I feel!

If you enjoyed this post, may I suggest:

Linking in with:

Until next time, 
Read more ...

Living Room Armoire - It's Done!

And I am loving it!
Tell me again why it took me SO long to do this project?

The suspense is killing you, isn't it?


Here she is before - in full rustic, pine beauty!

And you remember my inspiration post?

So...


Here she is!


We purchased this bar the year we got married - almost 9 years ago now - and I have hated it for the last 8! It was in storage the entire time we lived in London and I used to fantasize about getting rid of it when we returned. But alas, it ended up in our living room. 

It's taken me the last 2 years to convince Mr. DD that we needed to refinish it!


I am so much happier with it now!

We think the finish looks a bit like tobacco colored leather.

I am sure you want to see inside.
 But I am telling you now, we didn't refinish the interior. 
Maybe at some point, but the outside was a big enough accomplishment!


It's a bar. 
Anyone that knows us should not be surprised by this! 


Check back later in the week for the tutorial, which includes working with Old Fashioned Milk Paint, updating rustic hardware, and much more! 

Update: Click here for the tutorial!

If you liked this post, may I suggest:

Linking in with:

Until next time,
Read more ...

Raised Bed Gardens: A family affair

It was such a lovely day today, that our whole family spent the morning outdoors working on the new raised bed gardens!


There was a bit of work done in advance, in terms of clearing space! But for the most part, this whole project was started around 10am and completed by 1pm!

Further evidence of work done to clear the area!
Have I ever mentioned how overgrown this whole area was when we bought the house?
For a refresher, click here.


Mr. DD started with 6, 2x12 planks of pressure treated wood, and quickly turned them into 2, 4'x5' beds and 1, 4'x4' bed.


Once the frames were constructed, we stapled chicken wire to what will be the underside of the boxes. This should help to keep any little critters from digging under and up into our gardens.


Flipped over and in it's new resting spot.
Our daughter was a big help - as always!


One of my books suggested applying wet newspaper as a first layer. This will ensure nothing grows up from the ground below and also adds a nice composting layer.
(The wetting part is really just to keep the paper in place)


Next, we added 2-3 wheel barrows of soil per bed.
Again, our helper ensured that this would be a smooth process!


Then we added a layer to each box from the composter that I started last summer.
So excited to actually use it after all these months!
To read more about how I am making composting work for me, click here.


Once the compost was tilled in, we added another 1-2 wheel barrows of soil to each box.


Here they are all filled up and looking ready for some plantings!


We left about a 18" between each box for easy access to all sides.

The view from my kitchen!

Future plans include a chicken wire fence surrounding the entire garden.
And of course, doing a bit of planting and growing.


Until next time,

Read more ...

Moss Balls

First, thanks to everyone for your well wishes regarding my 'just won't quit' cold.
I'm getting better, slowly, but surely!

Secondly, a gentle reminder to enter for a chance to win a $45 gift card to CSN stores - click here.
Don't miss out - the giveaway ends 3rd March!

And finally, today, I thought I'd share a really simple and quick craft that I made the other day.
Homemade moss balls.


You'll need:
styrofoam floral ball forms
bagged moss
spray adhesive


It's pretty self explanatory, but in case you want the play by play...
You spray the ball with adhesive in sections than separate your moss and stick to the ball.
I like that this photos looks like a moss helmet!


All together, this took maybe 3 minutes.
So easy.
And I love the natural look.


Check out this comparison - to the left and right are store bought moss balls ranging from $5 - $10.
I think mine holds up quite well - maybe a bit more brown, but definitely more 'real'.

What do you think?

Check back later in the week to see how I incorporate it into a new arrangement.

Until next time, 

Read more ...

Simply Embellished Window Treatments

I'm still slowly plowing through our long list of wants in the guest suite. For a reminder, click here.

This past weekend I decided to focus on the window treatments.

Here's where we started...


I picked up this valance from a big box store shortly after we moved in. I never really loved it, but the price was right, so it came home with me.

When we decided to update our guest suite, I knew the valance would be one of the first things to go.

This whole project kicked off due to my local Crate and Barrel closing - they were literally selling everything in the store. I managed to pick up a display curtain rod and rings for a bargain basement price.
It was a sign - time to start in on the curtain project.

You may recall this photo from my sink skirt post last week.

Target curtain panel in natural linen.

As you may expect, I used Stitch Witchery to create a one inch hem across the bottom. Easy. I hung the curtains, stepped back to take a look and thought - BORING.

I definitely needed something to take these curtains up a notch.

How about this...

Upholstery webbing
It's natural, slightly rustic, with a slight French feel to it - perfect!


I won't go through all the ins and out of attaching this, because we all know I used Stitch Witchery. And to be honest, you're probably getting sick of hearing me sing it's praises!

But I will tell you that I doubled up to ensure a secure hold and I left about an inch at the top and bottom to fold over and secure to the backside of the drapes.


So, what do you think?


Are you diggin' this little something extra - a bit more texture and interest?


It's subtle, but still enough to be interesting, right?

Of course, I love it.

Let's hear what you think?


Until next time,
Read more ...
Related Posts Plugin for WordPress, Blogger...

Lijit Ad Wijit