Designing Domesticity Our Home Projects Food Services Shop About
Showing posts with label kitchen garden. Show all posts

Kitchen Garden Update {early summer}


I can't believe it's already July, but then I walk the kitchen garden and realize there's no denying it, cooler days are a thing of the past and summer heat is officially here. 


Last weekend we pulled all our early summer crops that have been suffering in this heat. Lettuce and spinach, radishes and sugar snap peas are all cleared away to make room for warmer weather tolerant crops. 


I spent at least an hour hovered over the kitchen sink washing and sorting our lettuces. There must be an easier way. Anyone?


We're finally seeing some headway on our yellow squash plant. It's taking it's sweet time, but that's ok as long as it results in a nice harvest.


Meanwhile our cucumber plant has taken over. We're two giant cucumbers into the season and couldn't be happier ( I think we may have had one shriveled up cuke last year, maybe).


Our rosemary plants have doubled in size. 


As have the strawberries and thyme plants - both back with a vengeance from last summer.


Plenty of summer salads coming our way this week and next. 

Looking forward, as our infatuation grows for Southern crops we're contemplating adding kale, collards, sweet potatoes and even okra. If you have any advice to share, we're all ears. 

Hope you enjoyed this little tour of our early summer kitchen garden. We've missed our Chicago garden, but this one is finally starting to come into it's own…after a lot of trial and error.  

until next time,

Read more ...

Parsley, Sage, Rosemary, and Thyme {Kitchen Garden News}

And...it's Monday again! I hope everyone had a great weekend. We took advantage of the cooler temps and started winterizing our kitchen garden. Not sure I ever came right out and said it, but, our kitchen garden was awful this year. Not the design, of course, which was awesome, but the plantings themselves. Most of our plantings produced very little to no fruit, giving us little reason to extend the life of the garden. 

sadly, one of our biggest harvests

I'm sure there a lot of contributing factors that played into our sad little garden this year, the most obvious being a total lack of regard to soil conditioning. In Chicago, we brought in new garden soil for our raised gardens, allowing for solid fruitful harvests. It was so easy in the raised bed gardens, that we didn't even think to worry about soil conditioning here in Charlotte. Obviously, that was a mistake because the soil here is more clay than soil and next to impossible to plant in. 
Fortunately, gardening is all about trial and error, so we'll try again next year. In the meantime, we're concentrating on improving our soil condition over the winter, reorganizing the beds, and making some aesthetic improvements. 

rye, fall covercrop
source

In the off chance you've experienced low harvest yield too, here are some of the ideas we're considering:
1. turning over, breaking up and aerating the soil/clay.
2. adding compost/humus/soil conditioner/etc. details here.
3. planting a fall covercrop to revitalize soil. details here.

Now onto the most important part - the aesthetic improvements. I kid, I kid. Clearly, it's all about the soil. Or is it… ;)
After one season in our new garden under our belts, so to speak, we've realized we have a lot more sun than we anticipated and a lot more space than we needed. Because of this, we've decided to keep the vegetable portion of our garden to just 3 of the 6 beds. 


germander and boxwood borders
source

We want the garden to have an overall organized and consistent look, despite the fact 3 beds will be plants and 3 will be vegetables. To achieve a consistent look we're planning to incorporate the same border throughout. We've done a lot of research and come across several options for borders, like:
1. creeping thyme
2. boxwood
3. Japanese holly
4. germander

Due to space constraints, we are leaning toward a germander borders on the internal edges, paired with our existing Japanese holly border on the exterior edge. 
I love the contrast between the structured edging and the more wild plantings within and can't wait to recreate a similar look in our own garden. 
I'll share updated garden pictures soon. True to form, we got so carried away with our garden work we ran out of light before I had a chance to capture our progress on camera. 

Hope you had a great weekend!

until next time, 
Read more ...

Get the Look: Statement Planter

There are times when you want your planters to all coordinate, creating one overall scheme. Then, there are times when you want one single planter to stand alone, creating a real statement. 


Of course, we want a big statement in the new urn situated front and center in our kitchen garden

Note: After a lot of research, we settled on a clean lined, 27" cement planter from Lowe's

Like with any new project, I spent time looking through magazines and online researching combinations for said statement urn. Unfortunately, I didn't come up with much. 
When all else fails, it's time to hit the shops. 
First, I checked out Home Depot for flowers, but ultimately left feeling uninspired. Time to pull out the big dogs and get some personalized attention at a local nursery.


I'm sure I've mentioned Banner nursery before. They are a small locally owned nursery with very competitive pricing, excellent personalized service and a selection that is second to none. Clearly, I am a big fan. If you are local, check them out. 

I worked with one of their planter designers ( I'm calling her that because she was actually working on a planter when I got there). We walked around the nursery looking at various combinations and she highlighted some of their more unusual selections. Ultimately, she left me with a great piece of advice: get a cart and start laying the plants/flowers out how you would imagine them in the planter, keeping the thriller, filler, spiller concept in mind, and go from there. 


Here's what I ended up with. 
I knew I wanted to keep the scheme fairly neutral overall because I have a lot of colors, textures, and varieties in the surrounding beds. The designer at Banner wasn't super thrilled with my "drama without color" concept, but I think we made it work. 


Get the look...
Thriller: Cordyline Red Sensation
Filler: Dusty Miller, Variegated Japanese Sedge 'Evergold' 
Spiller: Variegated Sweet Potato Vine, White Petunia

until next time, 
Read more ...

Progress Report: Kitchen Garden Plantings

Last I left you, I had laid out quite the plan for said kitchen garden. Would you be disappointed to know that I hadn't been entirely truthful? Yup, they weren't just plans. They were plans in action. 


We've been tree trimming (hello light!) and hedge planting. 


Neighbors recommended we check out Grower's Outlet in Pineville, NC for the 20+ shrubs we needed to create the border hedge. A family excursion on Easter Sunday did not disappoint. The selection and pricing were out of this world. It's like Big Lots for plants. If you are local, looking to buy in bulk, definitely check it out.

We opted to go with compacta hollies because we were told that sometimes boxwood have trouble with the heat of the South. The look is surprisingly similar, so here's hoping for the best!


Beyond the hedge, we also managed to add a couple of decorative elements to the garden. The girls and I planted our 3 tier planter with 3 colors of inpatients. It will add a nice pop of color in the shade beneath the fig tree. 
(Eloise declared herself the dirt girl, while Tessa handled the watering - anyone who knows these girls should not be surprised by this!) 


The wall planter is also ready to be hung. I may move fast, but I'm not a miracle worker. Drilling into brick will have to wait for John. 
 The rosemary plants have found a new home, now we are debating planting them instead of potting them. Thoughts? If we plant them, we won't carry the hedge along the brick wall. 


As in years past, we picked up our plants and seeds at Home Depot. If I was buying in bulk, growers outlet had a great selection. A couple of weeks ago, we planted some of our cooler weather seeds like lettuce, kale, spinach and peas, which are already starting to sprout up.


Tomato supports are assembled and ready to go. Remember these from my Lowe's post. So cute and reasonable. Thinking I might have to grab one more for our cucumbers.


Speaking of veggies, check out our little pea shoots. And Tessa's handwritten sign. My MIL gave me the zinc plant markers for my birthday and I love them. In fact, I just ordered more. 

We are loving how the garden is taking shape. Still want to move the table, find a suitable urn for the center circle of the garden, add more flowering plants and decide on the back hedge. Loads of work on the horizon. Exciting!

until next time, 
Read more ...

Easter, Visits, and Garden Plans

Happy belated Easter weekend! If you follow me on Facebook or Instagram (If not, you really should!) you probably already know that we had family visiting for the holiday weekend. A great way to end our Spring break week. 


The girls loved dying eggs and hunting for them around the house with their grandparents. And I loved the extra cooking. I know, sounds funny, but sometimes cooking for just two extra people can cause me to splash out a bit more than I would for just John and our two picky girls. Feels more festive.
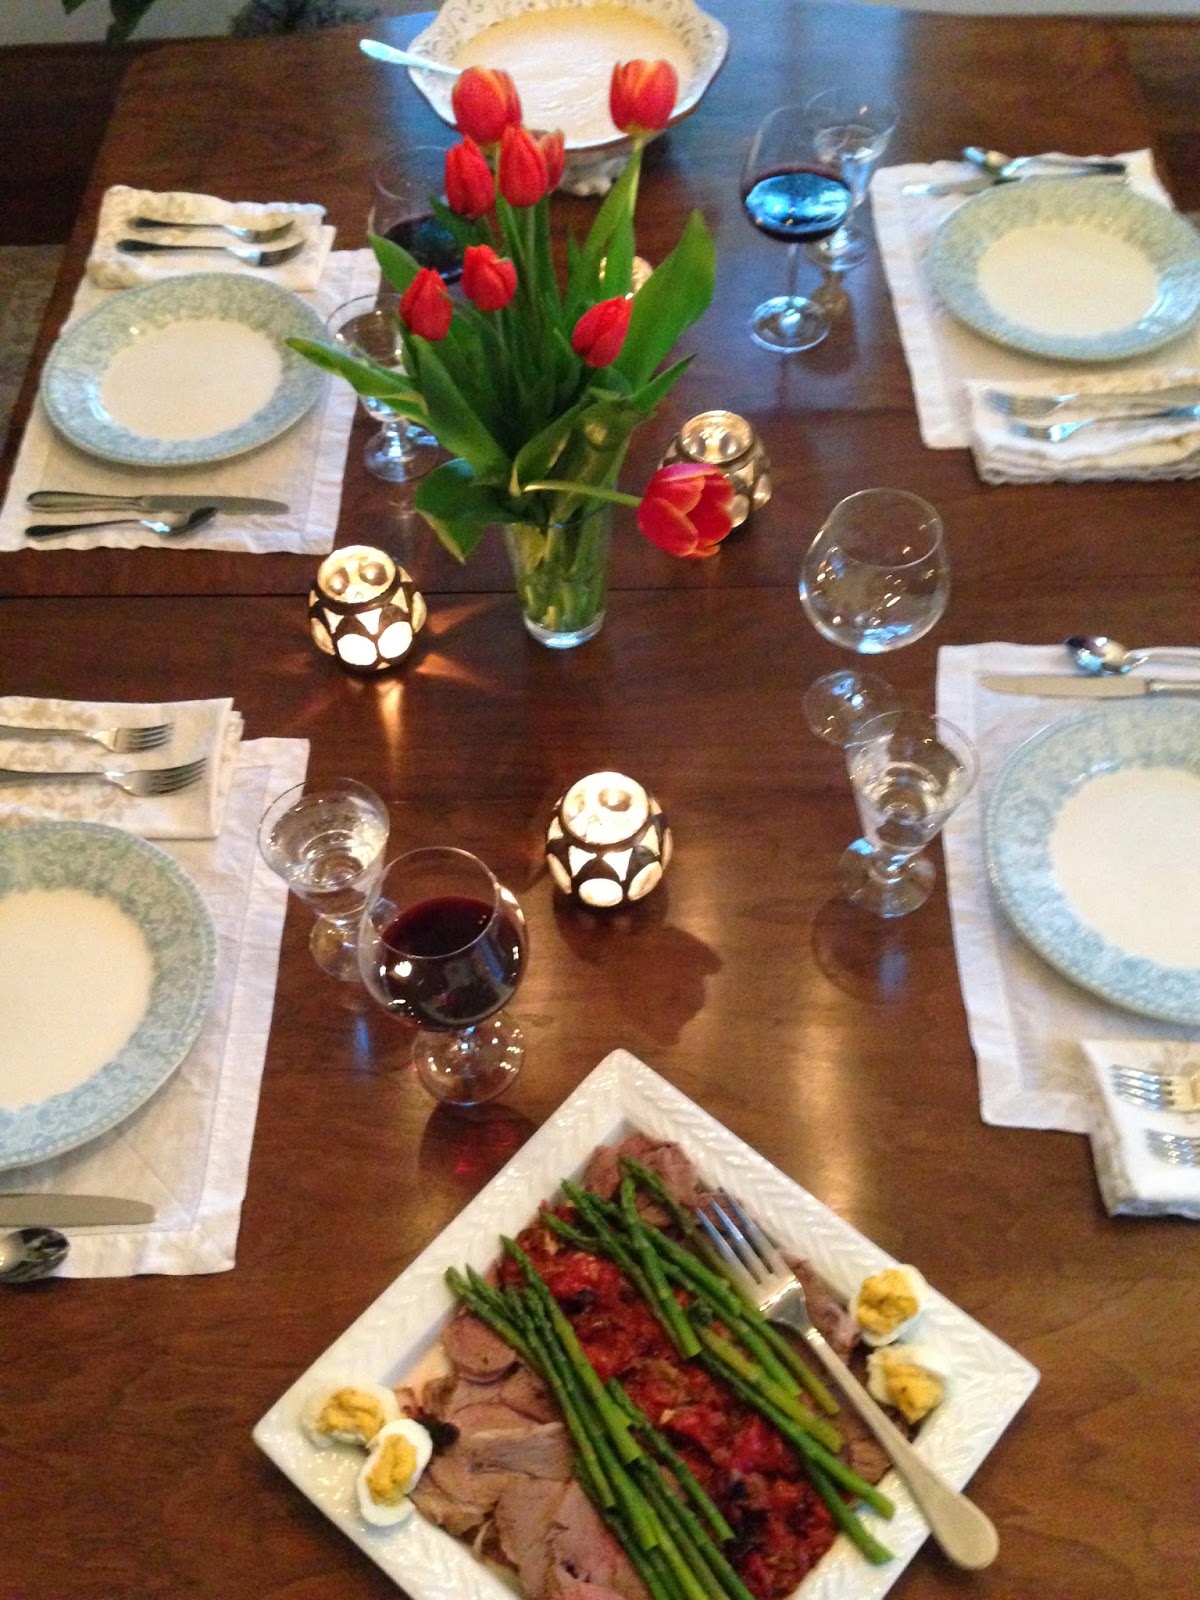
Some of the highlights from this weekend were: Edie's cheese tortellini soup, Ree's baked french toast, and Ina's Provencal Lamb.


It wasn't all celebration this past weekend, we managed to squeeze in a bit of work, too. I'm sure you are relieved. 
My parents are both avid (and opinionated) gardeners, so we really picked their brains when it came to our new kitchen garden. Concentrating on both plant placement and aesthetics, we tried to incorporate a lot of what they suggested. Along with some of our own ideas, of course. What would a family get together be without at least a tiny bit of disagreement :)

Parents suggestions:
1. Table moved to the back of garden, under the fig tree. We won't be growing anything back there anyway! Replace the table in the center with a large urn filled with blooming flowers.
2. Remove the potted rosemary so they won't block the new hedge.

Our ideas:
1. Add a hedge to outline the beds, potentially camouflaging a seasonal fence.
2. Trim the neighbors tree to allow for more light and more growing space.
3. Add some plants!


Speaking of plants, here's our rough outline for plantings. Completely not to scale and a bit rough, but you get the idea. Right?
Over the last couple of years, we've decided that gardening is all trial and error. In other words, we'll give this a go and if it doesn't work out, we'll try a new layout next year.

Any experienced Southern gardeners have any advice they'd like to share - I'm all ears, in the comment section below. 

Hope you had a great holiday weekend!

until next time,
Read more ...

Progress Report: Kitchen Garden Rock Wall {Part 2}

Last we left you, our new to-be kitchen garden was looking like this. 


A nice big space cleared of all the weeds and debri. 
Noticeably absent: any sort of retaining wall to hold that raised garden in place. That's because we were toying with the idea of expanding the overall size (note the black rope) and investigating other options for the retaining wall.
Option 1: Reusing the old railroad ties. But, unfortunately they didn't fit the new dimensions of the garden.
Option 2: Purchasing new railroad ties, which as it turns out are kind of hard to find. Both Lowes and HomeDepot had similar options that were fairly cost effective.


But, in the end, we both knew we wanted to go with Option 3: Natural stone. 
A dry stack stone wall was something we had planned for our Chicago yard (remember this inspiration post?) , but the unexpected move to the Charlotte put a damper on that one. So why not reprise that vision for our new kitchen garden.
A quick internet search led us to this company just outside Charlotte. We packed the girls up and headed out on an adventure…or at least that's how we sold it to them. 


We quickly settled on a gray toned stone called Eagle Mountain. The new wall will be approximately 45 ft long and about 10 inches high which translates to about 1.5 tons of stone. That's a lot of stone and a big investment, but hopefully will make an equally big statement in the backyard. That we love for a very long time.

We also ordered: 3 yards of filler dirt and 1 yard of black gold (compost) to backfill the garden. And 3 yards of crush & run (base for walkways) and 3 yards of crushed stone to create the walkways within the garden. 


With all the major purchases behind us and deliveries filling the driveway, it's time to get working. This past weekend, we spent a couple of hours getting started. 
Here's our plan,
Step 1: dig a trench 3-5 inches deep depending on height of wall.
Step 2: place rocks, edge to edge in the trench, leveling as you go. Bigger, wider rocks at the bottom moving up to smaller rocks near the top.
Step 3: Backfill dirt to the edge of the wall. 
Step 4: Fill any large spaces between rocks with crush & run between layers. 


Here's a peak at one of the areas where we have added the crush & run to provide extra support between the rocks and layers.


After 3 hours work, this is where we stand. Two layers, but only some areas are sporting the additional crush & run. Lots of work still to do, but a good start. Planting goal is mid April. More to come. 

until next time,
Read more ...

Progress Report: Kitchen Garden

Behold the future site of our Charlotte Kitchen Garden. 
Doesn't look like much in this picture, but there's actually quite a bit of work to do to get this space up and running in time to plant this season. 


Check out this image from last Summer.
It really shows what we have to work with.  
More like what's working against us. 


Day lilies. What a nightmare. Have you ever run up against these guys? They are near impossible to get rid of. Super resilient. 
An overgrown fig tree, leggy mystery shrubs, neighboring branches blocking the light. What a mess. 


Fortunately, with a couple of nice days over the last couple weekends and everyone pitching in, we were able to make a sizable dent in the prep progress. 
Out came bags and bags and bags of roots, weeds, and pine straw. Plus, all those mystery shrubs.


What would a garden clearing post be without an action shot, I ask you?
Yeah for clear, open space.

Notice that black rope in the foreground? 
Yup, we are playing around with the layout of the garden. Practically doubling the size. (One) to take advantage of better light, but also (two) to make sure there is enough space to add decorative features to the garden. 

Just like our inspiration image, we want to incorporate crushed stone paths, flanked with brick, perhaps some trellis, a bird bath or other lawn art. You know, make it a real focal point to the yard. 


Can't you just see it now?

until next time, 
Read more ...

Seamless

I've shared our little kitchen garden loads of times, so you know how much I love it. But what I never really liked was how it looked so new in the yard. It jutted out in the space instead of blending more seamlessly into the yard. 


Last weekend, we decided to finally do something about it. The idea came to us when we swapped out our blueberry bushes for knock-out roses and needed a new home for the blueberries. Not to mention all those hostas we had removed when creating the garage garden...they were still thriving, but needed a permanent home ASAP. 


Hence the new side gardens were formed. We continued with the existing gardens on either side by elongating the curve to connect with the end post of the kitchen garden fence. 


Gotta love a good action shot of Mr. DD! 
But seriously, this was hard work. The area is riddled with large roots from the very established trees, which made it really hard work. There's also an in-ground watering system in the backyard, so you can't exactly just get in there and chop it up. Very tricky. Fortunately, Mr. DD was up to the task. 
Work it, honey.


The side to the right of the garden, which is almost entirely shaded, received a couple of our tried and true green hostas, as well as a couple of variegated hostas for interest.


Now the new side garden flows seamlessly into the shade garden off the patio. And definitely helps to make the kitchen garden not stick out so awkwardly into the yard. 


The side to the left of the kitchen garden, which receives a fair amount of sun, became the new home of our blueberry bushes, as well as more hostas and this beautiful 'black lace" elderberry shrub. 


We picked up our elderberry on clearance at Home Depot a couple of years back and it has quickly turned into one of our favorite plants. Beautiful black lacy leaves with a pink flower...just stunning.


 In fact, its taken me ages to post this because after we transplanted her, she was looking a little worse for the wear. But she's finally on the mend and picture worthy again {kind of}.


We still have loads more in the yard to sort out, as we seem to be tackling a couple of feet at a time, but we'll get there. Slow and steady wins the race, right? At least that's what I keep telling myself. 


But, for now, this was a great, fairly simple and very inexpensive project that has made a big impact in the back yard. Love that. 

Hope you have a great weekend! We have family in town and the weather seems to be working in our favor, so i'm sure we'll be spending a lot of time outside. 

until next time,  


Read more ...
Related Posts Plugin for WordPress, Blogger...

Lijit Ad Wijit