Designing Domesticity Our Home Projects Food Services Shop About
Showing posts with label color scheme. Show all posts

They're here...new living room pillows!

I'm happy to share that another stage of the living room make-over is now complete. 
The new pillows are finally here!

Check them out!

Happiness!

Did you notice that one of the solid golden pillows is missing the banding - yeah, I didn't order enough. Oh well, more is on order and soon that pillow will be complete as well. 

And because everyone loves a little before and after...here's the before with the old pillows. 


I'm loving how light and bright the new pillows make the whole room feel.
What do you think - was it a good change?


A couple of close-ups to enjoy all the details.


In case you are wondering, just like my new window panels, I cut and pined the fabric and sent them to the dry cleaner to be sewn.


And here's the best shot I could get of the living room and breakfast room. The pillow on the couch coordinates with the new trim on the white cafe curtains in the breakfast room. And the striped pillows in the breakfast room coordinate with the window panel fabric in the living room.  This helps to make both rooms feel like one cohesive space. 

Next up, tackling that massive armoire. 
Wish me luck!

If you enjoyed this post, might I suggest:


Linking in with:

Until next time, 
Read more ...

Updates to the Breakfast Room

I know, I know, I know - I did just literally reveal the updated breakfast room a couple of weeks back - but I have already made some changes!

What can I say, I like to keep improving things!


Here is what she looked like at the reveal, which you can read about here.


And today.

Can you spot the differences?


I trimmed out the curtains with some of the pillow fabric from the living room.
And added some new pillows using the drapery fabric from the living room. 


You like?

I think carrying the fabrics from one room to the next really helps to improve the overall color scheme flow.


So there you have it. Some simple updates that make a big impact in this small room. 

If you enjoyed this post, let me suggest these:


Linking in with: 

Until next time, 
Read more ...

The Plan for Pillows

The window panels are finished, hung and looking beautiful - if I do say so myself! 

So what's next, you want to know?


Tackling the easiest project first; I'm going for pillows!

Wanna take a peek at my fabrics?


I think I've run the gamut in terms of possible combinations. 
I have a solid, stripe, plaid, floral and scroll - plus a couple of trim options thrown in. 

If you're interested in learning more about my philosophy on mixing fabrics, check out my guest post over at Three Boys .

Stay tuned for the reveal. 
And the heavy work - tackling that rustic pine armoire!

Until next time, 
Read more ...

How to Make your own Window Panels

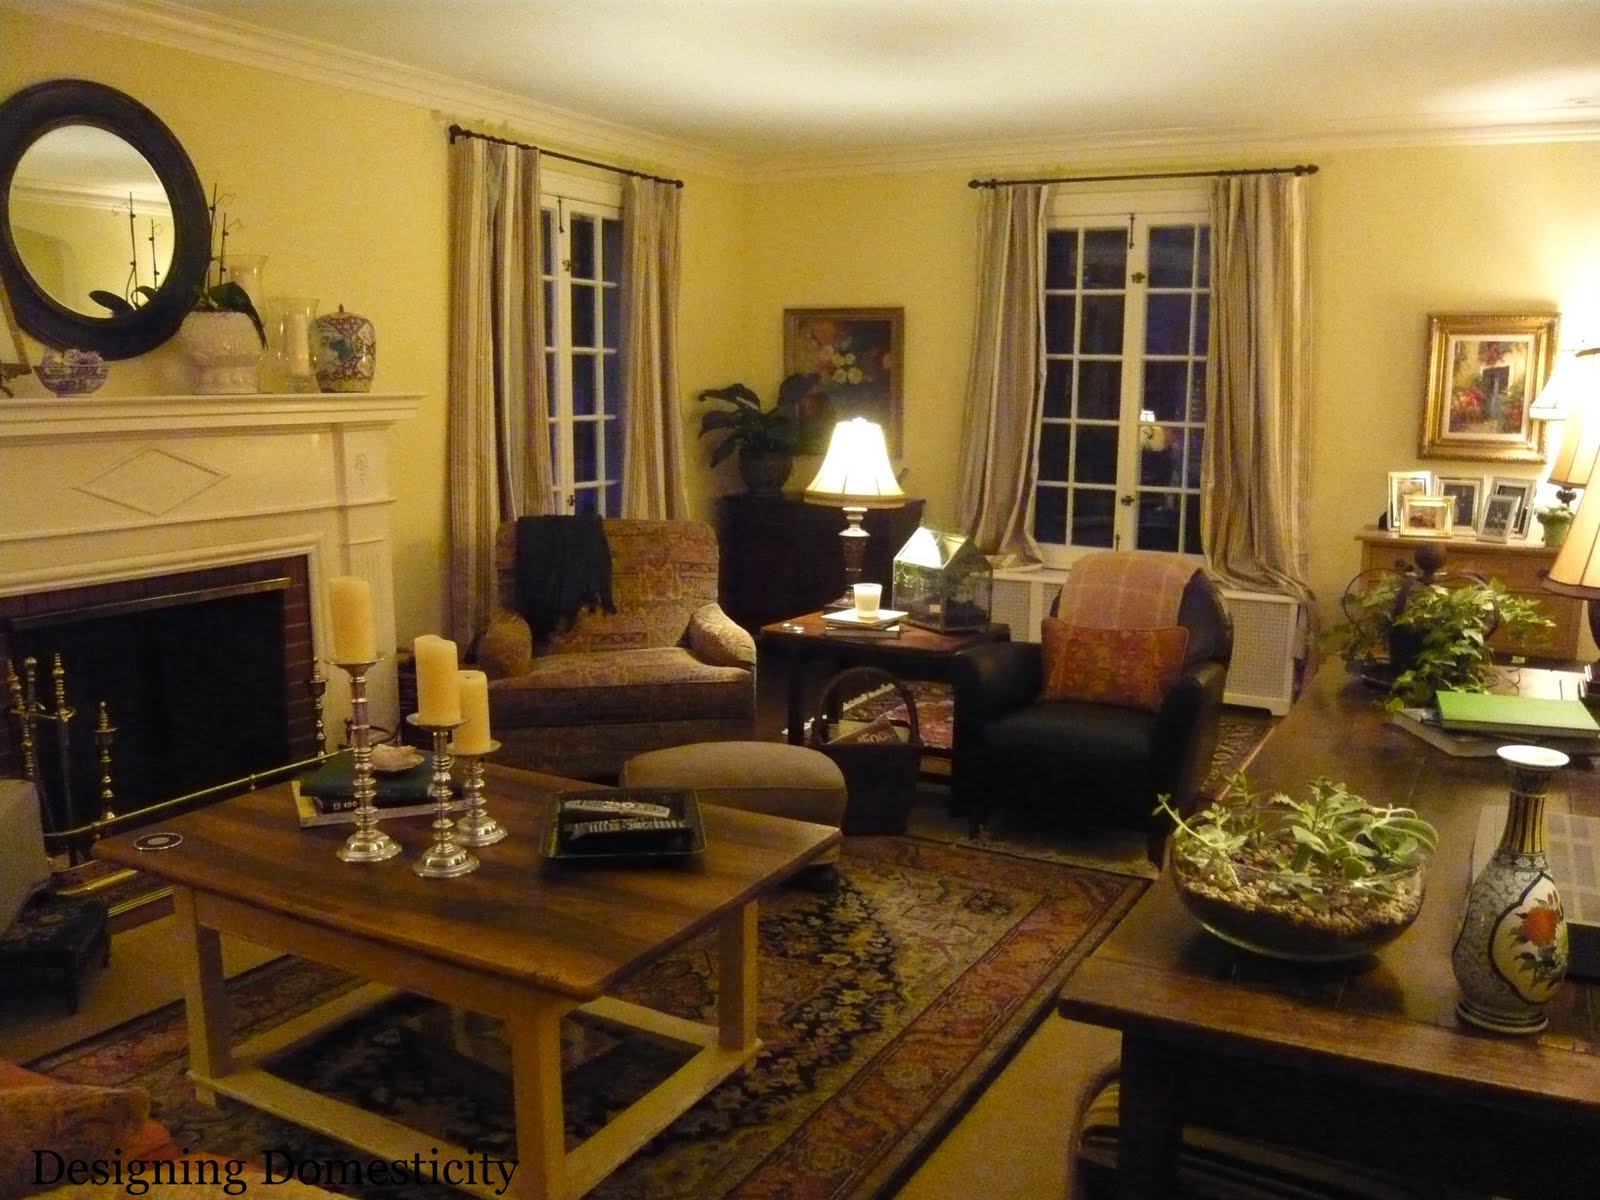
First off, I'd like to say thanks so much for all the lovely comments on my new window panels. 
I really am loving them and loving the fact that you love them too! 
That's a whole lotta love going around!

Today, I thought I'd share the quick process of how to make some of your very own.

Let's get started:


I started by removing the drapery lining from my old drapes. Not only did this save a lot of money in terms of purchasing new, but it also provided a rough template for the length and width of the new curtains!
Bonus!

What's the benefit of adding a liner, you may ask:
1. helps with light filtration
2. helps to reduce the risk of fading from the sun
3. gives a cleaner and more professional look from the outside
4. helps to stop drafts in the colder months

see, pretty important, actually.


Find a place to lay out your fabric in it's entirety. 
I needed panels that were 94" long when complete. Therefore I cut them 99" long to allow for seams at the top and bottom. 


Add your liner, making sure to center and leave at least a 1" margin across the top.


Then, it's just a matter of getting down to the pining, really.
Fold over your fabric to create a 2" seam across the top. 
Pin in place.
I found that a right angle really helped to keep everything nice and even and straight.


Fold your fabric to the edge of your liner on the sides. 
Because I was working with striped fabric, I had a nice built-in line to work with!
Lucky me. 
Repeat on the other side.


Across the bottom, fold your fabric up to the required length, in my case, it was 94"; pin in place.
I like a 3" seam across the bottom, hence measuring 99" to begin with. 

This picture is a little misleading because it's the first panel I did and I was working with a pre-cut 3 yard piece of fabric. 


When it's all said and done, it should look a little like this.

Now, this may shock some of you, but at this point, I folded up all my panels and took them to the dry cleaner to be stitched up! 
I know, the shock horror of it all, but I can't really sew and I knew these panels were a real investment that I wanted to last a long time - so there you go! 
Plus, she only charged me $20 a panel, which I thought was a steal!


Once I got the panels home again from the dry cleaner, I added my drapery pins.
Be sure to pin them through the back of the fabric only - no one wants to see a pin on front, now do they? 
Of course, I saved these from my original curtains.
Waste not, want not! 
Right?

I used 7 pins per panel. Start with the first and last, then add the middle and finally two between the first and middle and two between the middle and last. This helps to ensure even placement. 


Then I added my pins directly to the rings. 
Personally, I'm not a huge fan of the clips - not sure why really - kind of fussy for my taste.
I think rings without clips has a cleaner and more custom look. 


So there you have it, the story of my new window panels and my dirty little secret!

Other posts you might enjoy:


Until next time, 
Read more ...

Living Room Window Panel Before and After Reveal

It's been a long time in the making, but I am excited to share with you my now complete window panels. 
As you probably know, I really hummed and hawed over the fabric selection. 
For a recap on everything I debated on, click here and here


But, I am so happy with the results.

I only wish that taking good photos of curtains was easier so you could get a real sense of how great they look!
I've done my best...

I, like you, love a good before and after. 
So, here are a couple for your enjoyment!


Before - seems so bare now.


After - with all that lovely day light streaming in.
It's amazing how a simple window panel can really finish off a room!


And at night - I love how cozy it feels now! 
Just in time for Fall...


Before


After - daytime.


After - night time.


This shot really shows the colors as true as possible. The light yellow stripe picks up the color on the walls, while the coral stripe ties in with the couch and the blue works well with the rugs.

I am also loving the texture; the linen is slightly crumply which gives it a relaxed, yet elegant feel. 
Rustic elegance as I like to call it!

I'll be back later with the tutorial - it really was fairly budget friendly - working with some existing pieces, I managed to make 8 window panels for around $500. Of course, this isn't pennies, but if compared to the $500 I spent on 4 store bought panels in our bedroom - it seems like a great deal! Plus these are personalized!

If only I had known then what I know now. 
Hindsight is 20/20!

Linking in with:

Until next time, 
Read more ...

Decisions - I may actually be making progress!

This is now my 3rd post on the search for fabric for the new color scheme in the living room. 

Last I left you, I was considering this lovely stripe for the window panels. 


Remember that wise woman's (my Mom) comment on just ordering a bit of the fabric to see if I really like it? 

Well, I took her advice and ordered enough for one panel.


For the last week, it's been hanging on various windows in our living room, waiting for me to make a decision. 

Although I have plans to recover this chair, it's not happening anytime soon, and I needed to make sure the fabric worked with the floral.

And I think it does.


Taking decent pictures where windows are concerned is no easy feat, but I think that this shows how well the yellow in the fabric ties in with the walls.


And this one shows how the red in the fabric ties in with our couch.

So what are your thoughts?

I am thinking I am going to go with it. 
It's the first fabric that Mr. DD and I actually agree on, it works with everything in the room while still lightening up the pallet and offers tons of options for any changes in decor in the future.

Ding, ding, ding - I think we have a winner!

Until next time,


Read more ...

Decisions, Decisions, Decisions - I can't seem to make one!

I'm back lamenting on my ongoing struggle to create a new color scheme in the living room/breakfast room with fabric.

Last I left you, I thought I had found a winner with the below fabric, which I envisioned as lovely window panels.


Well, evidently, so did everyone else as this fabric is now backordered until August! 
Humph.
Not that that is the reason that I am unable to make a decision.


It has a lot more to due with our new built-ins and how little green you actually see from the living room now.
It suddenly seems silly to base entire scheme off of a 1/3 of a wall that can only be seen from one side of a room. 

Furthermore, if I ever want to change things up in the living room, having only one color in the window panels certainly doesn't give me a lot of options.

Thus, the search continues.


I recently stumbled across this striped beauty, which encompasses all of my colors - the yellow from the living room walls, the rusty red of the couch, the green from the breakfast room, and blue, which can be found in our current rug.

So what's holding me back? 
I'm not sure really.
I never really considered myself a stripe person - whatever that means.
And I worry that it will be just a little too dark.

But I just can't envision a floral on the window panels either. 

Where does this leave me?

 A wise woman (my Mom) suggested I buy 3 yards (approximate yardage per window panel) and hang it up to see if I really like it. 
Much easier to digest a mistake of around $60 than the cost of all the panels.

Decisions, decisions, decisions - I just can't seem to commit.


That being said, I did actually manage to commit to this lovely suzani fabric which I hope to transform into throw cushions for the couch.

Paired with the green geometric above, which will also hopefully be transformed into throw cushions, my living room is already taking on a lighter feel.

At least in my mind!

So, tell me, what do you think of the stripe? 

Until next time,
Read more ...

Rounding out the color scheme

You may remember my new paint color scheme reveal from a couple of weeks ago, if not, click here for a recap.


This image shows all the major contenders - sofa, wall color in living room and breakfast room. Our old curtains
 are there for reference - proving to Mr. DD that they just don't work anymore! 
Time to make a change...

For the last couple of weeks I've been searching high and low for either ready made panels or fabric  - any type of inspiration really! 

I have samples galore...


This was my first love. 
Greens, yellows, corals - all the colors I want to highlight in this space. 


Coupled with these fabrics, I really felt like I was getting somewhere. 

Then when my parents were visiting a couple of weeks back, my Dad casually asked if I didn't already have that fabric somewhere. 

What? 
Did I have it!?!? 

Basically, totally innocently, stating that I have used similar things in the past - which is what I am trying to get away from here. Back to the drawing board.

I knew my plan was to lighten things up, so I went in this direction:


Similar colors but the creme background really helps to lighten things up.

Unfortunately, when my online sample arrived the fabric just had too much sheen to it for me. 
Note to self, don't forget to check the material!


My reject pile!
Can you tell which one I forgot to check the material on? 

Ordering sample fabric online can become a bit addictive!


After loads of trial and error, I think I have finally found a winner! 

It's young, light, neutral and somewhat modern, but still traditional. 
Everything I am trying to achieve with my new color scheme!
  
This whole redefining your style thing sure takes awhile!

So, what do you think? 
Am I on the right track?

Now onto pillow fabric.

Until next time, 
Read more ...
Related Posts Plugin for WordPress, Blogger...

Lijit Ad Wijit