Designing Domesticity Our Home Projects Food Services Shop About

Outdoor Patio Topiary

When my parents were in town last weekend they brought me the loveliest metal topiary for our patio. 


Isn't she cute?

All she needed was to be planted - fortunately, my Mom had included her expertise as part of the gift.


We started by wetting and tearing these circular corn husk planter fillers and placing them in each layer. 


Then each layer was filled with potting soil and watered before planting.


Then it was just a matter of adding the plants. We used mostly white impatiens - a whole flat actually. And accented with a little trailing purple flower, called lobelia. 


Isn't she pretty?
I can't wait to watch her grow.

Anything new in your garden lately?

Linking in with:

Until next time, 
Read more ...

Weekly Kitchen Update No. 3 - Plus I need your help!

The kitchen is coming along leaps and bounds! 
We've had our set backs, certainly, but progress is definitely being made. 


As you can see, all the boxes along the West wall have now been completed!
And the appliances are in place.


Check out that stove! 
The starting point for this whole project.


To the right of the stove will be deep storage drawers, then the dishwasher and sink. 
Between the sink and the wall will be the much coveted platter storage. 
Can you tell I am excited at this stage??


The built in fridge flanked by the pantry, which as a side note, has turned out bigger than we could of hoped for - very happy with that outcome. 


So here's where I need your help. 
Now that the cabinet bases are in place we can move forward with the counter-top selection. 
The problem is, we can't decide which way to go. 
Mr. DD wants more contrast, I want less. 

Here are a couple of options we are considering, separated by the backsplash tile. The tea pot lid represents the stove color and the background tile is the actual floor tile.

Hope that makes sense.

So, what do you think - lighter with honey toned veining or darker all over honey color. 

Until next time, 
Read more ...

Succulent Centerpiece

Lately, I've been seeing succulent arrangements cropping up everywhere. 
This type of low-maintenance plant is right up my alley, so I thought I'd give it a whirl.


The glass bowl came from Crate & Barrel back when our local store closed. 
All the plants are from Home Depot.


I started with some small rocks at the bottom of the bowl for drainage purposes, then a layer of potting soil followed by some creative plant arrangement - and presto chango - done!


I borrowed a couple of handfuls of gravel from our new kitchen garden to top off the arrangement.


I love all the layers that can be seen through the glass bowl.


For now this lovely little arrangement is resting comfortably on the coffee table in our living room. It might need a visit to a sunnier location from time to time, but we'll see on that one. 

Have you been experimenting with succulents lately? 
Or some other new and interesting plant? 
Do share.

Linking in with WoW and Tablescape Thursday.

Until next time,
Read more ...

Welcome To My Kitchen Garden

I am thrilled to welcome you to my kitchen garden!


Although we had terrible weather in the forecast for this weekend, we ended up with some nice, long sunny days allowing us to put the finishing touches on the garden and finally get the plants in the ground.

Last we chatted, we had built the raised bed gardens and then the fence. For a recap, click here.


Next we covered the perimeters of the beds with fabric weed stop and then a thin layer of gravel to hold everything in place.


I love the way in turned out! 

And finally it was time to get the plants into the ground - of course, the whole family got in on the fun!


We used a combination of plants and seeds.


In the box furthest to the left, we planted strawberry, blueberry, eggplant and red pepper plants. As well as cucumber and yellow summer squash seeds.

In the back, we have a pot holding the mint and chives - these guys will take over your garden otherwise!


The middle bed is mostly plants - three types of tomatoes, two types of chili's, herbs, as well as radishes.


The bed furthest to the right is mostly seeds - two types of lettuce, arugula, beets, onions and potatoes. 

Our daughter definitely enjoyed planting the seeds the best!


Now the real challenge begins - remembering to water, weed, thin out where needed and of course, harvest in several months. 

We're pretty excited for all the possibilities - wish us luck!

Linking in with Met Monday at BNOTP.

Until next time,
Read more ...

Weekly Kitchen Update No. 2

Well, the cabinet maker has been working hard for a little over a week and I've got some progress to show you. Truth be told this has been a very hands on experience for us - so much so that both Mr. DD and I have felt a wee bit unprepared. 

Yes, it caught me by surprise as well! 

But enough about all of that, I'll get to the pictures already.


We'll start in the new wet bar area. Here we'll have three upper cabinets and three lower cabinets, separated by a counter-top, sink and faucet.

The hole in the wall (at the left) is the existing laundry chute that we built around.


This is the view when standing in the main part of the kitchen looking into the wet bar area.


Moving on down the East wall, this is the area that I refer to as the buffet. There will be four lower cabinets, which are only 18" deep. There are a variety of upper cabinets all 14" deep, which will also hold our above the counter microwave.


The straight on view shows all the detailed upper cabinet configurations. 

OK, well, that about sums up the progress over the last week. It's going well, especially now that some of the major design decisions have been made, but of course, it's a slow and detailed process that we are eager to complete.

We're hoping the other side of the kitchen will be complete by the end of next week so we can go forward with cabinet paint color selection and counter-top selection as well. 
Fingers crossed!

Until next time,


Read more ...

How I'm decorating around our MONSTER television

When we opened up our breakfast room to our living room our large harvest table had to be relocated.
It was quickly re-purposed as our TV stand.


The proportions are much more in keeping with the MONSTER TV that my husband brought home as a 'surprise' shortly after we bought this house. 

Plus I love that it provides extra space to decorate around the TV. 

But where to get started - how can I camouflage this MONSTER??


The cable box is a must, unfortunately, so I choose a large scale bold lamp to draw your eye away from the ugly equipment. And you probably remember my little crown framed African Violet; placed slightly in front of the cable box to help hide it.


To the left, I placed a large scale plant as well as one of my favorite design accents - stacked books (dust jackets removed, of course)!


A tray to catch all those pesky remotes finished off the tabletop accessories.


And what about all that empty space below the table - not to mention all those cords - an over scale basket, flanked by large speakers. Of course, the speakers aren't my first choice, but they probably won't be going anywhere any time soon. 

I do have an ottoman in need of recovering that might look nice and work for extra seating...we'll see about that one.


So there you have it. 
Not exactly hidden, but a lot better than the before, right?

Linking in with WOW at Savvy Southern Style.

Until next time,
Read more ...

New Color Scheme Reveal

Last time I shared our new color scheme plans and how I hoped to create flow within our newly opened living space. Well, we had a whole weekend full of cold temperatures and loads of rain - so we got a jump start on our new color scheme! 

Check out the before and after and let me know what you think!


After - new living room color


Before

After - new opening with new color in breakfast room


Before - breakfast room color
Thoughts on the new color scheme?
These colors are definitely out of my comfort zone, as you can see I tend to choose warmer, more saturated colors - but I am enjoying the new lighter scheme so far.

As I am sure you can also tell, these rooms are literally freshly painted and in need of finishing touches.
We have trim to install, artwork to hang, and curtains to try out.
It should be a fun week!


I also need to decorate around this monster TV! 


Linking in with Met Monday.

Until next time, 
Read more ...

Creating Flow with Paint

Now that we have opened the wall between our breakfast room and our living room, having good room to room flow is more important than ever.


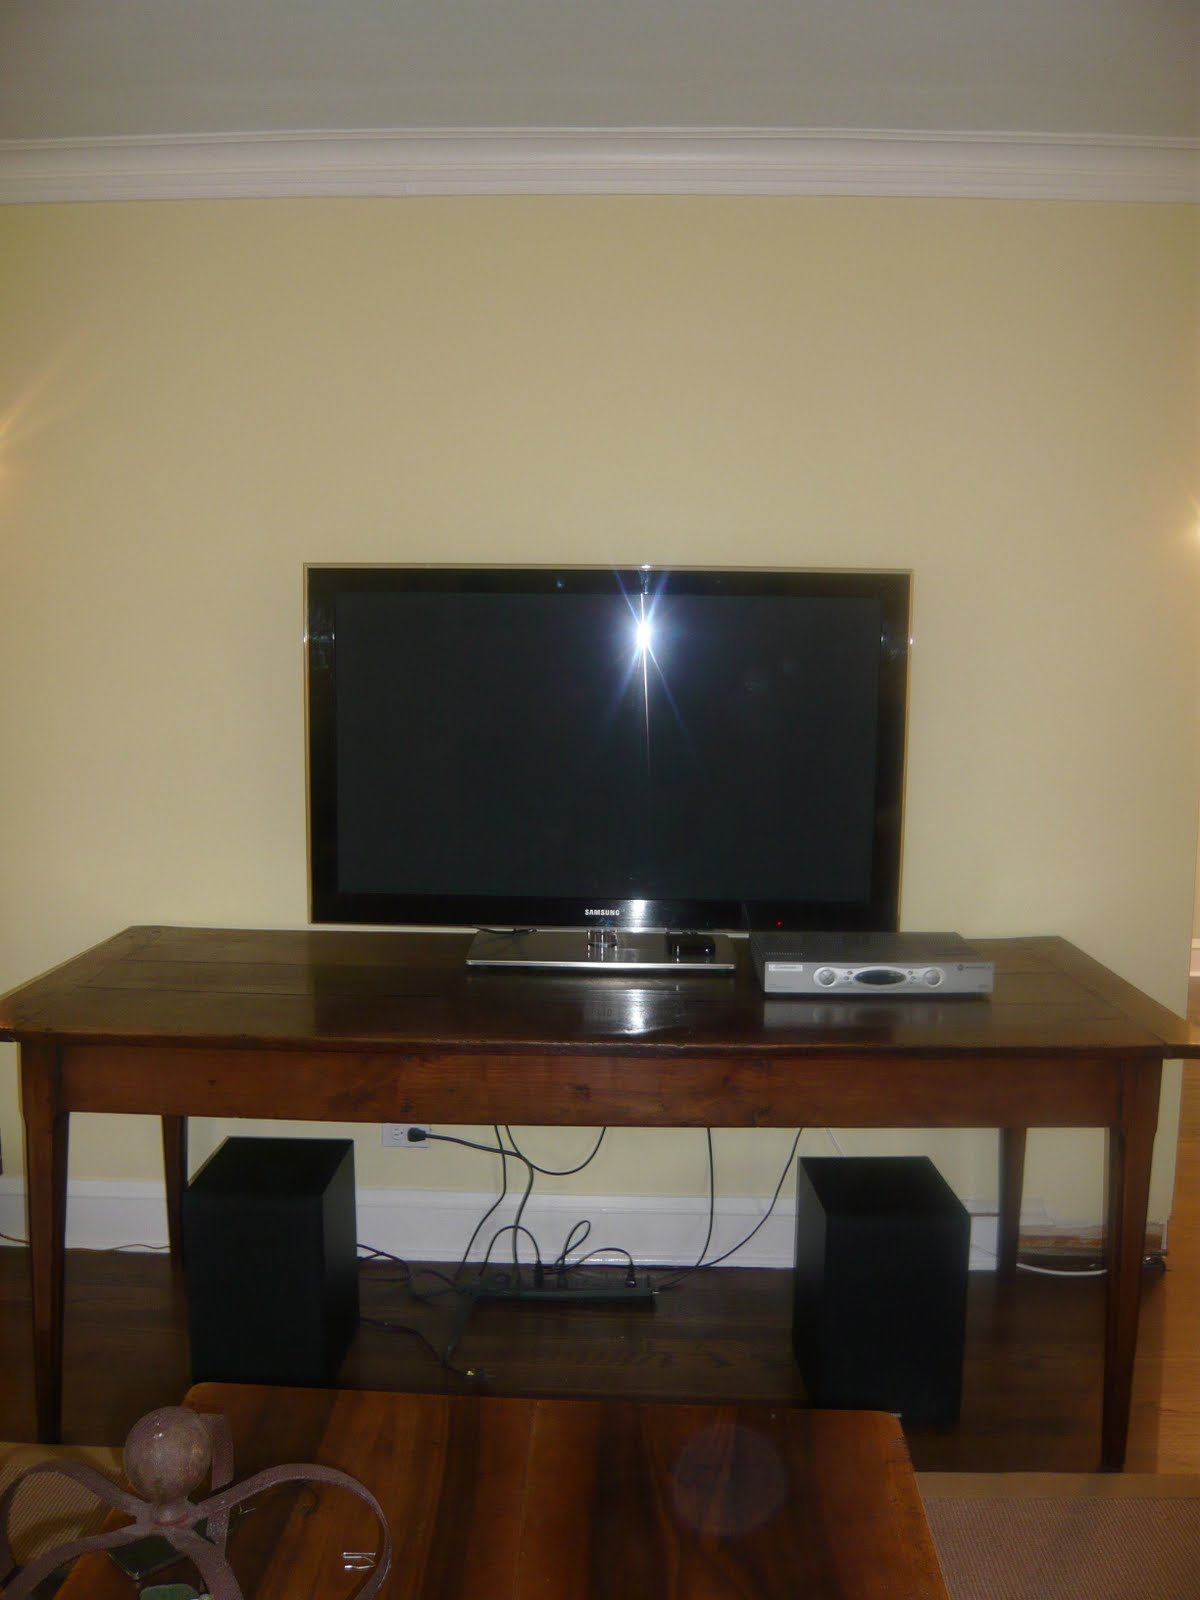
Here you can see the existing deep yellow color of the living room, that opens to the dark green of the breakfast room. 


Given the need to repaint the new arch area anyway, I figured this could be the perfect time to lighten up our pallet and work on the room to room flow.

Mr. DD totally agrees - any opportunity to repaint one of the biggest rooms in our house, right? 
Oh wait, that is me talking!


So, when trying to create a color pallet for your home - where to start? 

In my case, I am using our dining room wallpaper. It's bold and quite the statement maker. 
We inherited this paper with the house, and although I didn't really like it at first, it has certainly grown on me and we have no plans to remove it anytime soon.

Beacon Hill Damask, Benjamin Moore

The other main factor I am taking into consideration is our foyer/hallway color, Beacon Hill Damask by Benjamin Moore. It's a nice neutral with yellowy green undertones. The foyer/hallway can be seen/accessed from every room in the house - so it plays a major roll in the overall color scheme.

Weston Flax, Benjamin Moore

After looking over many a color, I'm leaning toward Weston Flax by Benjamin Moore. It's a much lighter yellow than what we currently have and more in keeping with the foyer color, while still working with our existing furniture.


If you've been reading this blog for awhile, you probably know how much I love green - this will be my accent color. Proof as seen above!!
Picking similar colors that are featured in artwork and accent pieces from room to room is a great way to create flow.

Guilford Green, Benjamin Moore

Speaking of green, we are planning on toning down the green in our breakfast room to something more mellow, like guilford green by Benjamin Moore. I'm really looking forward to viewing it from the breakfast room into the living room - especially how it will frame our couch.

I'll either carry this color through to the kitchen or choose one shade lighter - TBD!

We're eager to get the new color scheme underway, even though we won't be moving back into our breakfast room for at least another month!

What about you? 
Any secrets to creating good room to room flow in your home?

Until next time,
Read more ...

Kitchen Floor - done!

Last I left you, we had a drywall on the walls and arch in our kitchen renovation. 
(Click here for a reminder.) 
And I believe we were all impatiently awaiting the reveal of the kitchen flooring!


Well, first things first, the coil for the underfloor heating was installed and mortared in place.

Remember all the flooring options I posted about here?

We ended up going with the lighter tumbled travertine four piece pattern.


An in progress shot!

I can't tell you how relieved we were at this point....I was having serious buyers remorse just after ordering and paying for all the tile. I started to think it was too light and too large of a format. When it arrived, the tiles looked huge in our small space and really light in color.

But then it was all in place...


And I fell in love with the pattern and the old world feel. 
It's exactly what we wanted. 
Just enough color variation for interest, but not too much to compete with our future countertops. 


Plus, after two coats of sealant, it's taken on a slightly darker tone. 

These pictures don't even do it justice! 

This little step is just making me more excited than ever for our cabinet maker to get started. 

By the end of this week, the really messy work should be completed and we'll regain our living room. We're working on a new furniture layout too...so stay tuned!

Linking in with Met Monday at Between Naps on the Porch.

Until next time, 
Read more ...

Saturday's Kitchen: Italian Style Stuffed Eggplant

I must admit that eating vegetarian is not something that happens around here all that often. But I saw this recipe and thought I'd give it a try. Especially as it was fairly conducive to our temporary kitchen - a girl can't live on grilled items alone!

I'm happy to report that it was both filling and tasty! I definitely encourage you to give it a try!


Ingredients
2 eggplants
2 tbs olive oil
1 large onion, finely chopped
4 garlic cloves, finely chopped
12 cherry tomatoes, halved
handful of pitted green olives, chopped
handful of fresh basil leaves, chopped
1 ball fresh mozzarella, torn into pieces
handful of fresh breadcrumbs

Directions
1. Heat oven to 400. Slice eggplant in half lengthwise, leaving the stem intact. Using a small knife, cut a boarder inside each eggplant about 1/4 in think. Using a small spoon, scoop out the flesh and set aside. Brush the eggplant shells with oil, season and place in a baking dish. Cover with foil and bake for 20 mins or until the shells are softened. Chop remaining eggplant flesh.

2. Meanwhile, warm oil in a nonstick frying pan. Cook onion until soft. Add the chopped eggplant and cook through. Add the garlic and tomatoes and cook 3 more minutes. Stir in the olives, basil, mozzarella and additional seasoning.

3. Remove the eggplant shells from the oven. Reduce the heat to 375. Pile the stuffing into the shells and sprinkle with breadcrumbs and drizzle a little more oil. Bake for 15 - 20 minutes, until cheese is gooey and the breadcrumbs are golden.

Serves 4.

Cook's Note
I halved the recipe without any problems. I also used panko instead of fresh breadcrumbs. I had to cook mine a bit longer than the recipe specified, but I was using a toaster oven so that might have something to do with it! 

As always if you try it and like it, please do let me know!

Until next time, 

Read more ...
Related Posts Plugin for WordPress, Blogger...

Lijit Ad Wijit